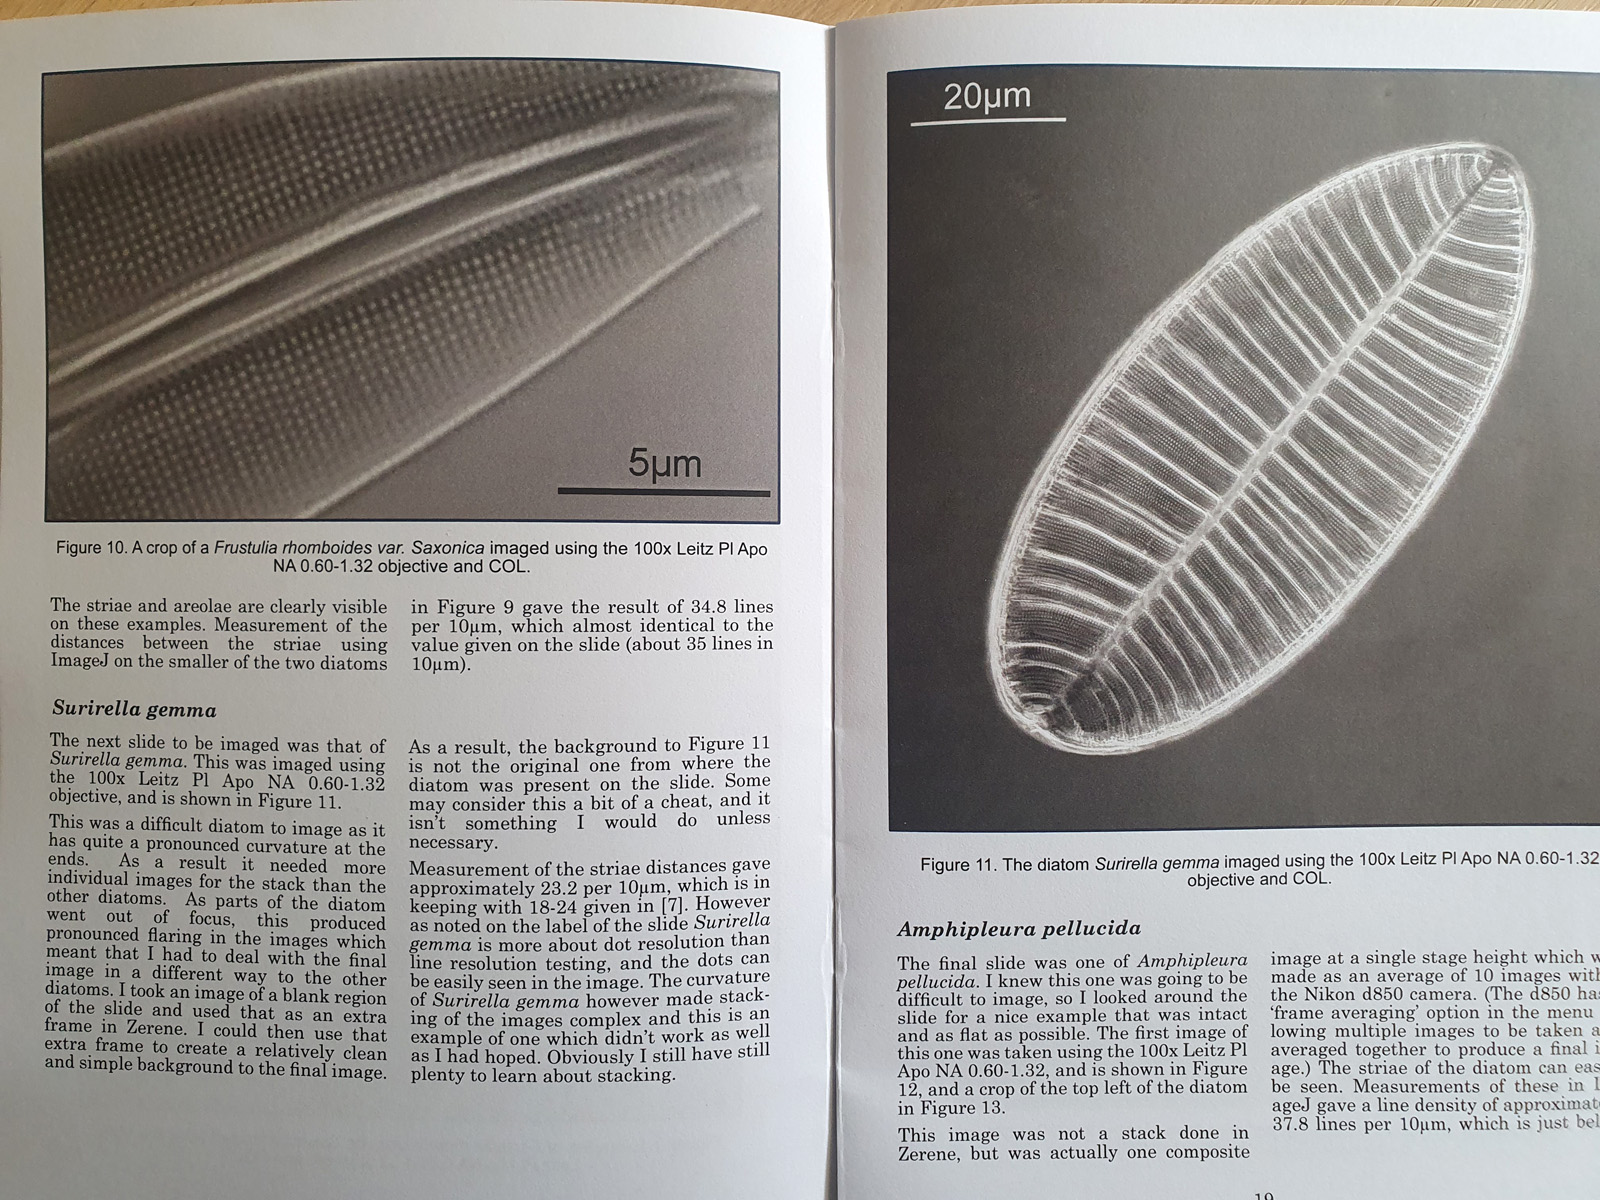
Today I’m going to talk about dirt. Filth. Detritus. Contamination. Call it what you want, but a dirty camera sensor can have a big impact on the imaging process, requiring a lot of time to deal with in the processing stage. With microscopy this is potentially even worse than with normal photography as the objectives mean that the effective aperture of the lens is tiny, making dirt on the sensor even more obvious. Also as the wavelength of light goes down, the resolution goes up, so shorter wavelength light further compounds the problem. This impacts my UV work. I normally avoid cleaning camera filters, as I’ve never had much luck with it, and there is the chance that you can make it much worse , however recently I’ve found myself having to spend more and more time on removing the dirt from my microscope images in Photoshop. So I took the plunge and set about getting the right kit to clean my monochrome converted Nikon d850.
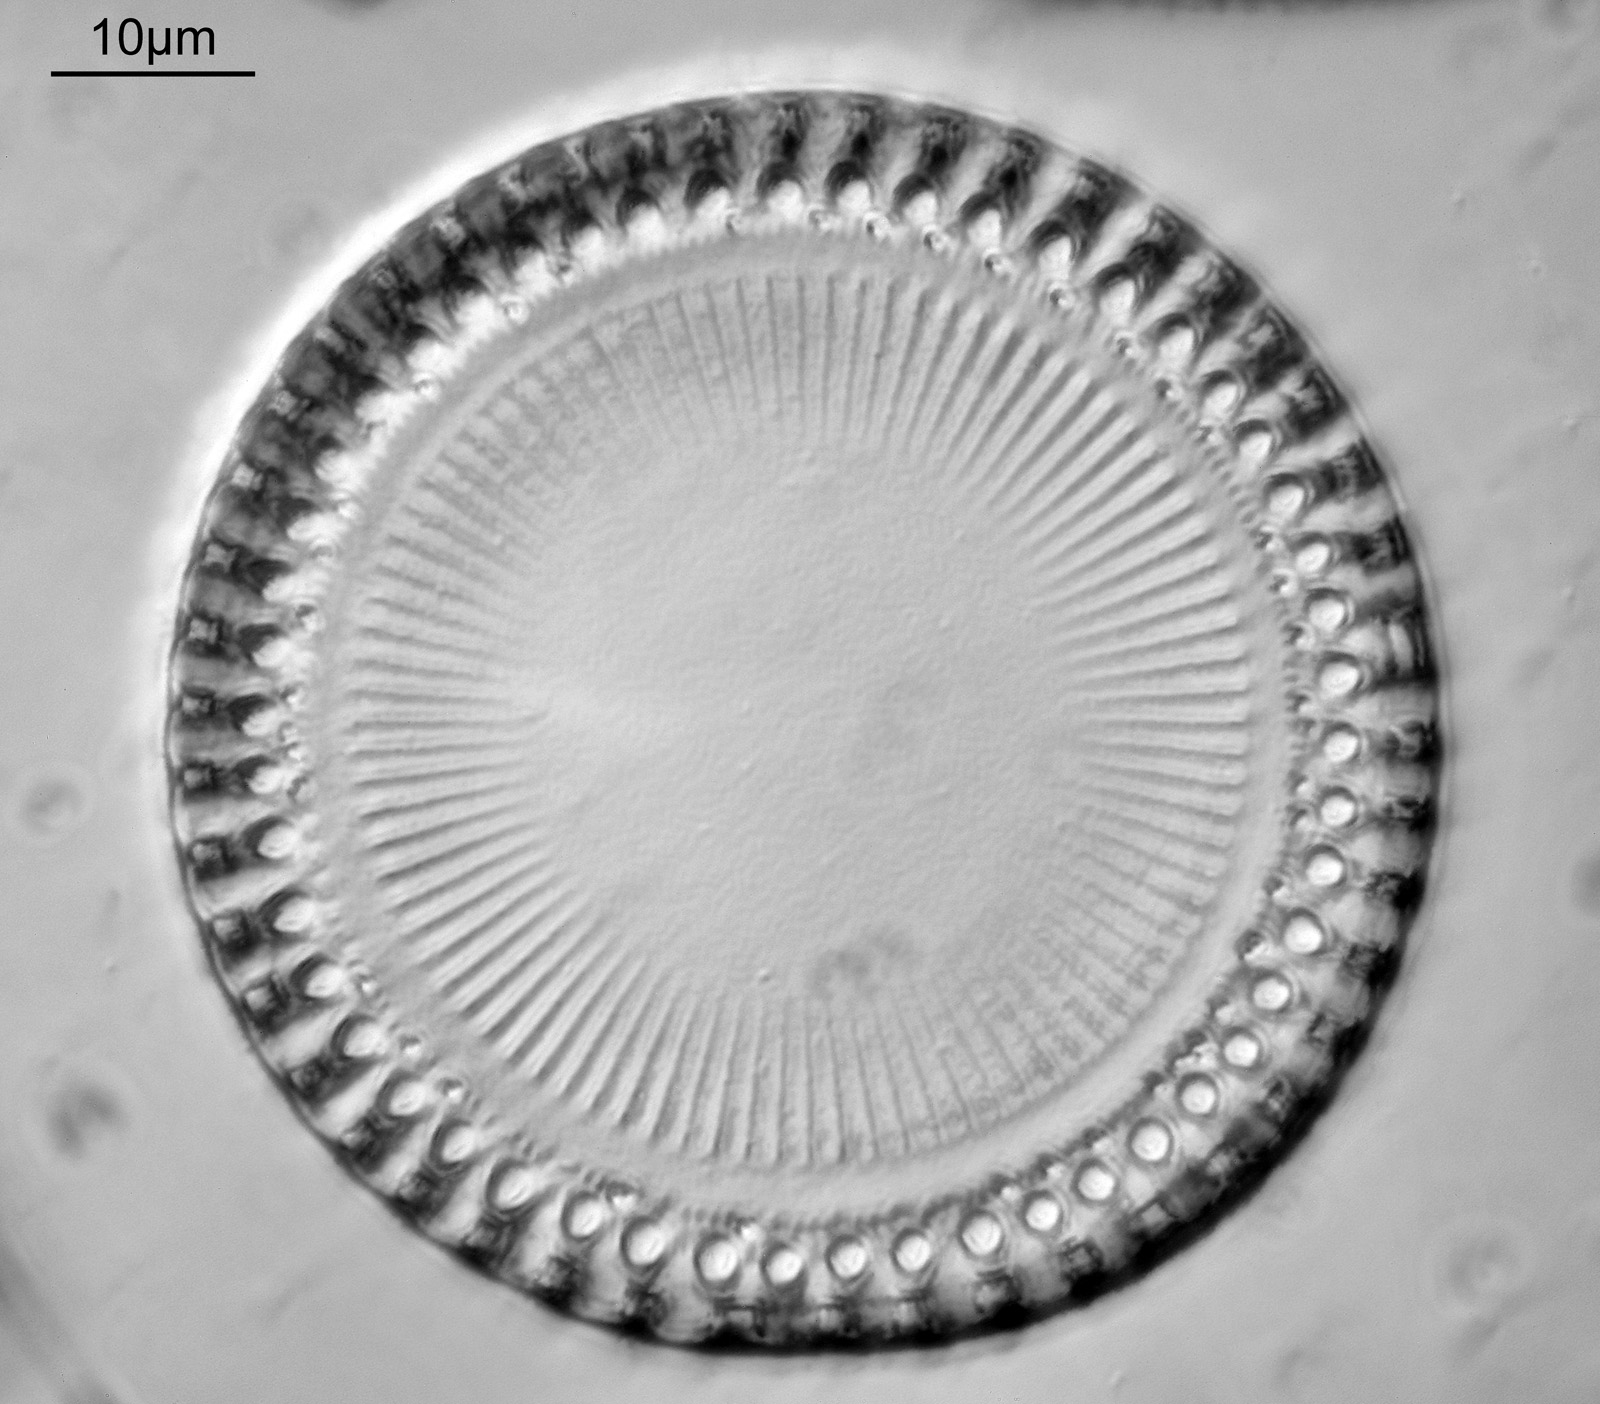
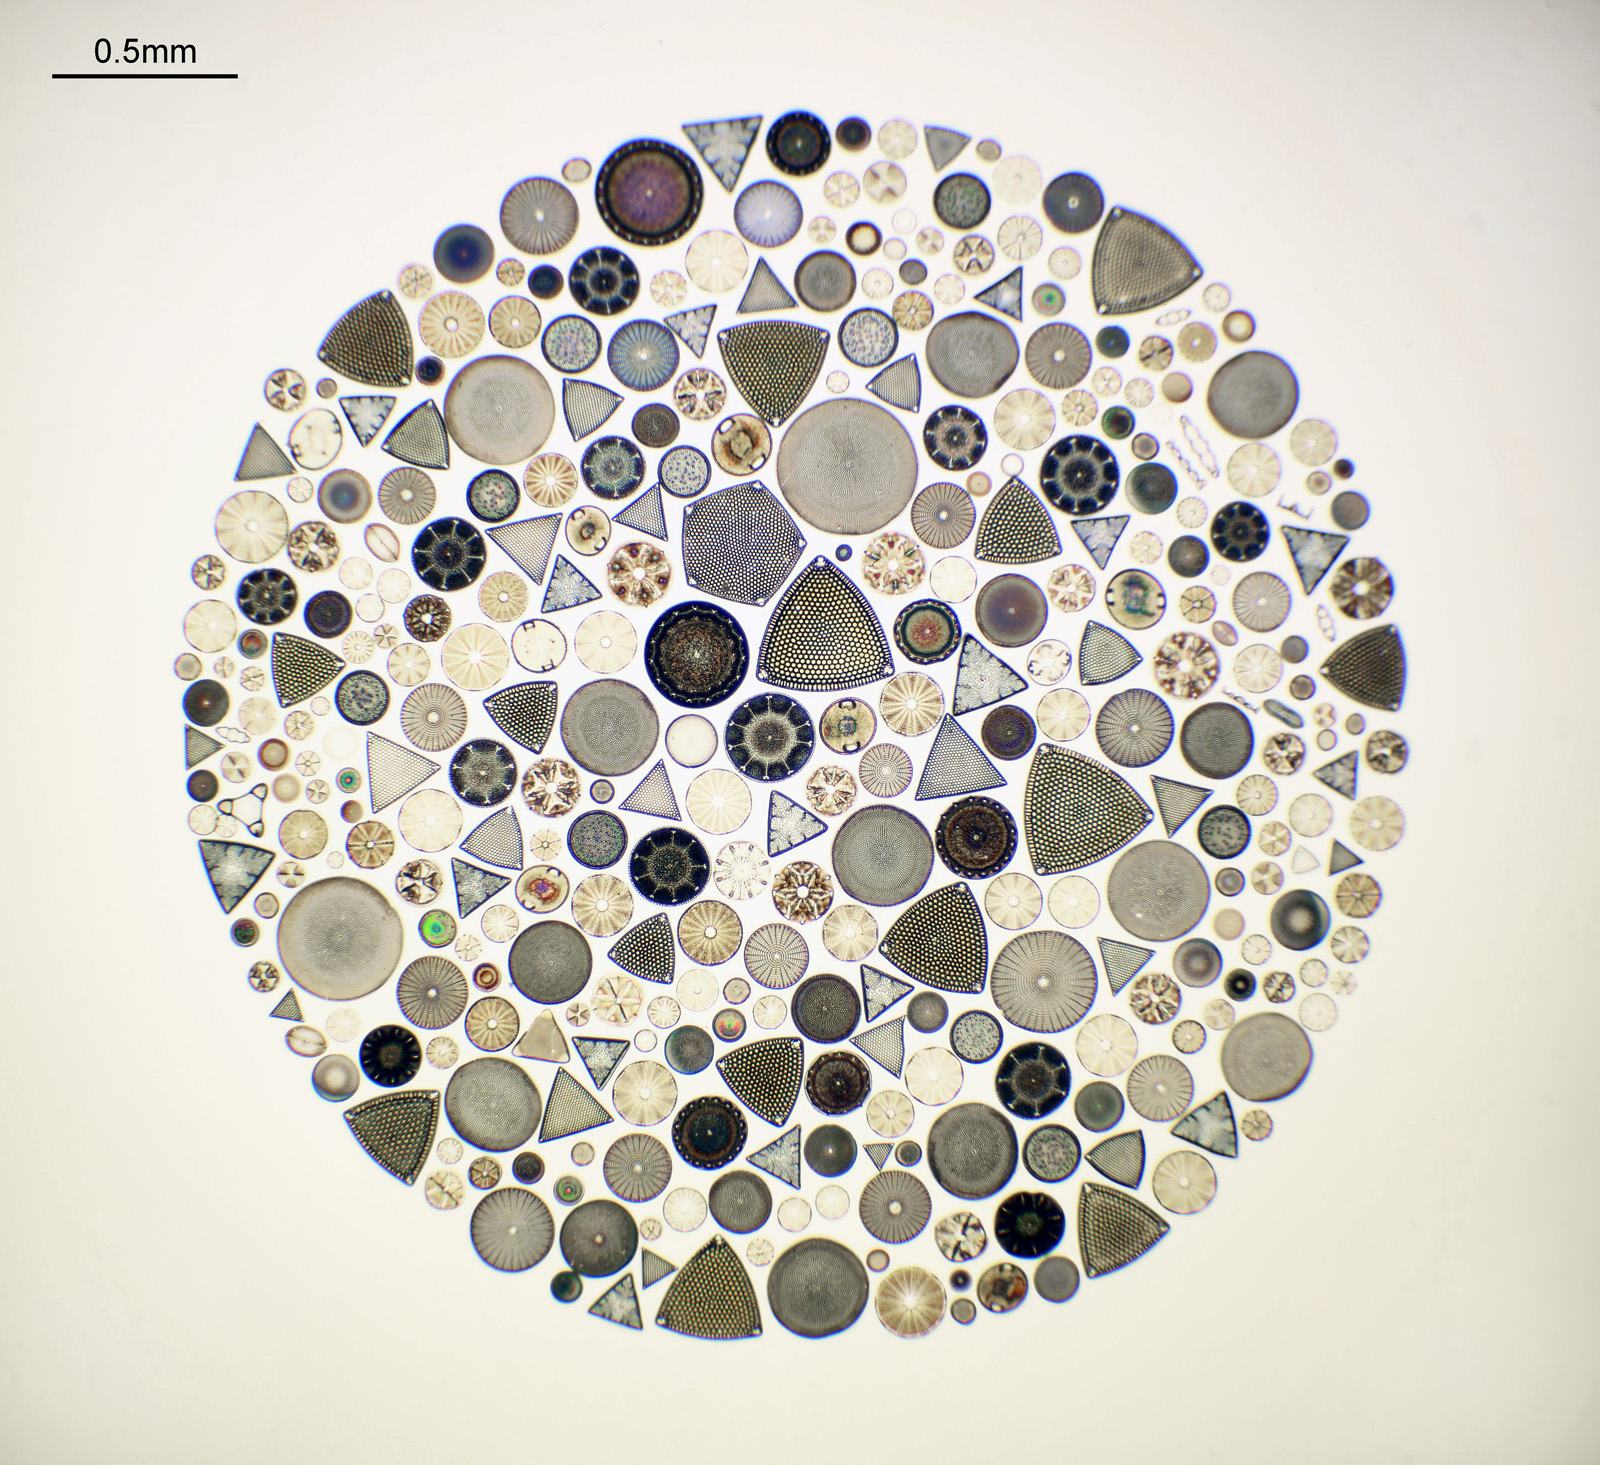
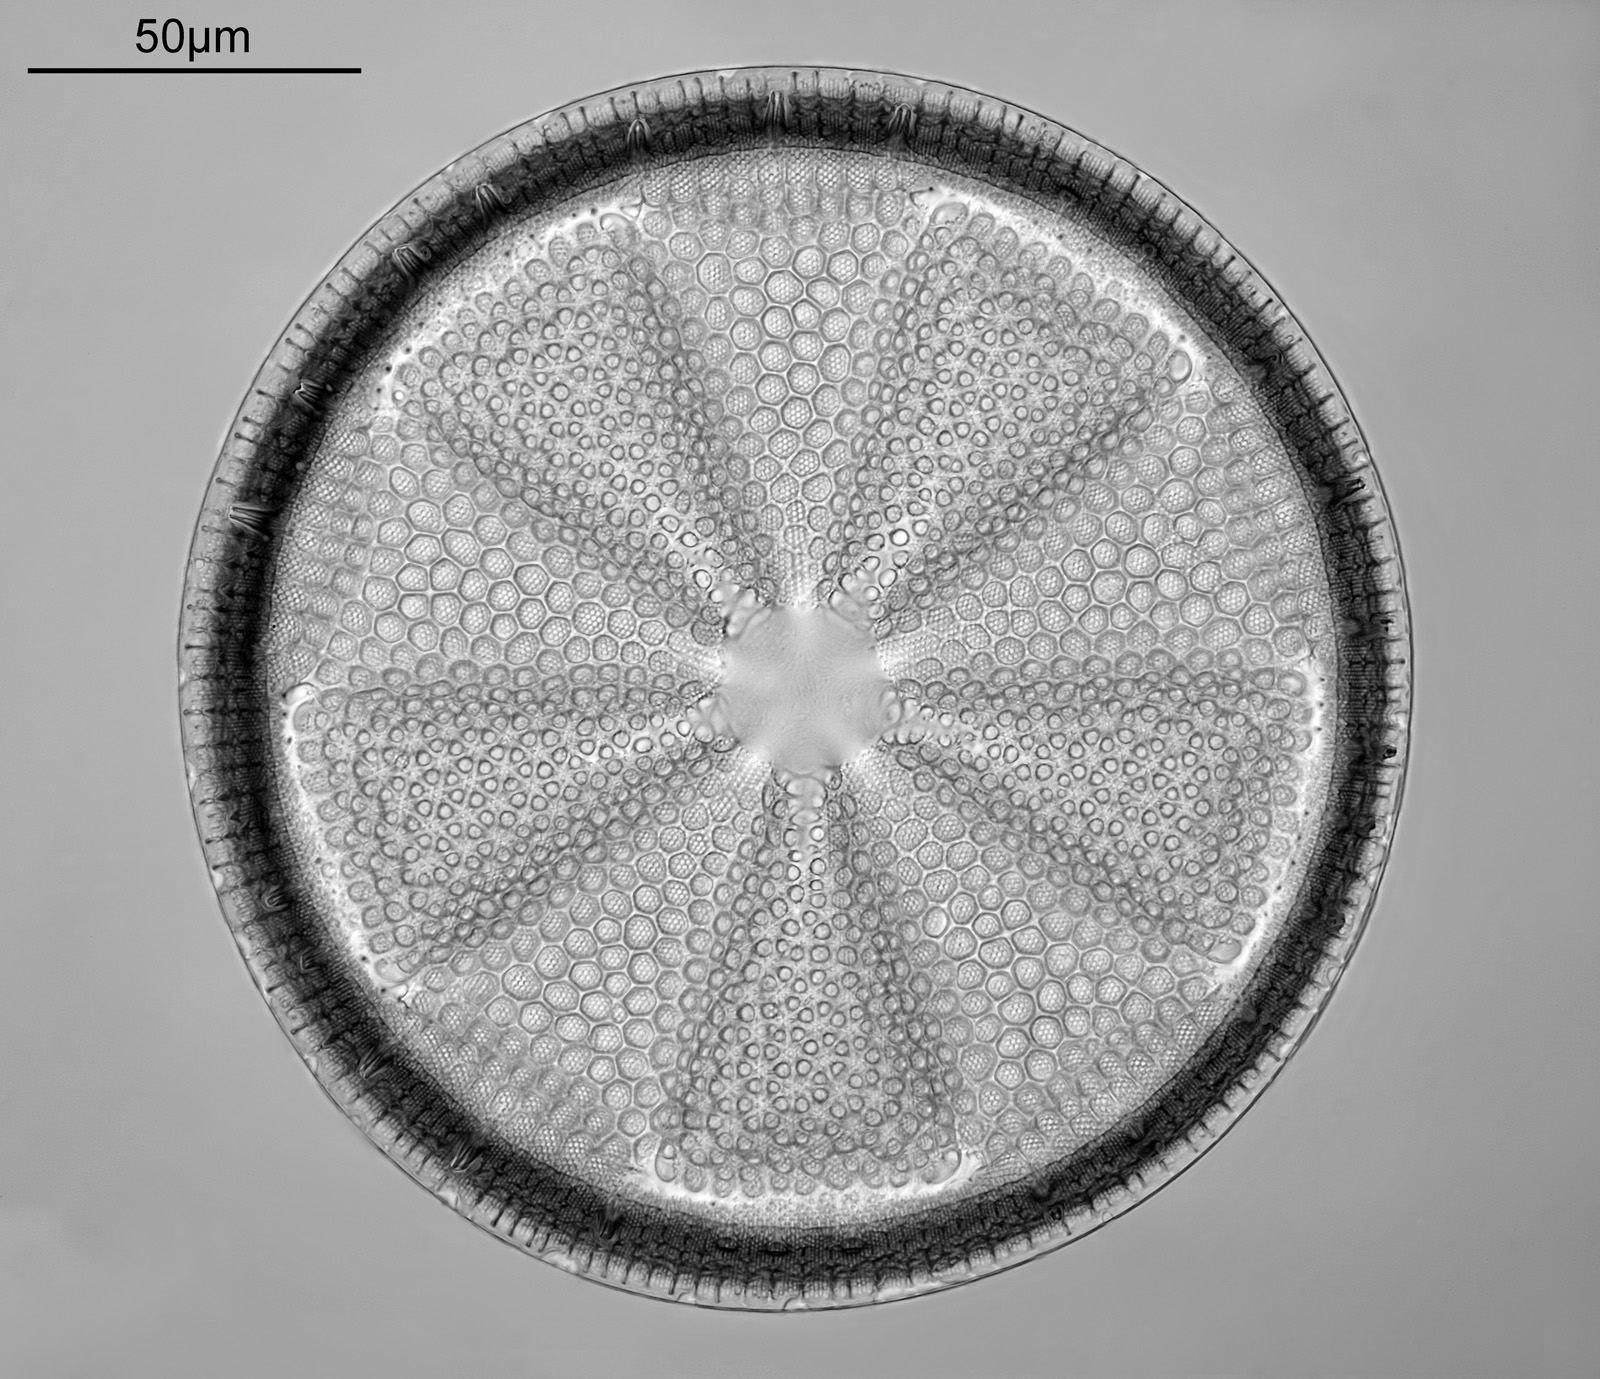
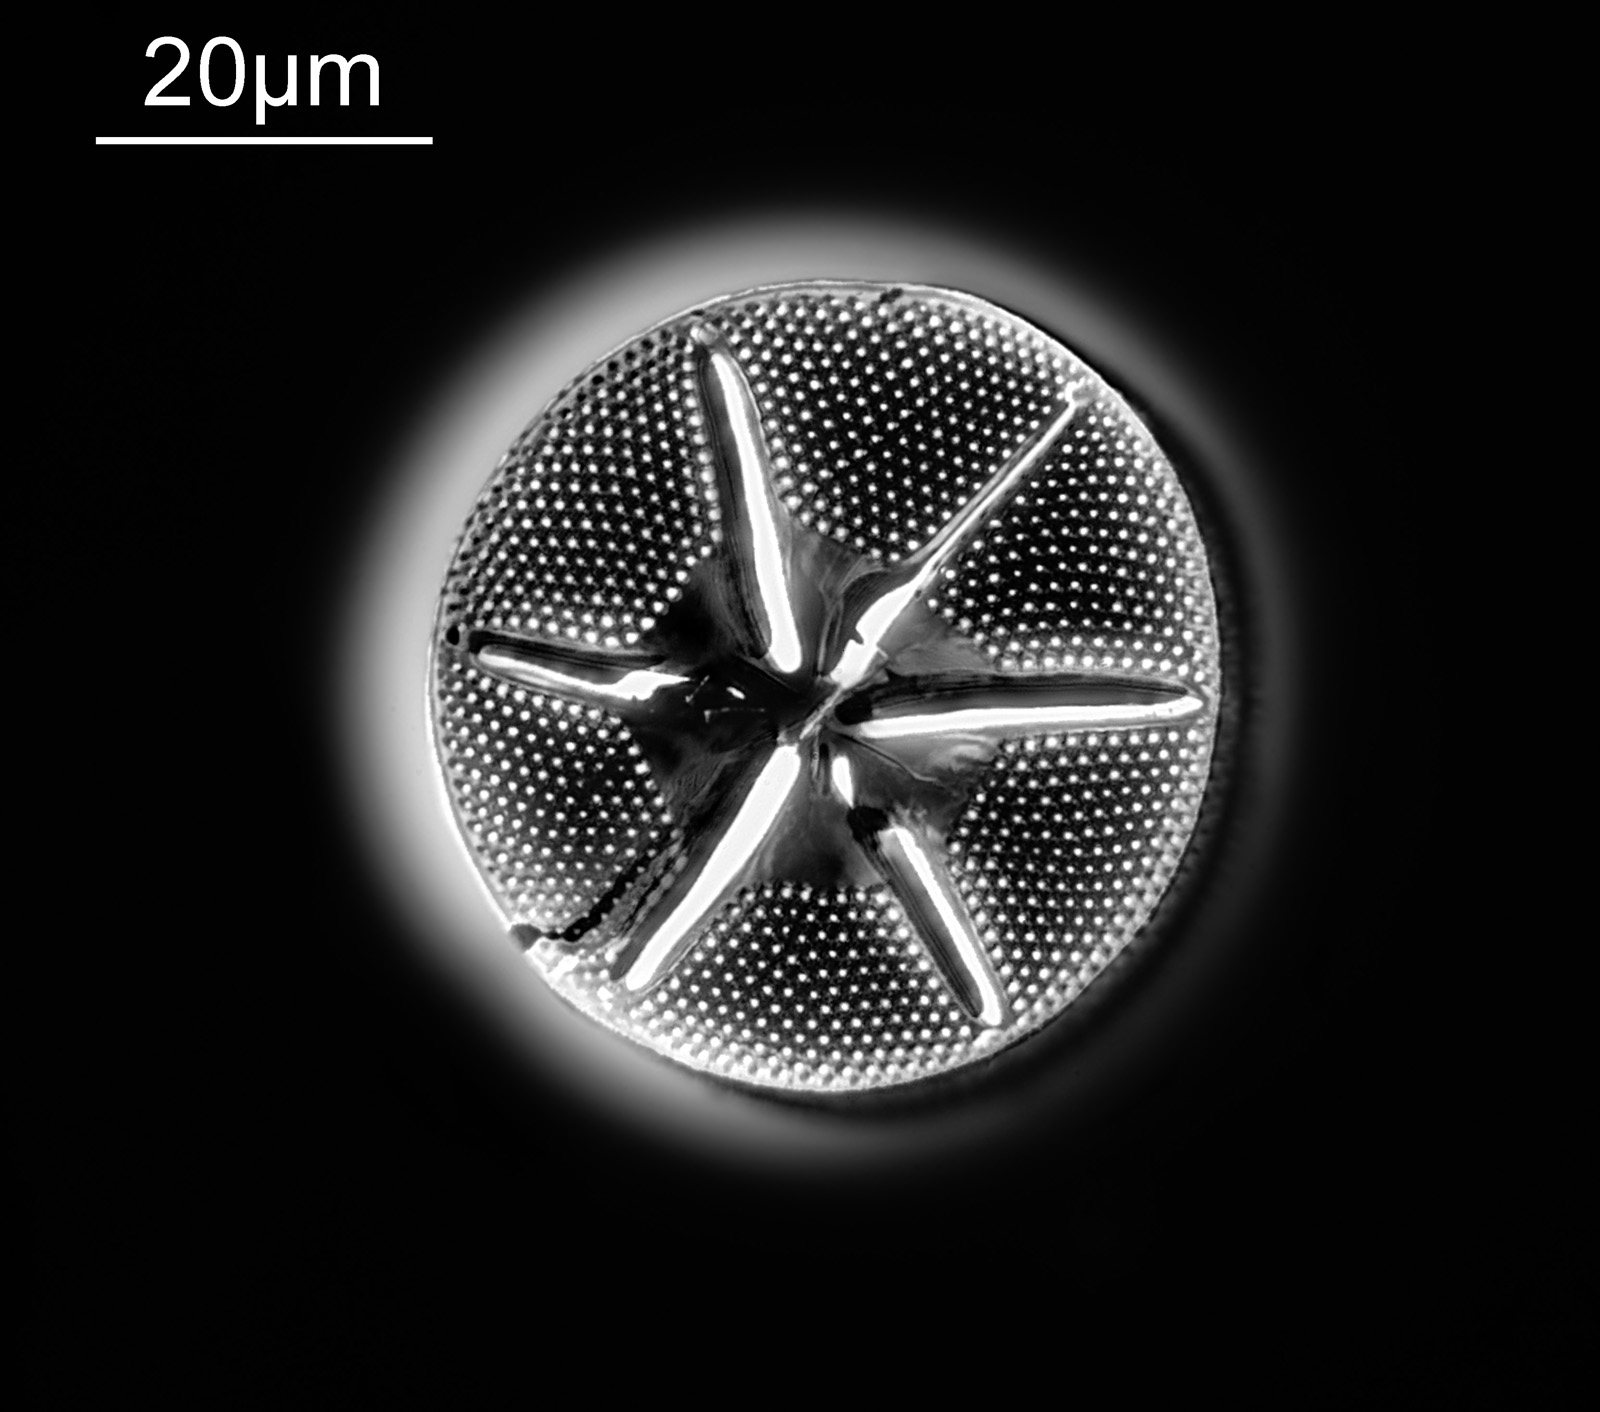
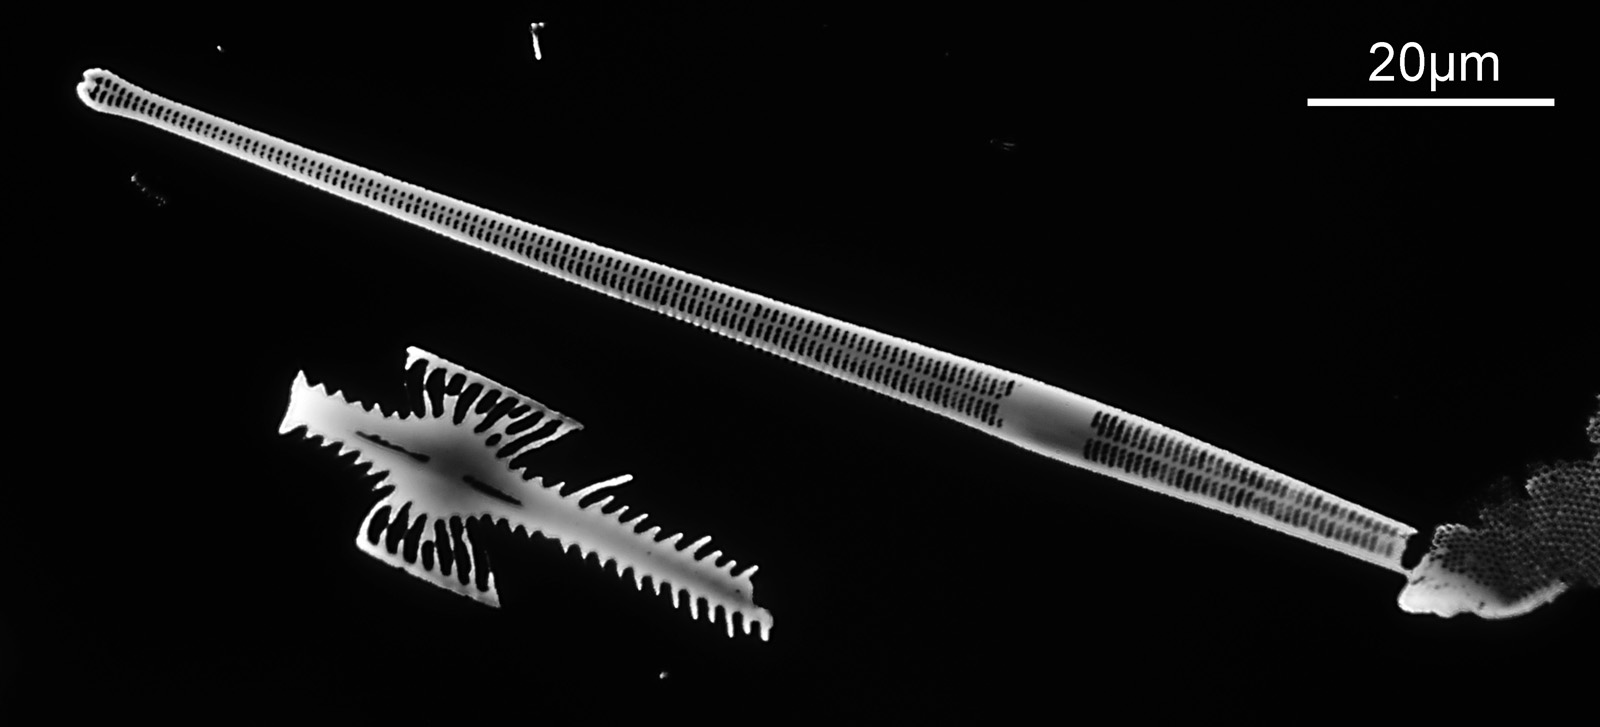
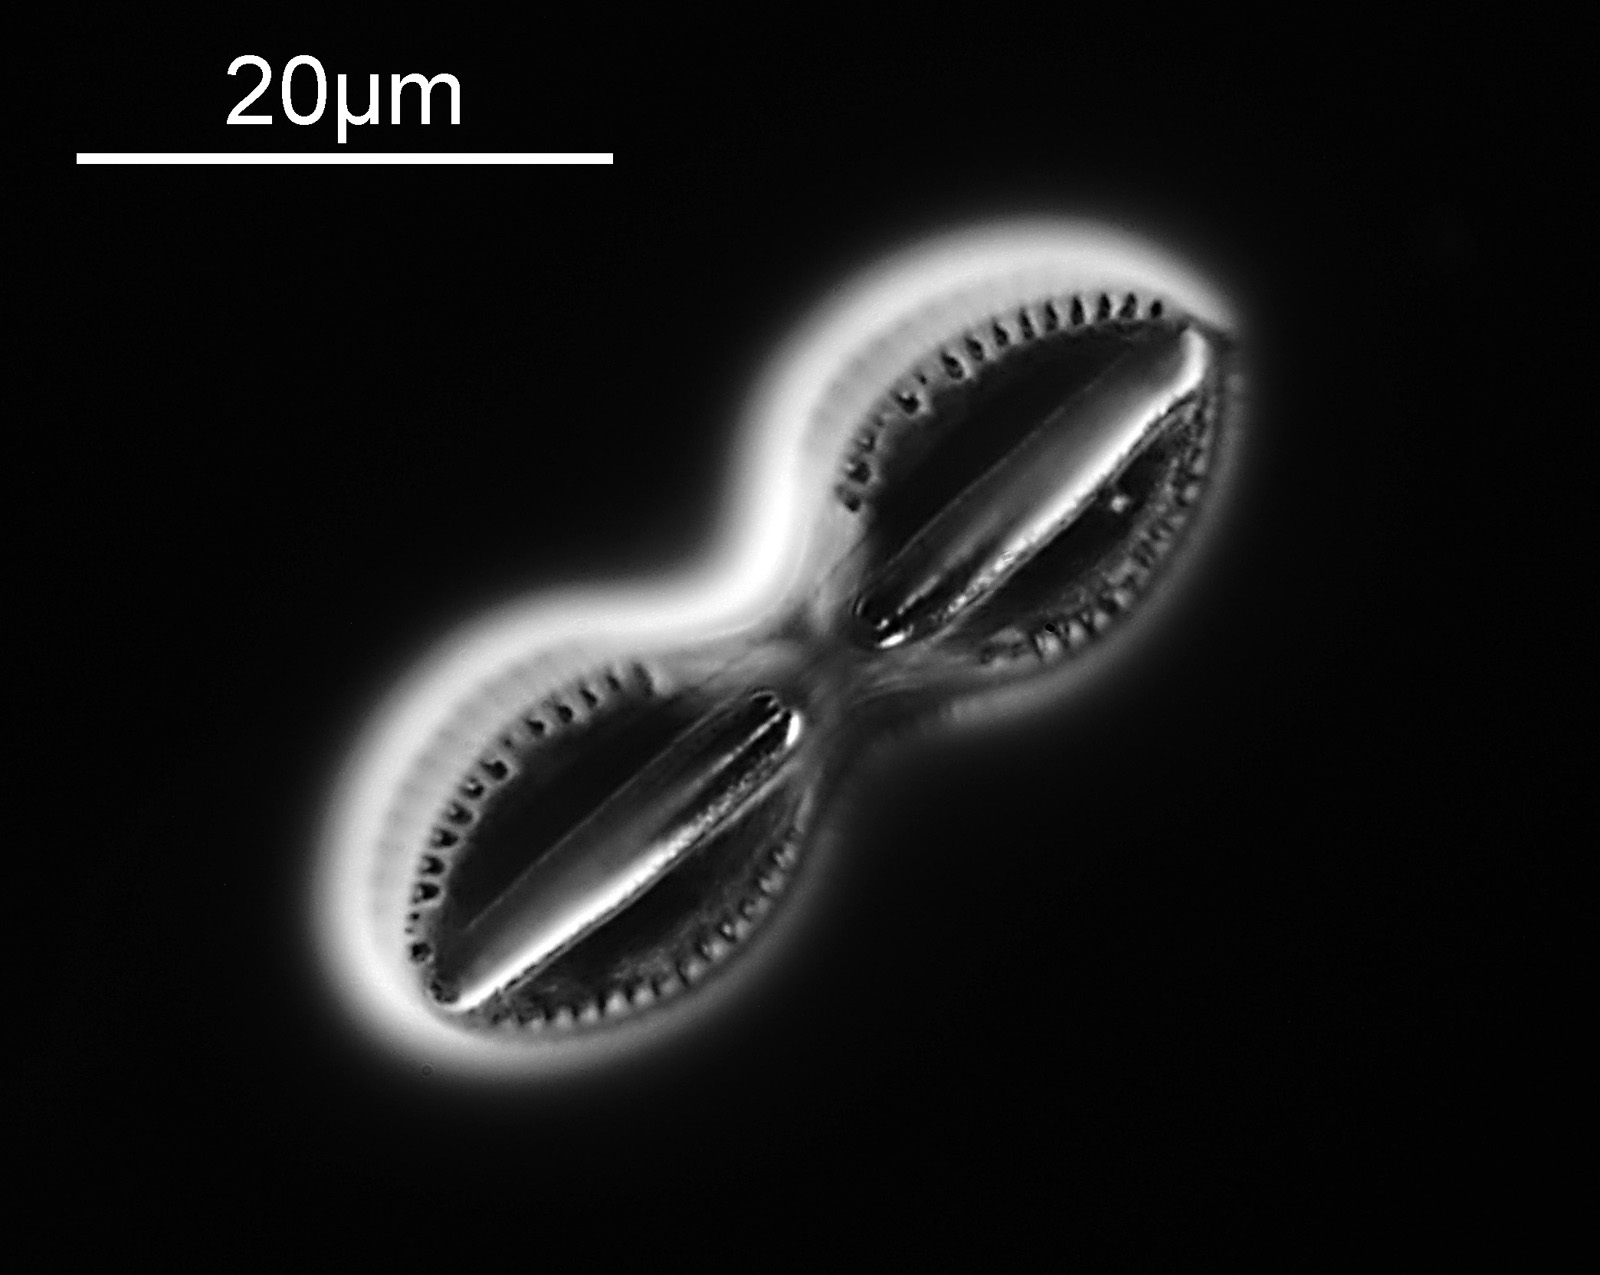
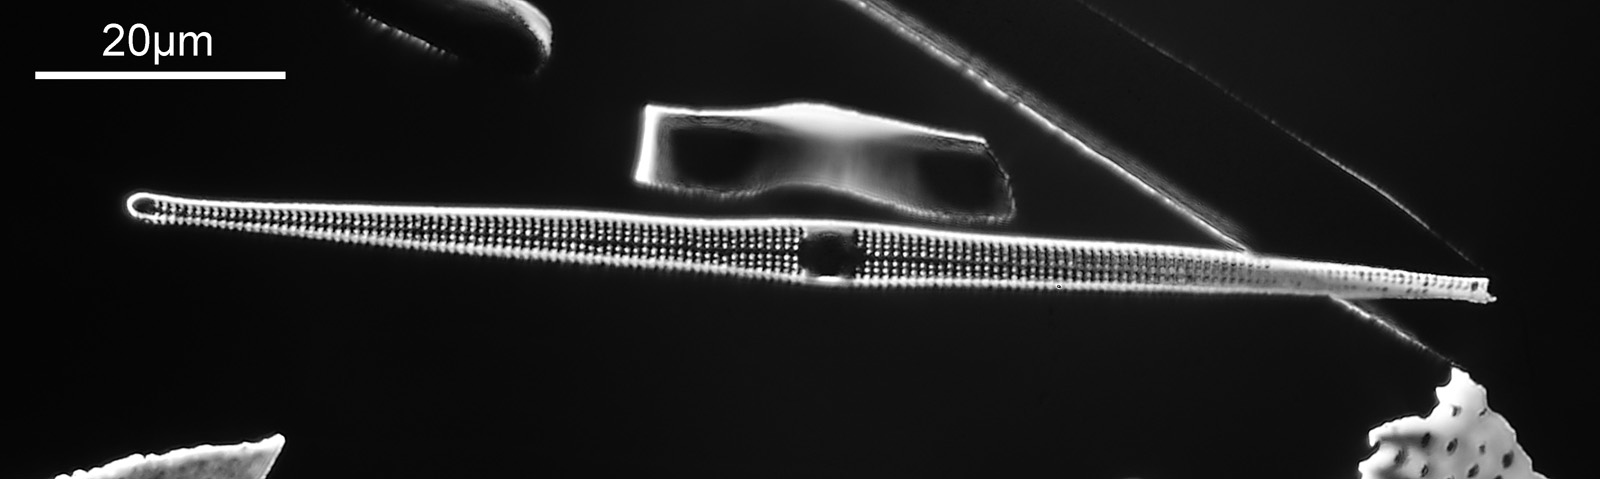
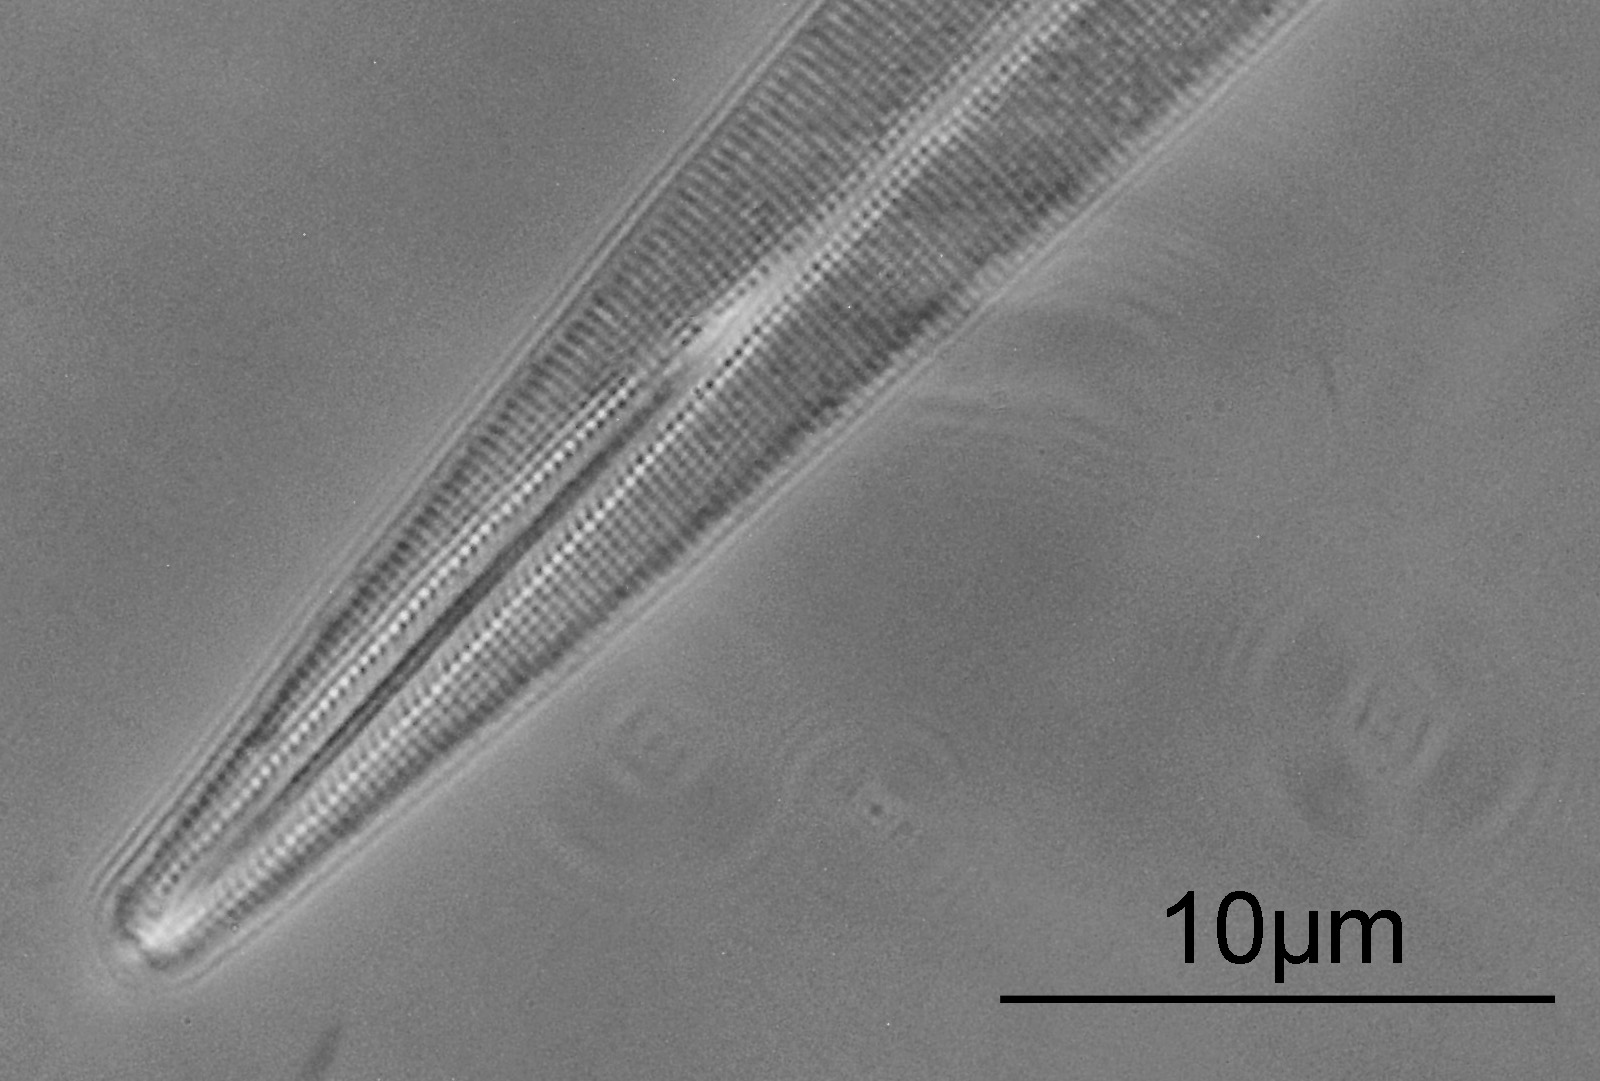
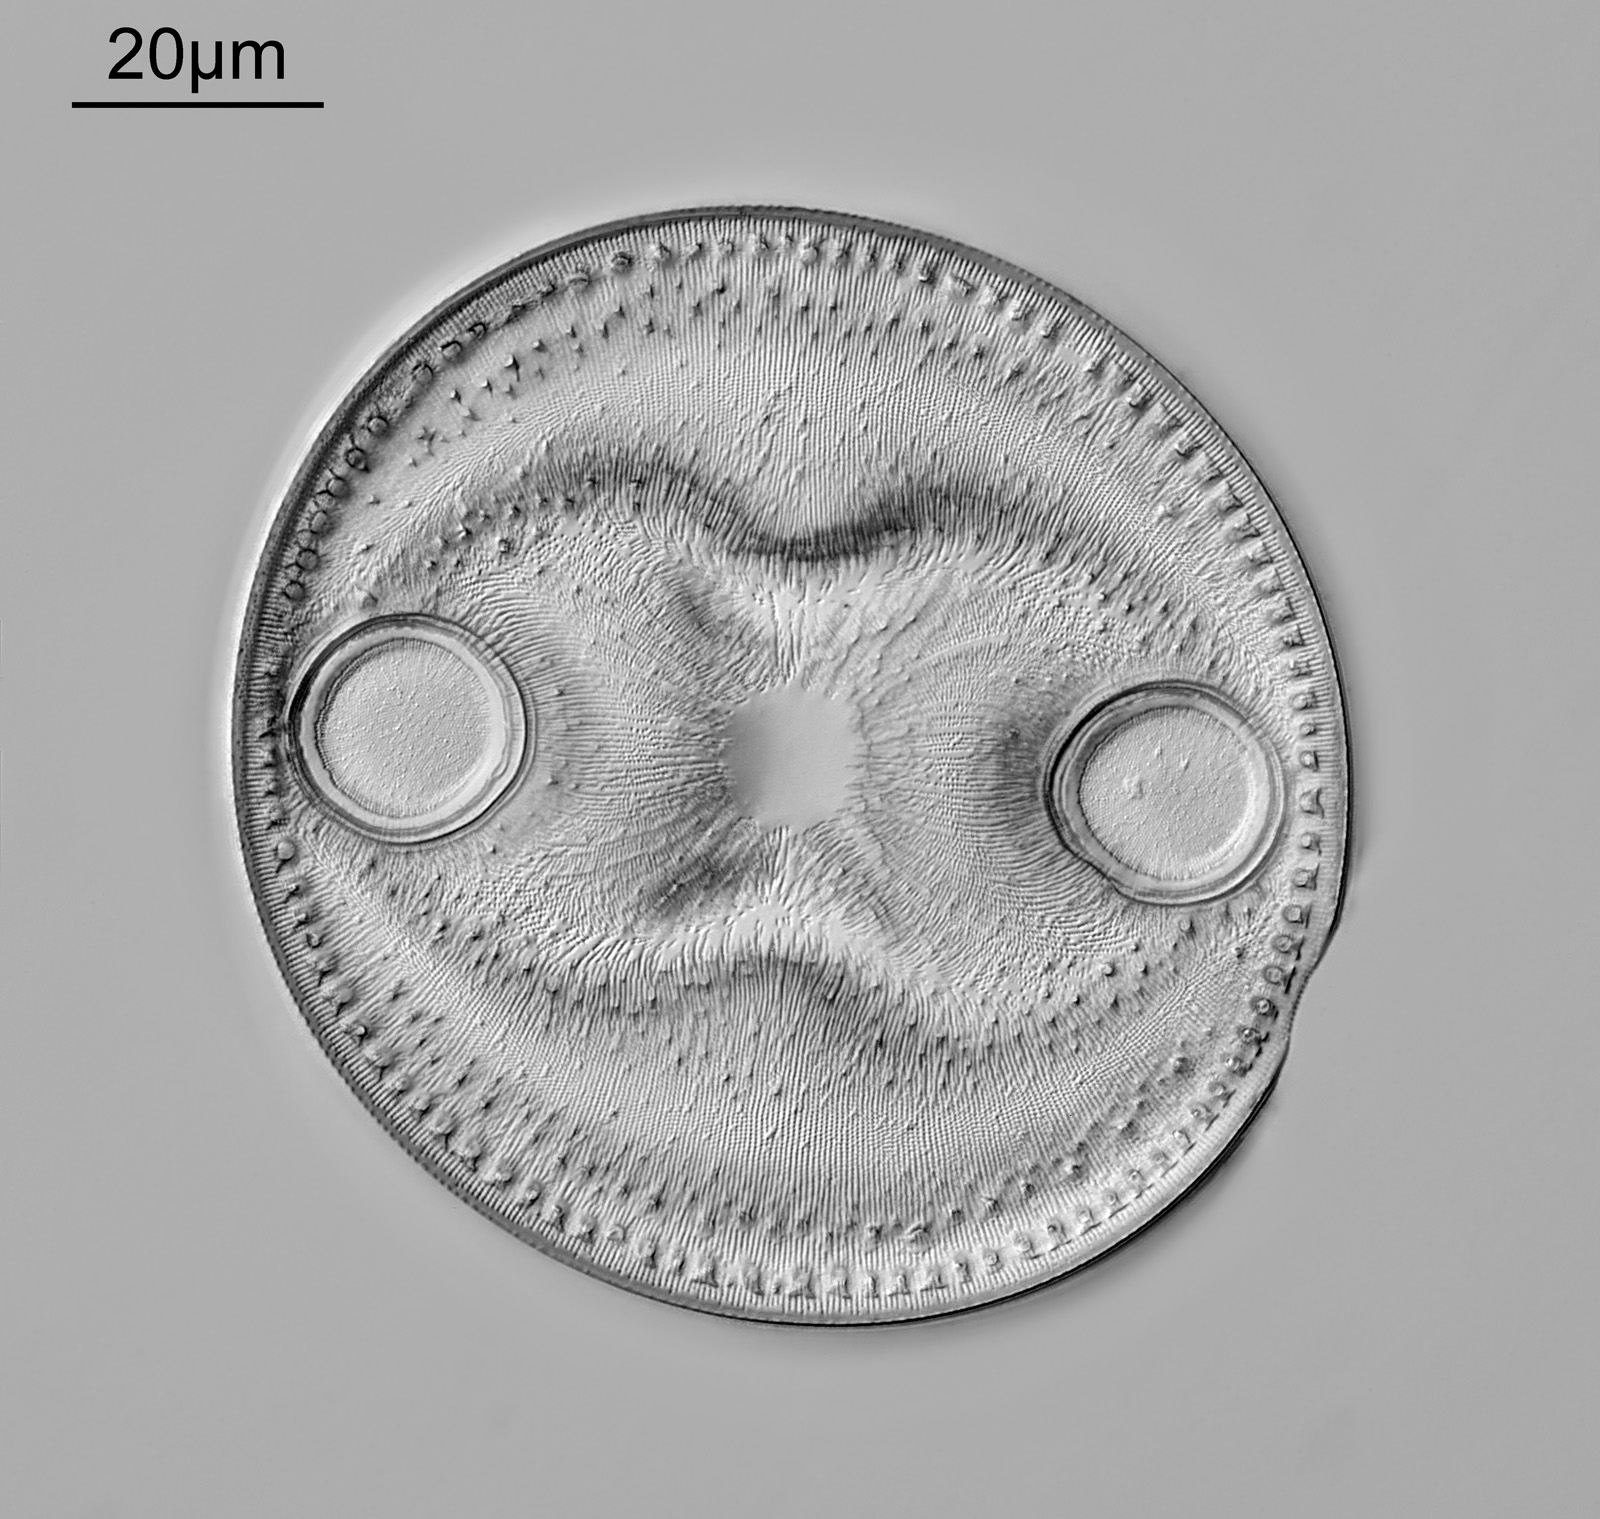
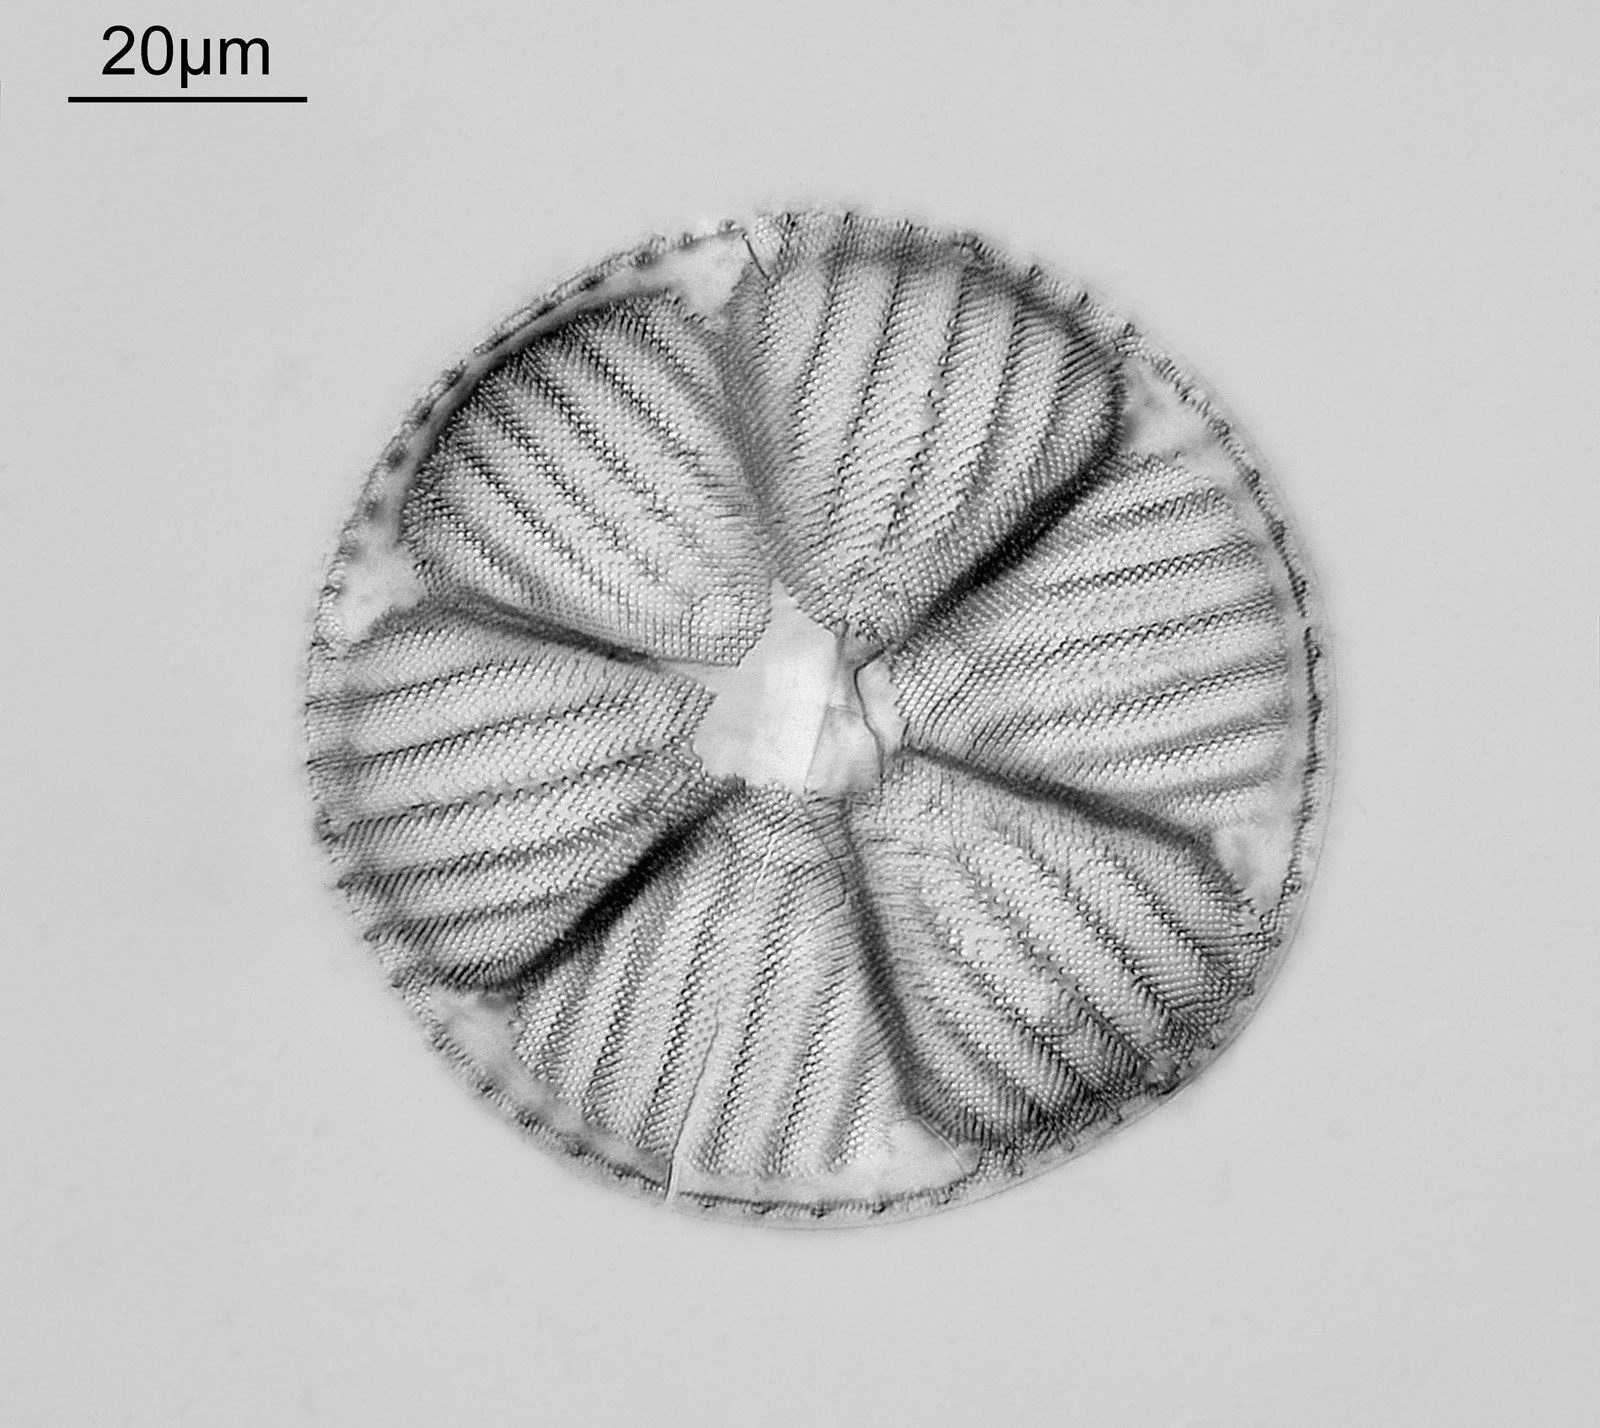
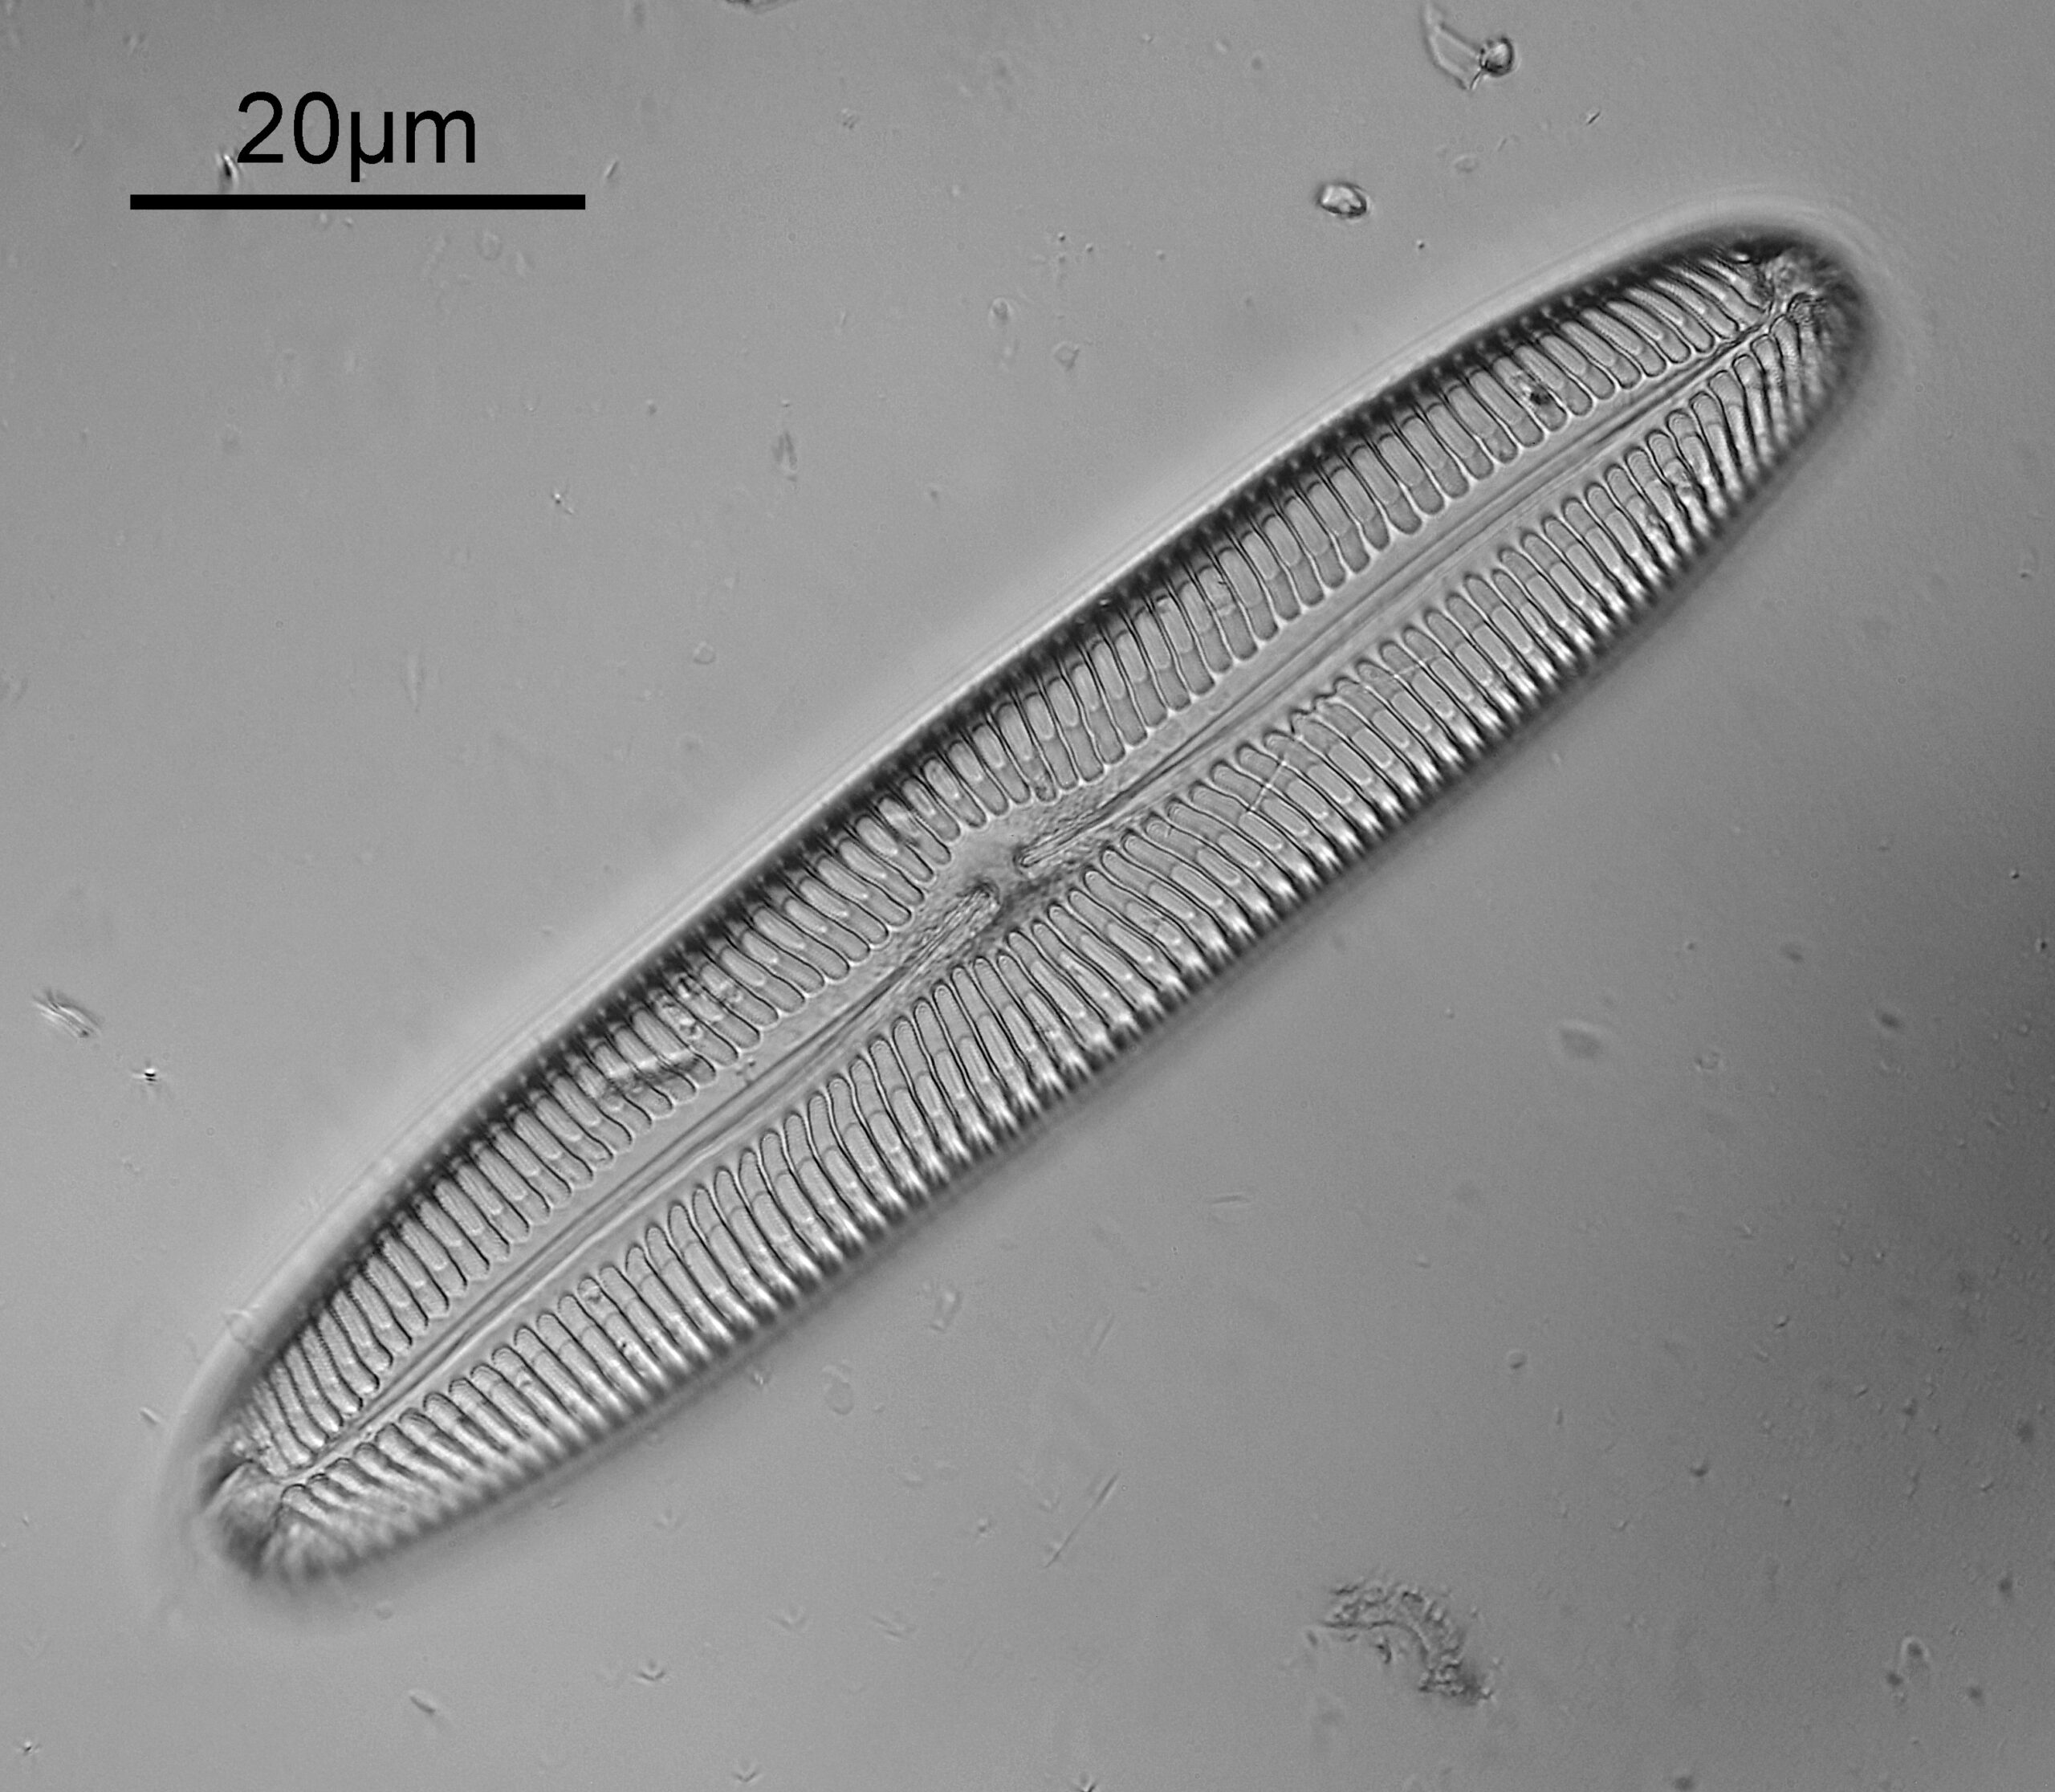
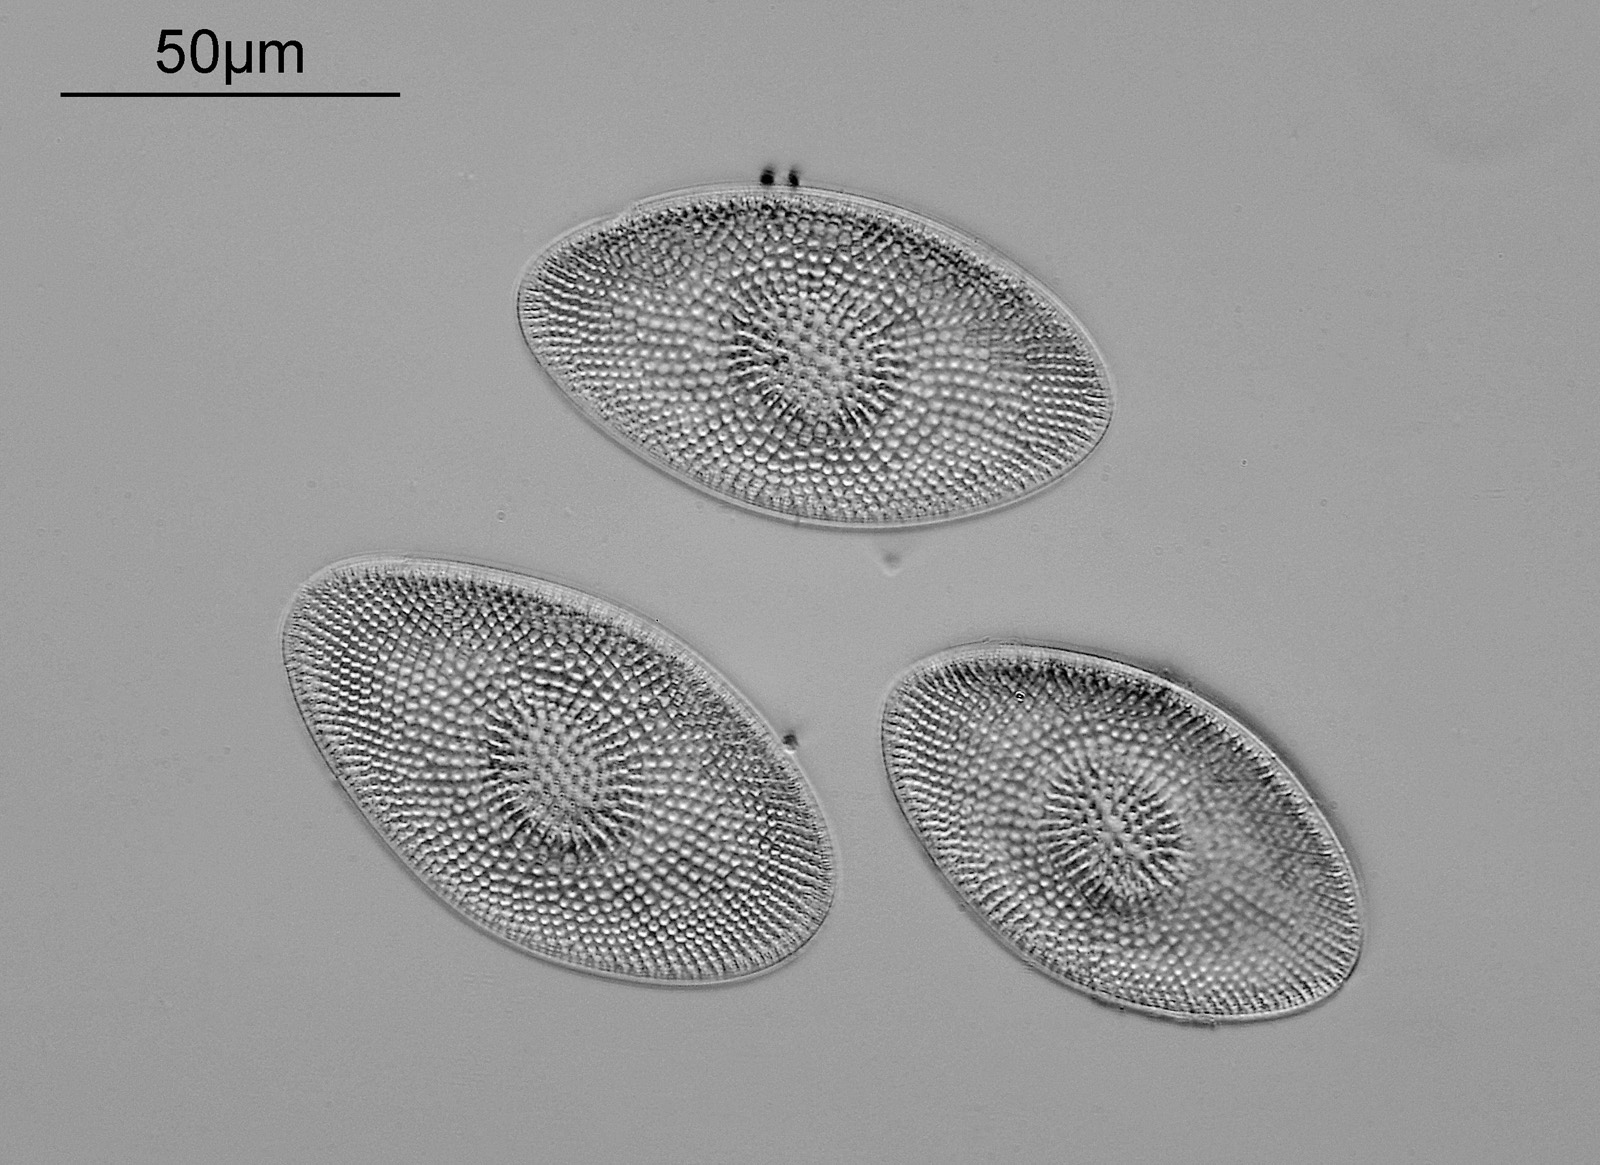
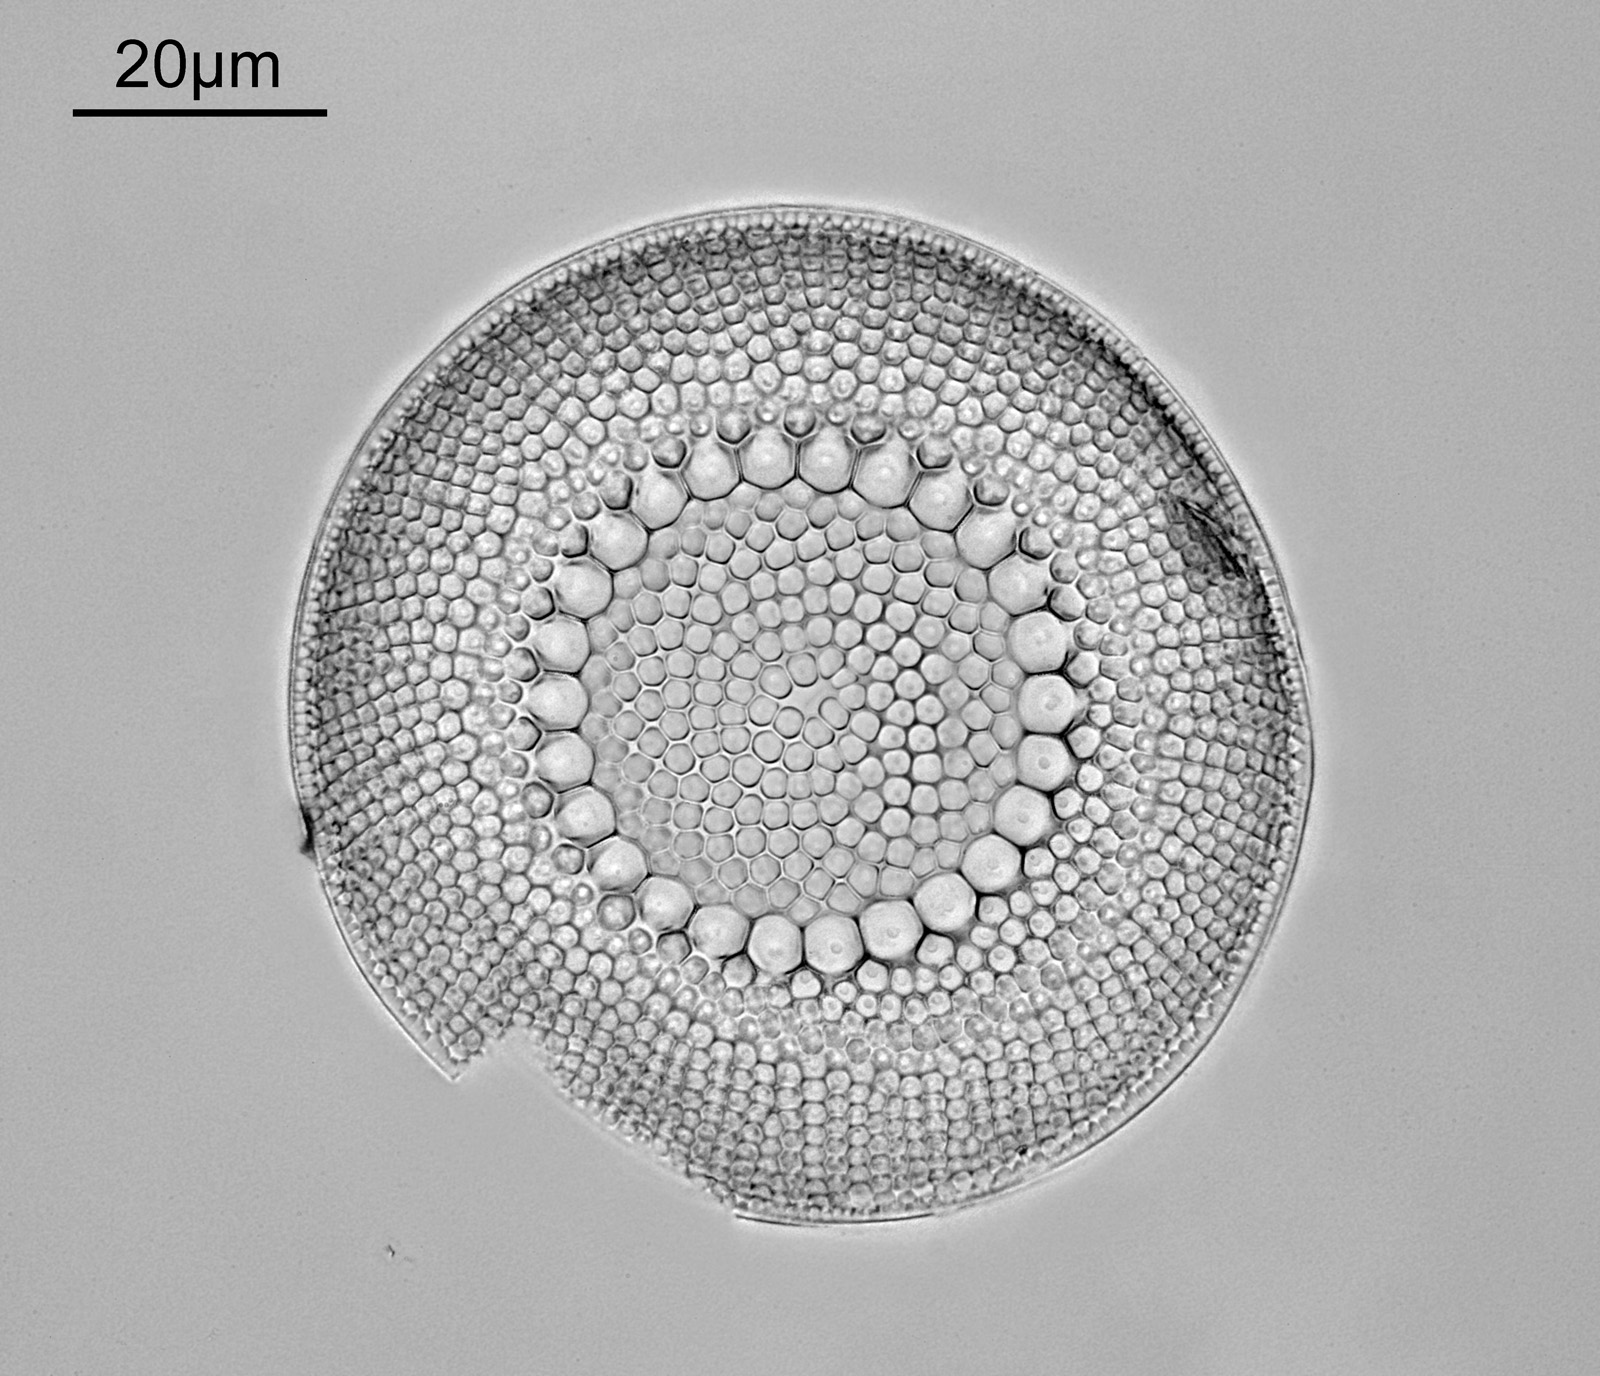
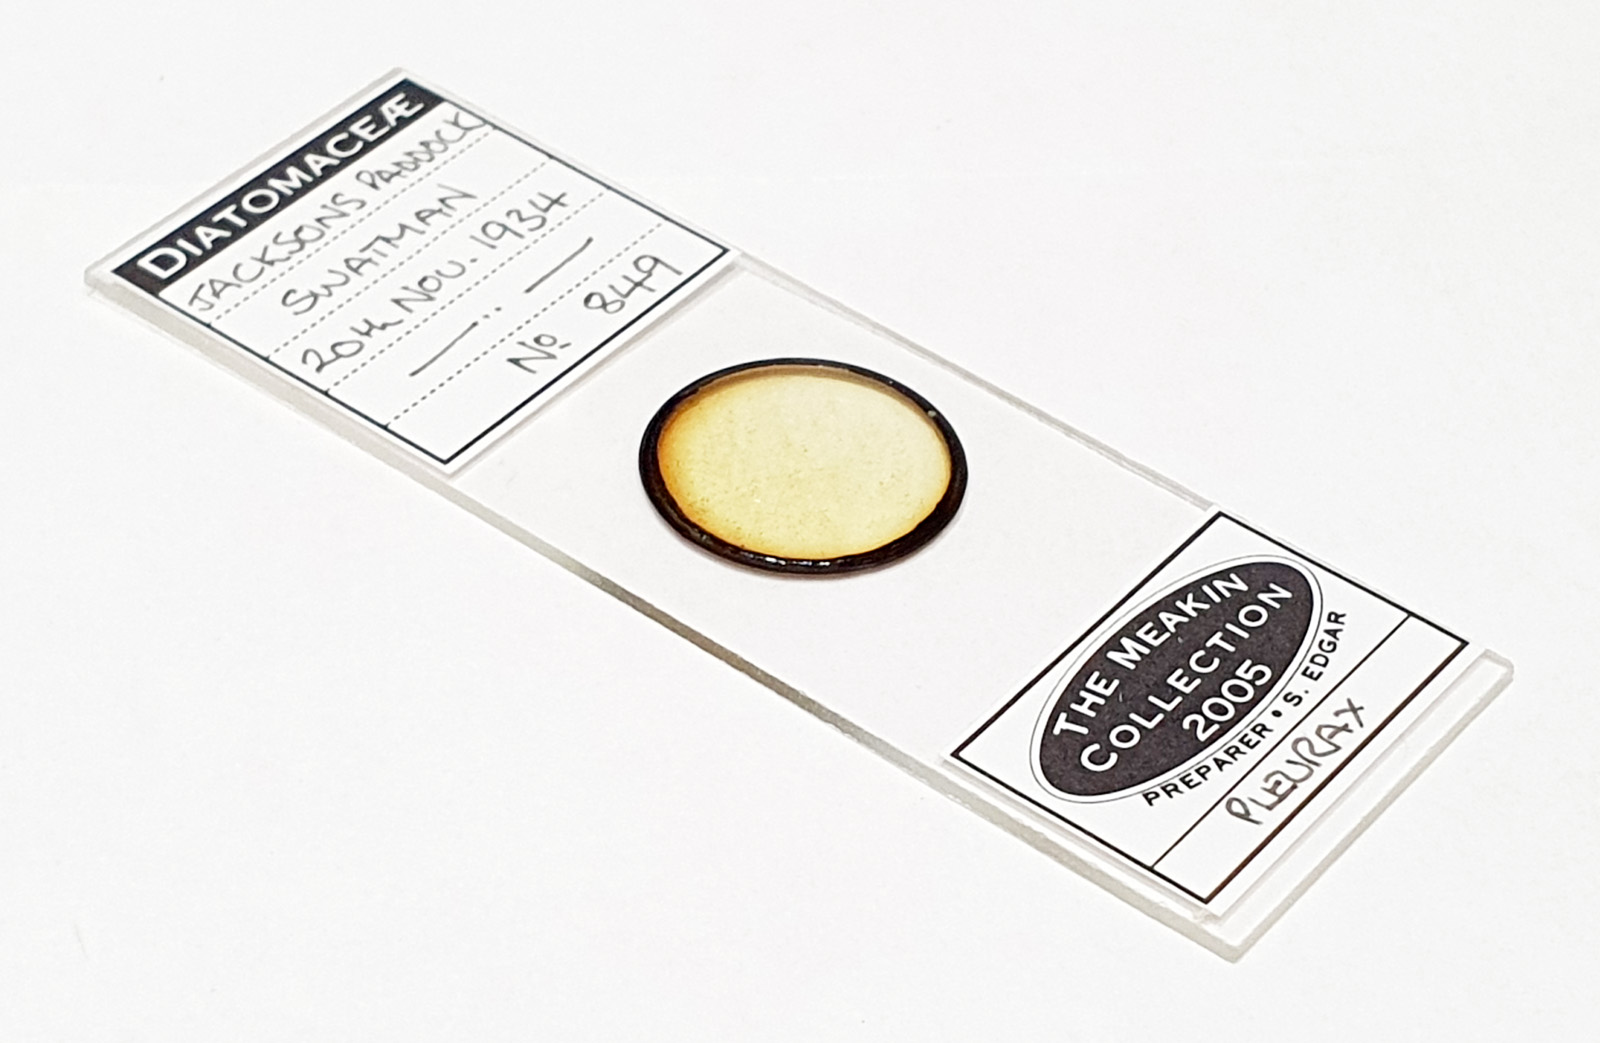
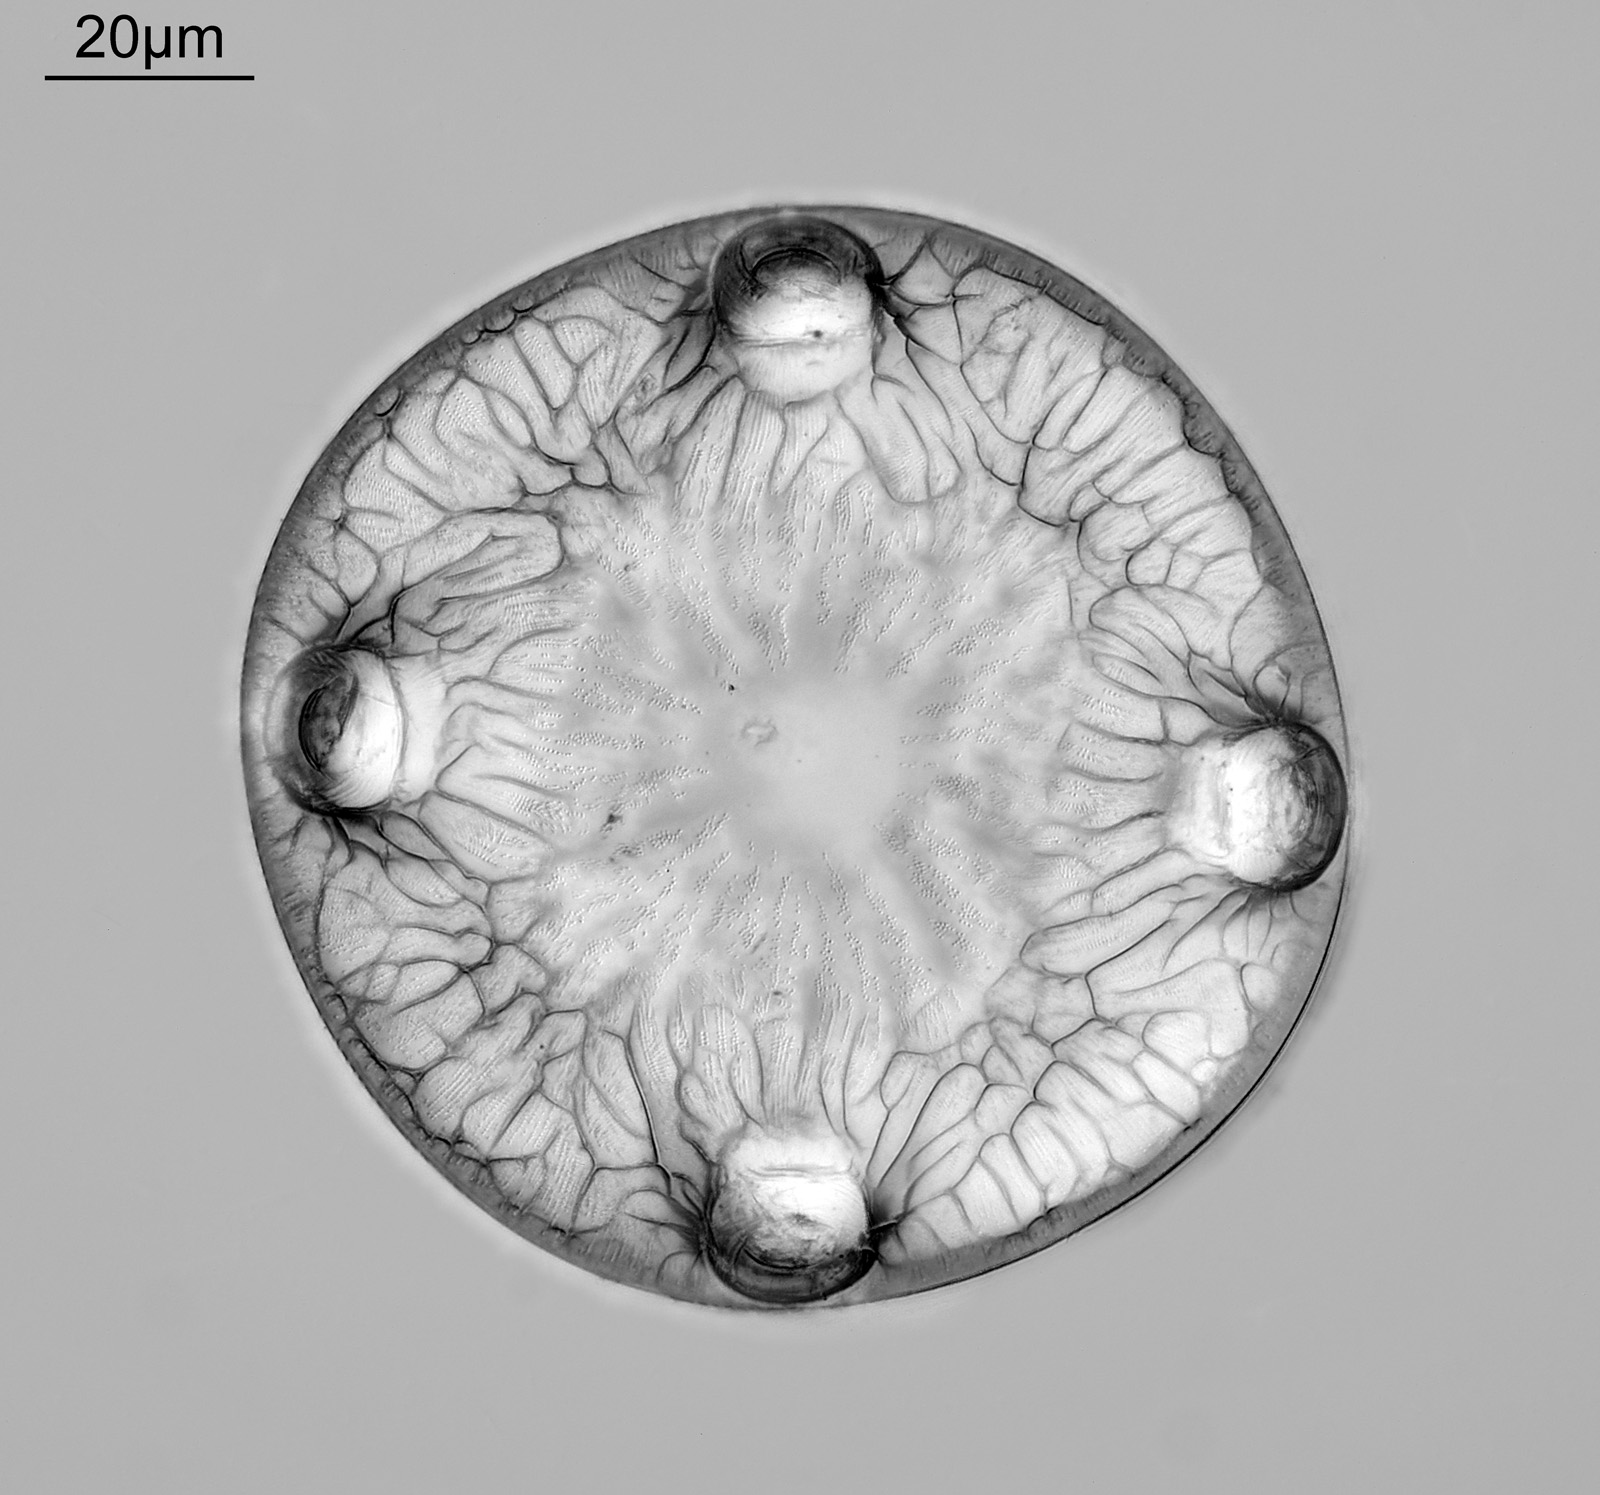
While perhaps not as interesting to the wider audience as my normal microscopy posts, this is an important topic. In ‘manager speak’ time is money, and if I spend an extra 20-30mins processing every diatom image to remove the dirt in Photoshop, that time all adds up. As my diatom imaging is not funded, this is not directly costing me money, but the time lost is something I could be doing something else with. Before we start, a nice diatom image from a slide by SH Meakin (an Auliscus speciosus). This was done after cleaning the sensor, and was so much easier to work on.
To do my cleaning I needed some kit. And yes, I have cleaned camera sensors before with a cotton bud and breathing on the sensor, but the right kit makes things a lot easier. I contacted Just Clean here in the UK, and after watching their videos on how to clean a sensor, I realised there were three main steps to consider – removal of the loose dirt with a blower, using a Dustaid to mechanically remove dirt on the surface of the sensor coverglass and then a swab with a cleaning solution as the final step. I called them up and they were very helpful, checking what cameras I had (and what sized sensors) and recommending the right cleaning products.
Before cleaning I did an image of a white screen with a normal camera lens, at f22 (75mm on a zoom), and this a crop of the top right off the image at original pixel resolution.
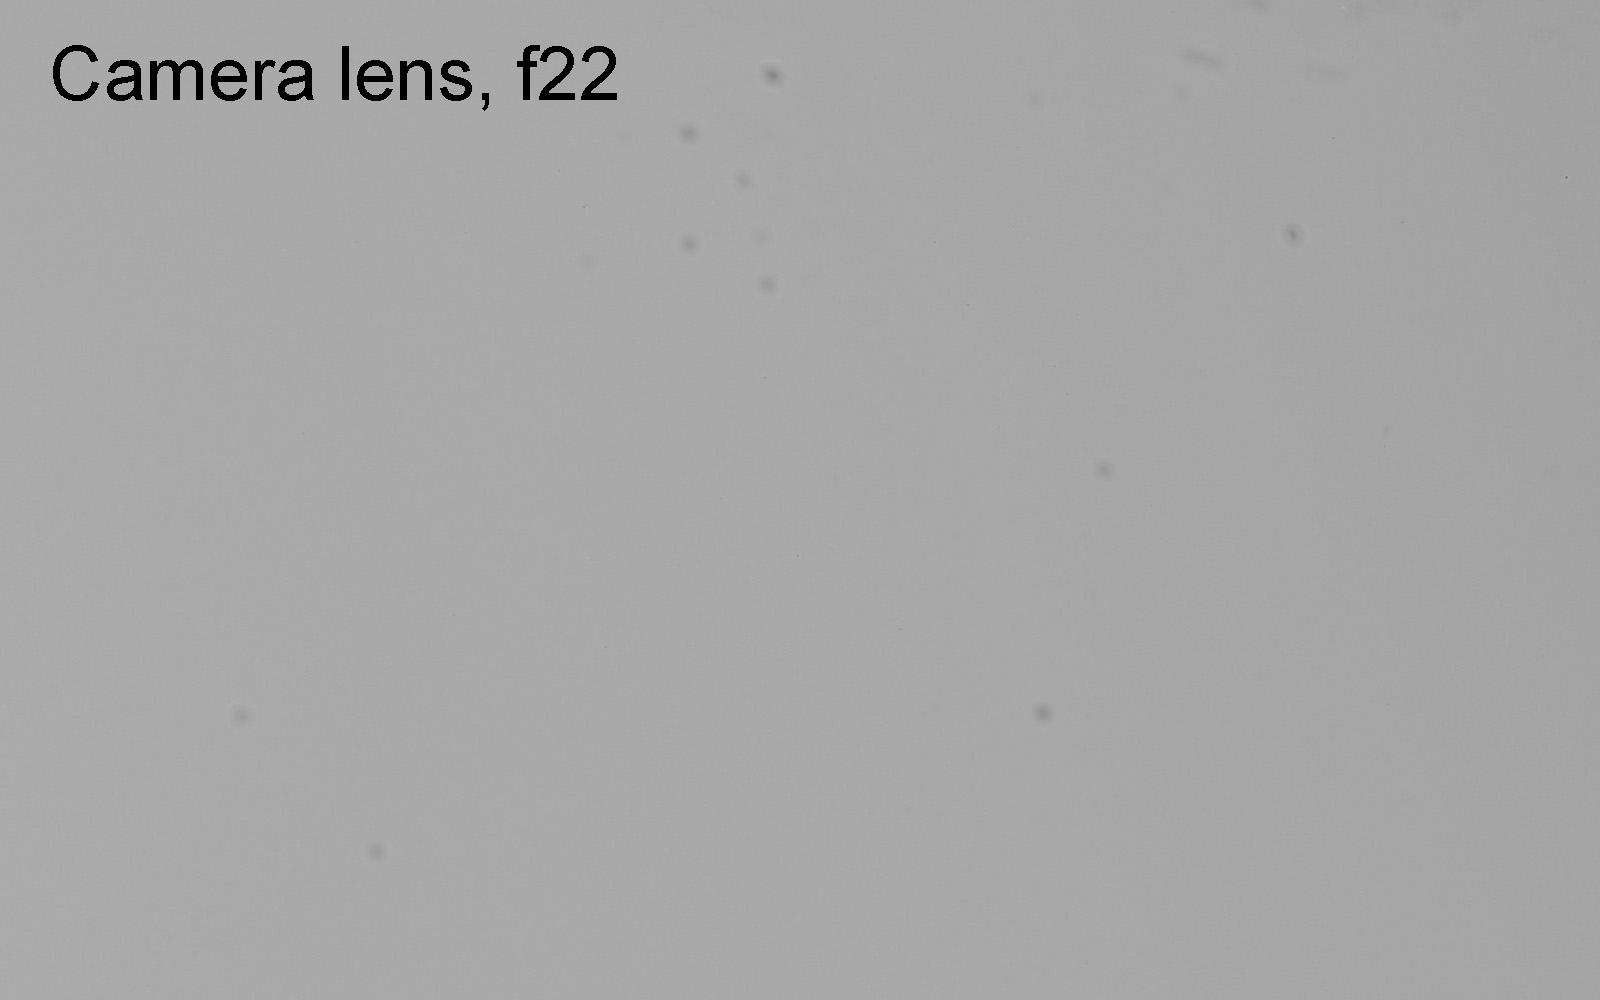
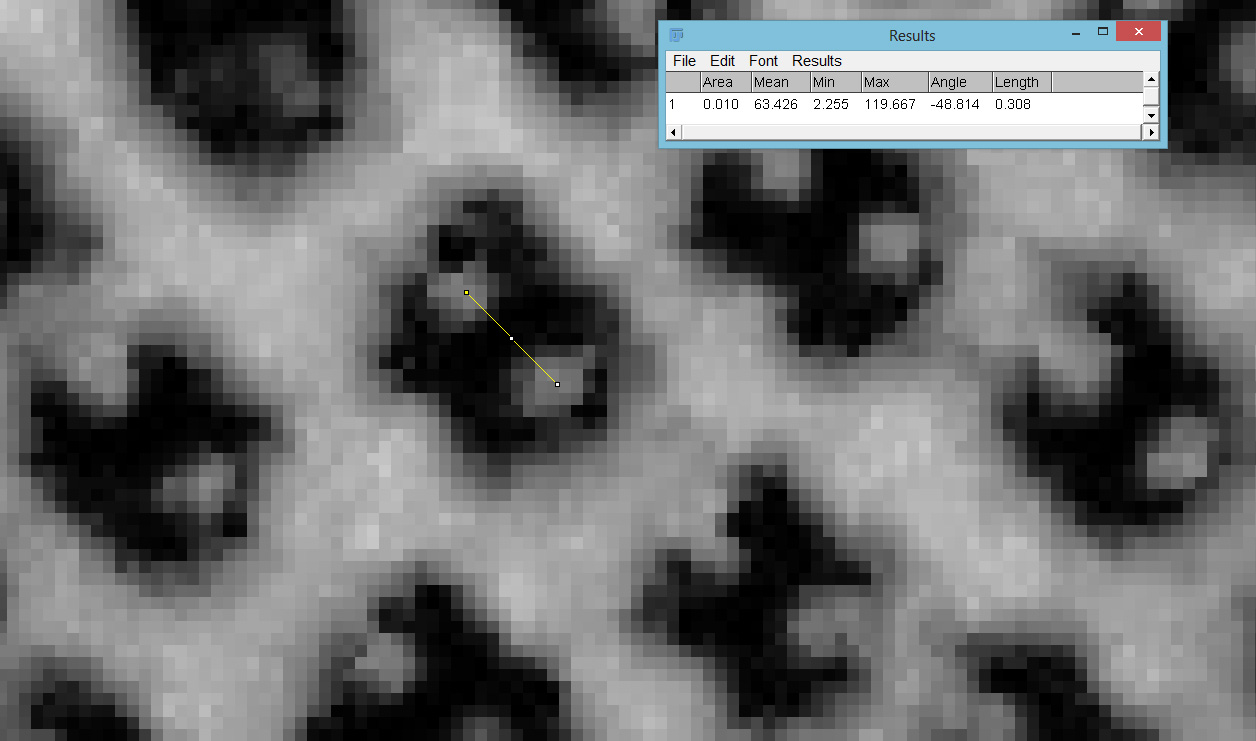
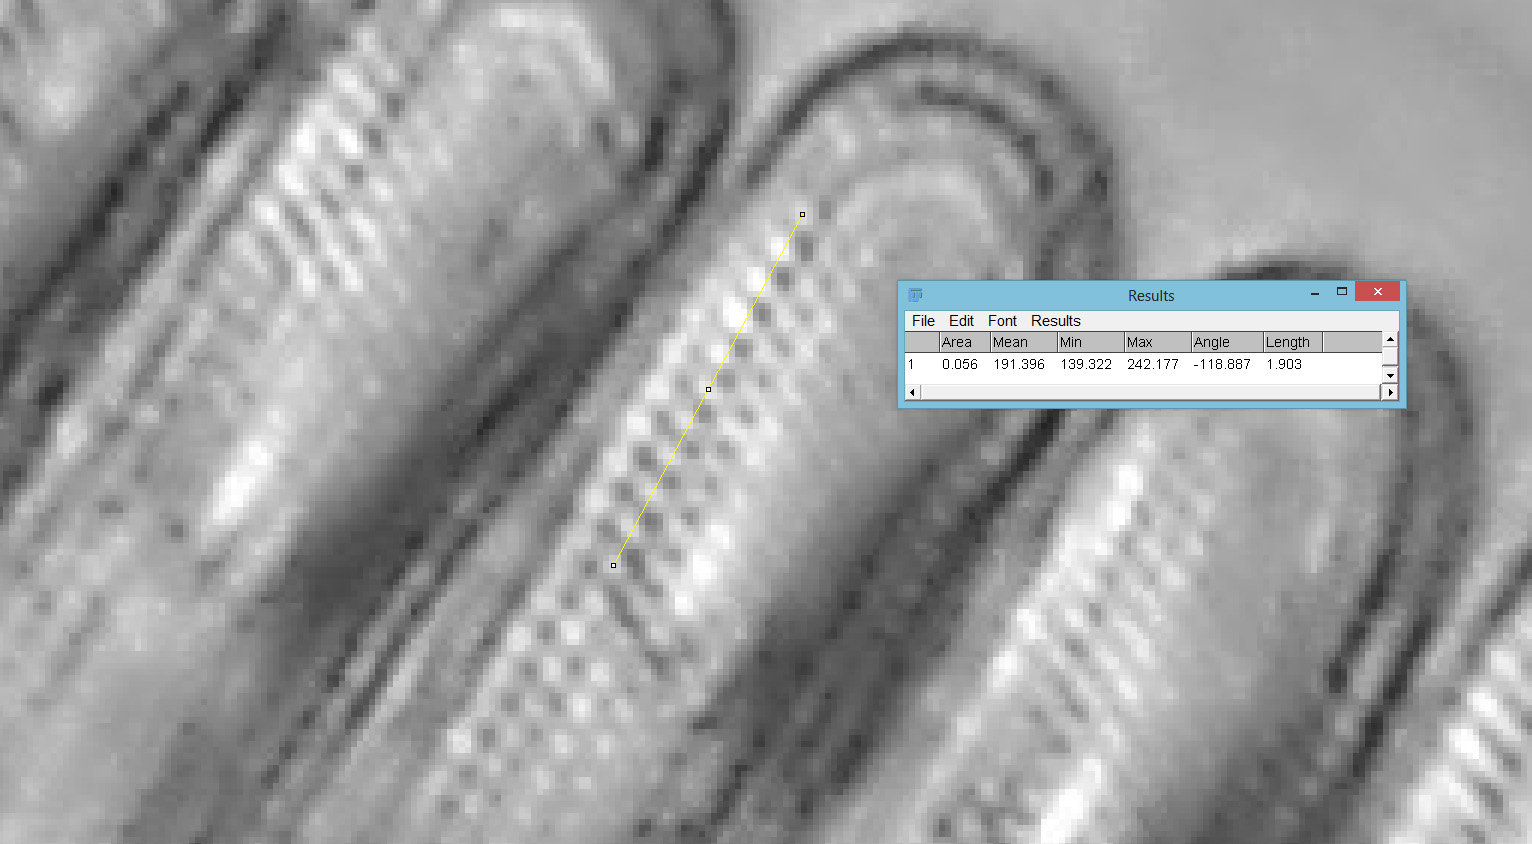
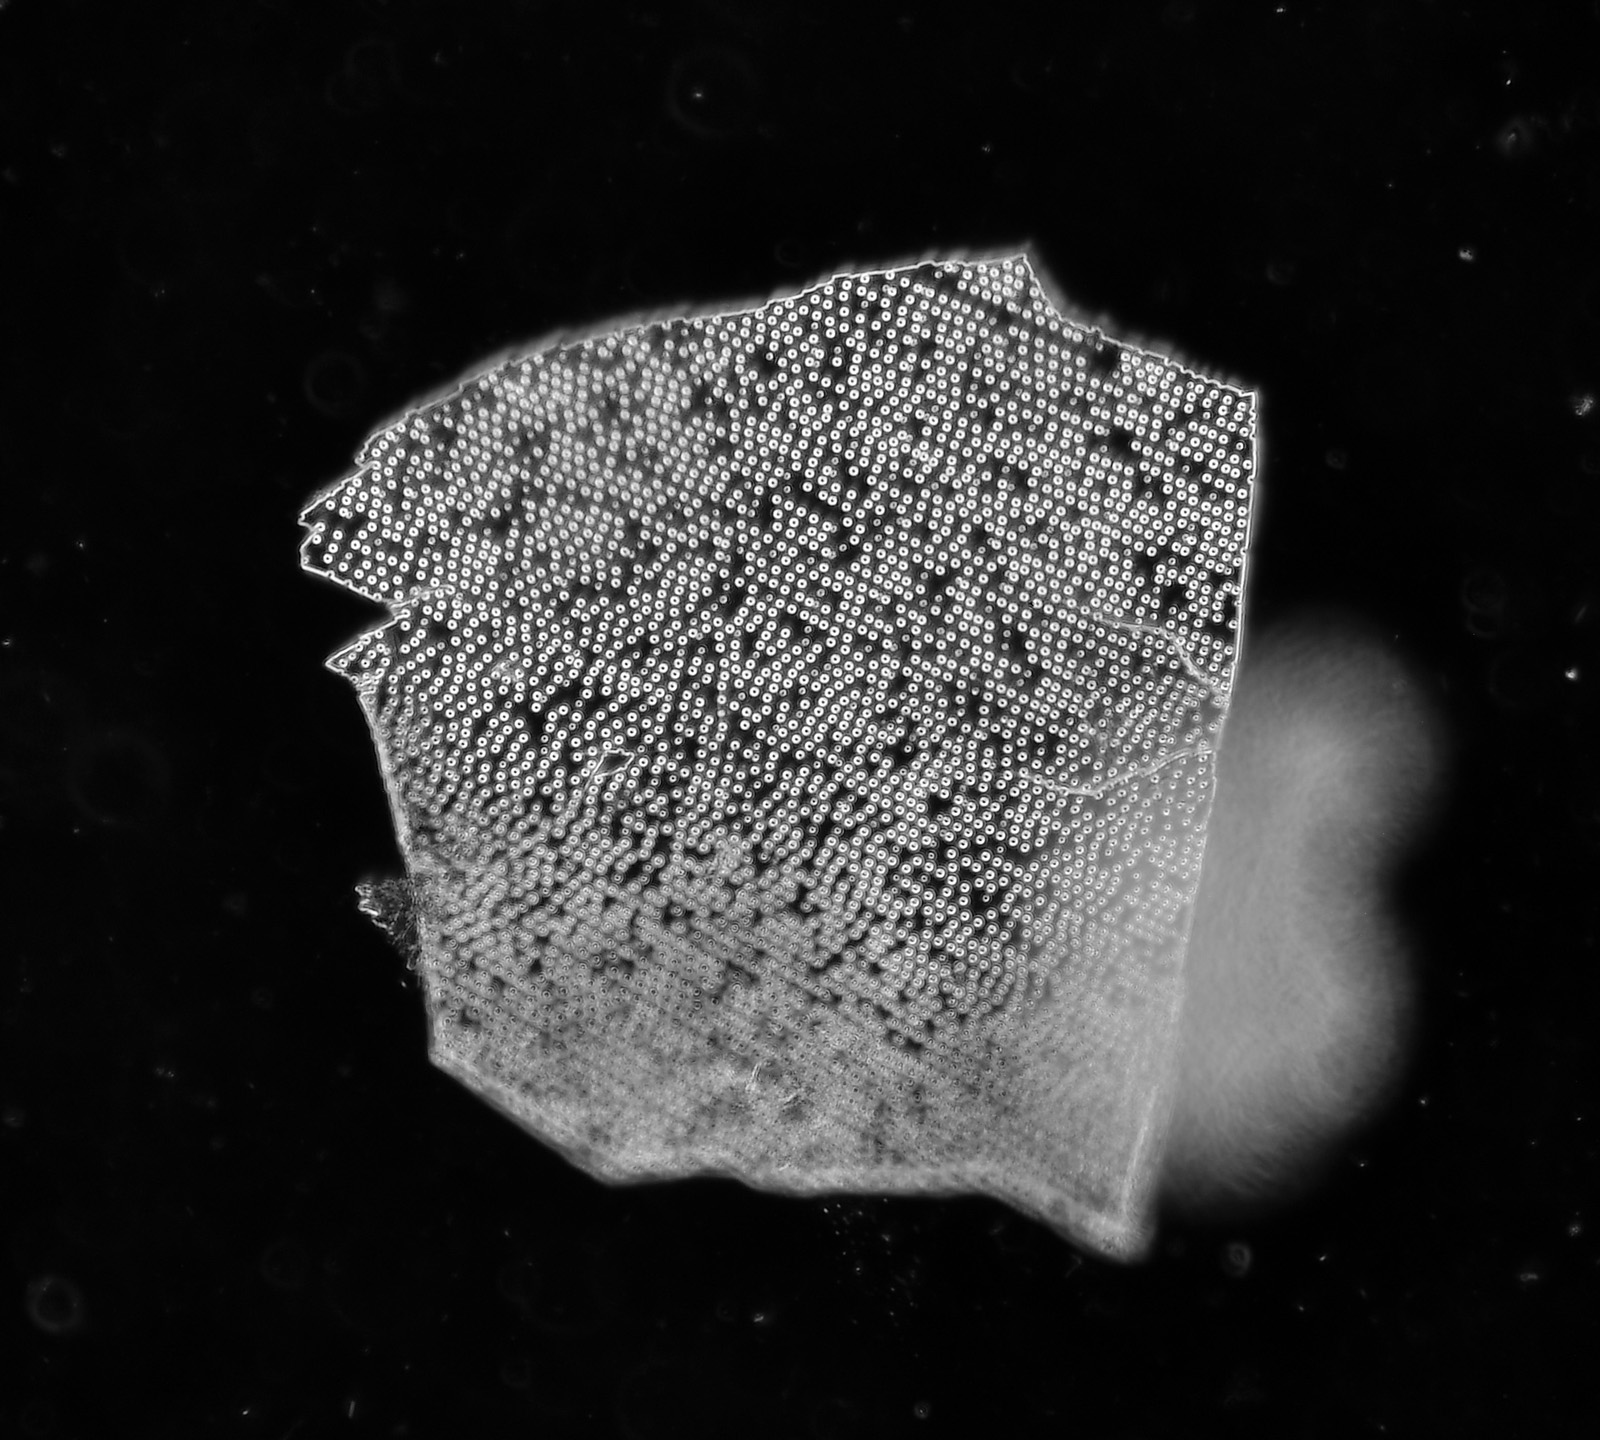
The fuzzy blobs are dirt on the sensor, and while they are visible they are not hugely distracting with this lens and f stop. Next was the same camera, still before cleaning, but on the microscope using 450nm light, and a 63x Leitz Pl Apo NA 1.4 objective, which is one I often use for my diatom imaging work.
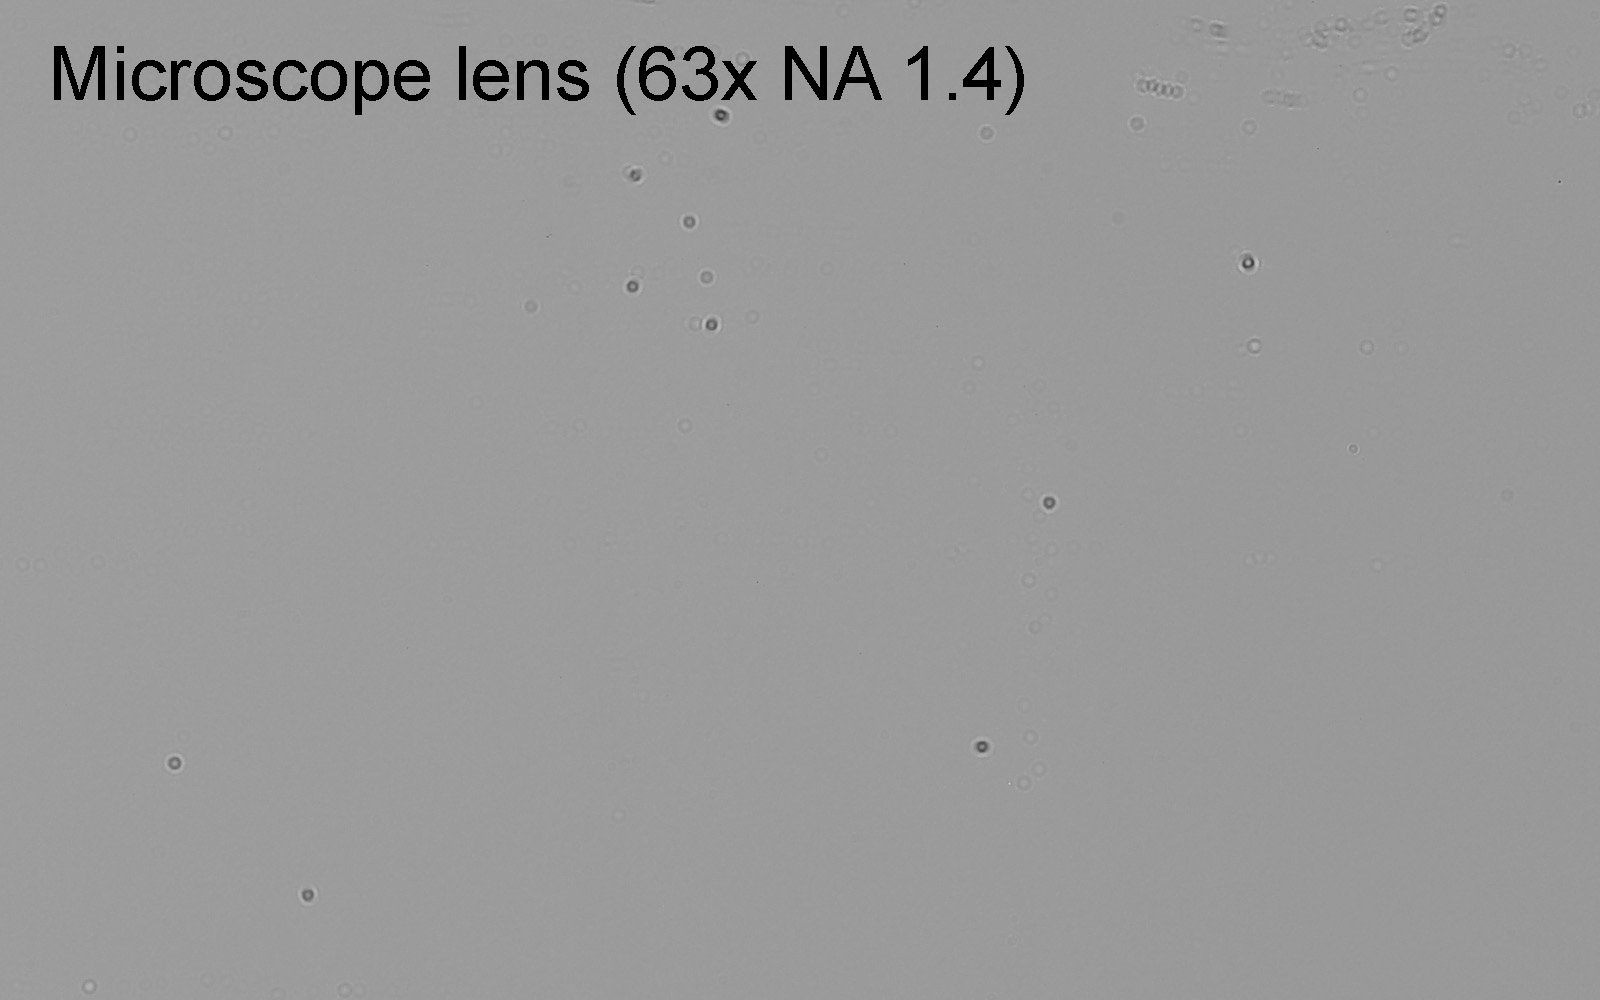
With the camera on the microscope, the blobs become much more well defined, and there are a lot more of them which are obvious.
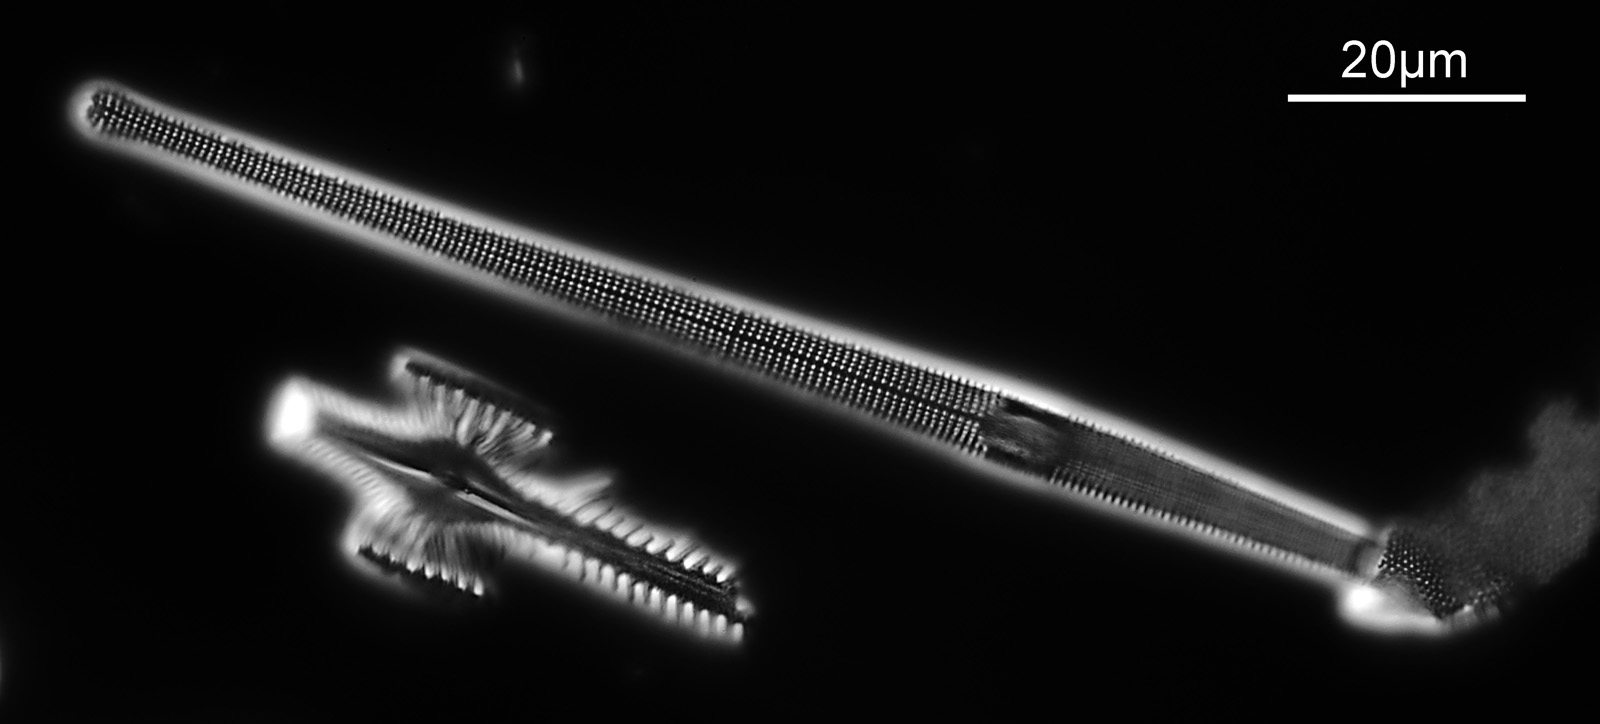
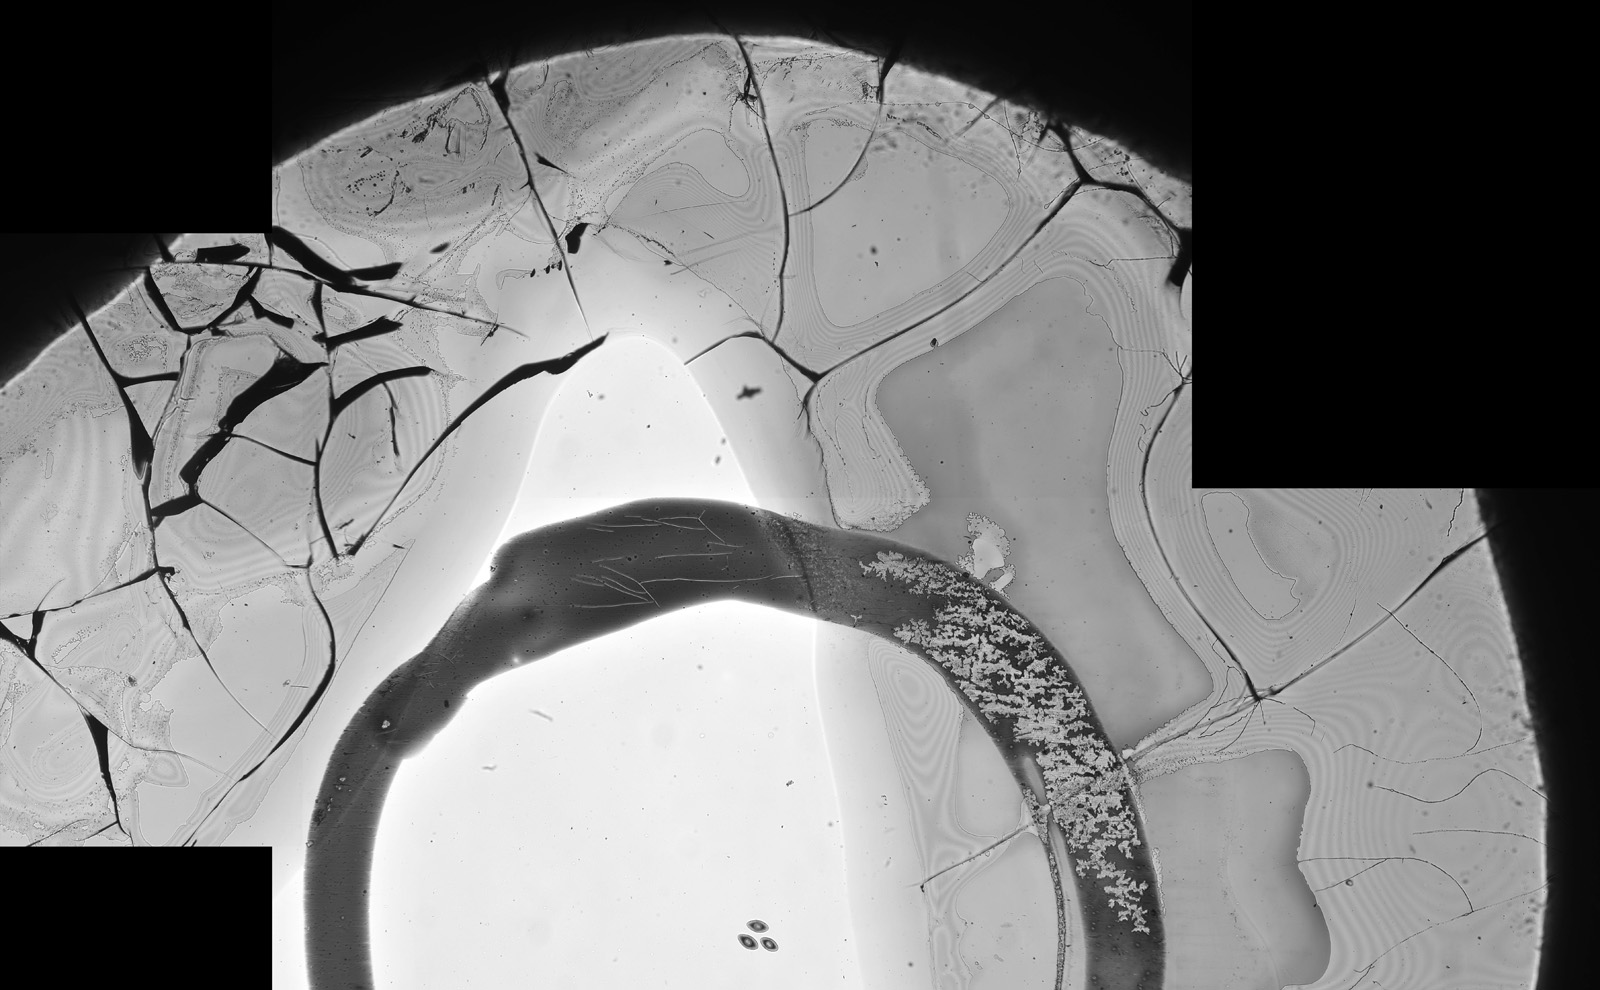
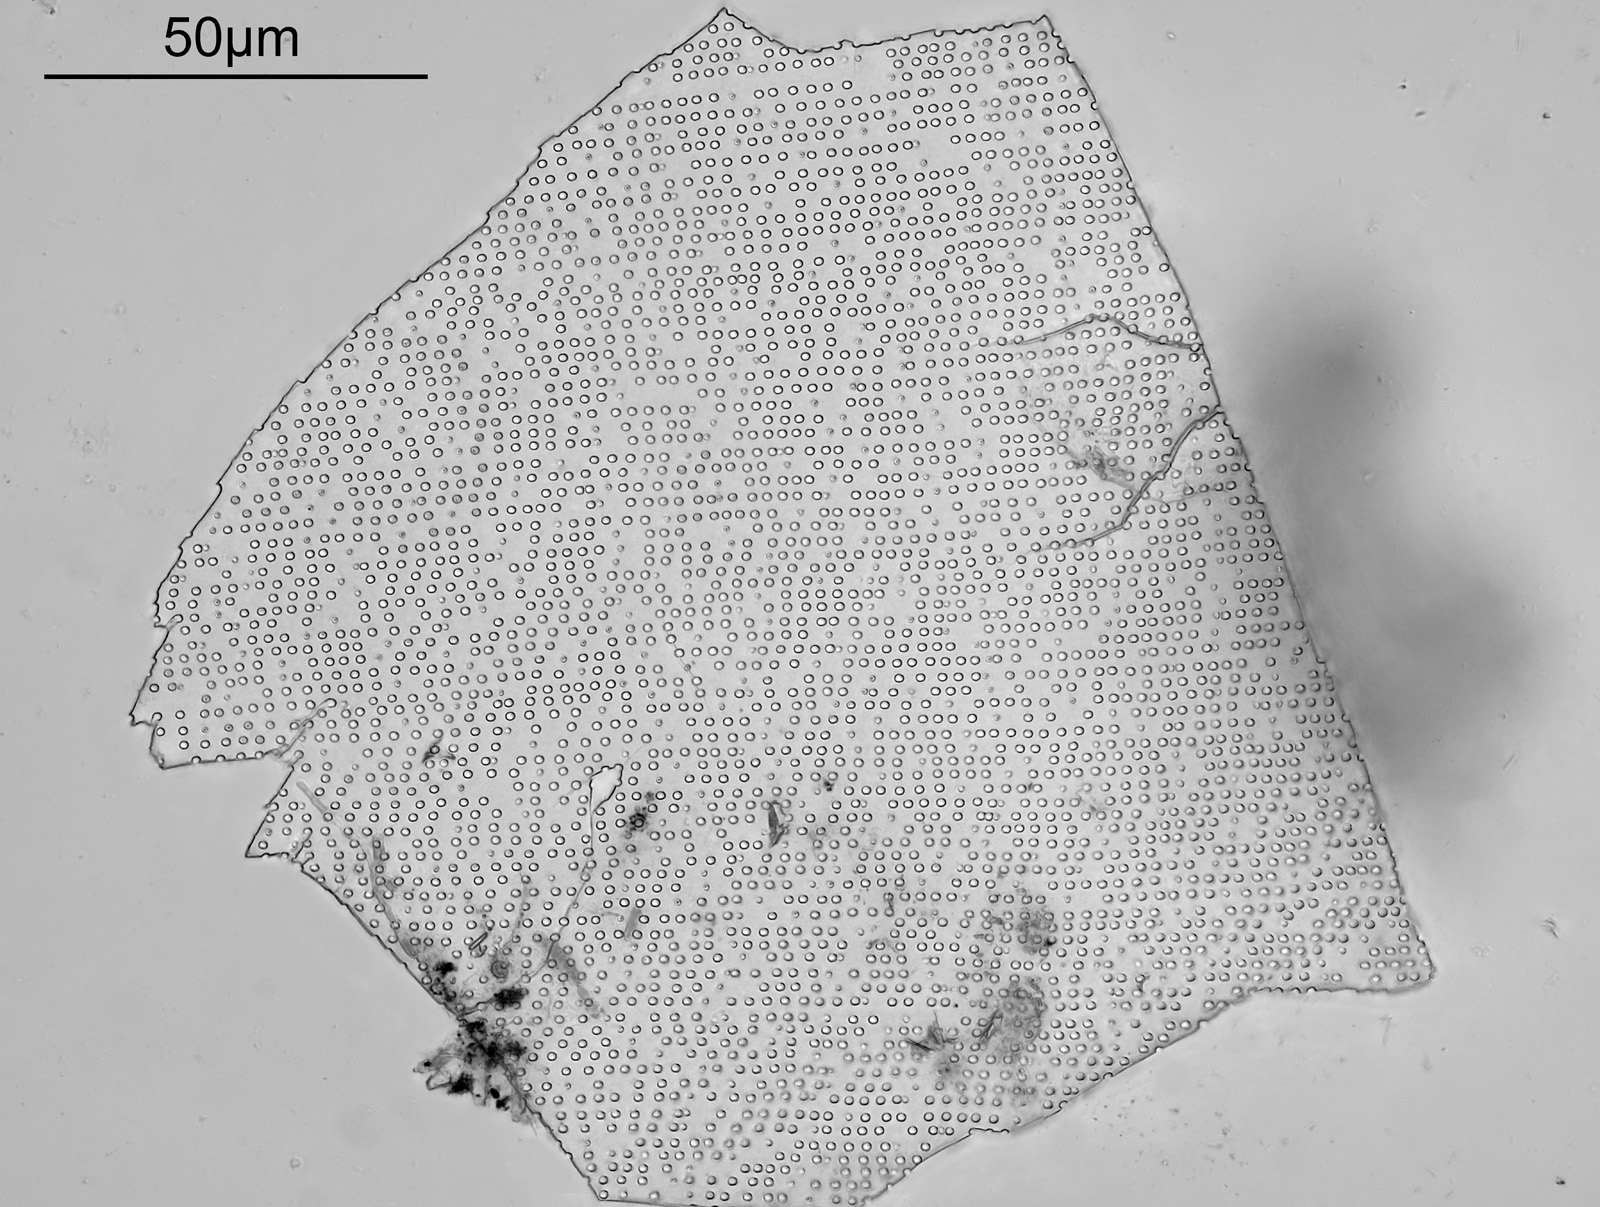
Then the sensor was cleaned (blower, Dustaid and swab), and the camera put back on the microscope and another image was taken with the same setup.

As can be seen, cleaning has removed the vast majority of the dirt as there are now far fewer blobs on the image.
I think where some people can struggle with cleaning is ‘how clean is clean?’. While it may be nice to think that cleaning removes all the dirt that just isn’t realistic. It’ll always be a case of managing expectations – what is clean enough? For me if I can remove the vast majority of the dirt from the sensor I am not having to spend time on Photoshop touching up every image, so for me this was now clean enough. Will I clean the sensor every week? No. Will I keep an eye on it and clean it again when it gets annoying enough to worry about? Yes.
Unfortunately, despite our best efforts camera sensors will get dirty. Cleaning them can be done at home if you feel confident enough to take it on. If not then there are places which offer it as a service, but keep in mind, that after a clean if a camera then gets knocked around in the shipping process, that can liberate more dust from the inside which can end up back on the sensor. So you have to be realistic about how clean it would be when you get it back.
As always, thanks for reading, and if you’d like to know more about my work, I can be reached here.