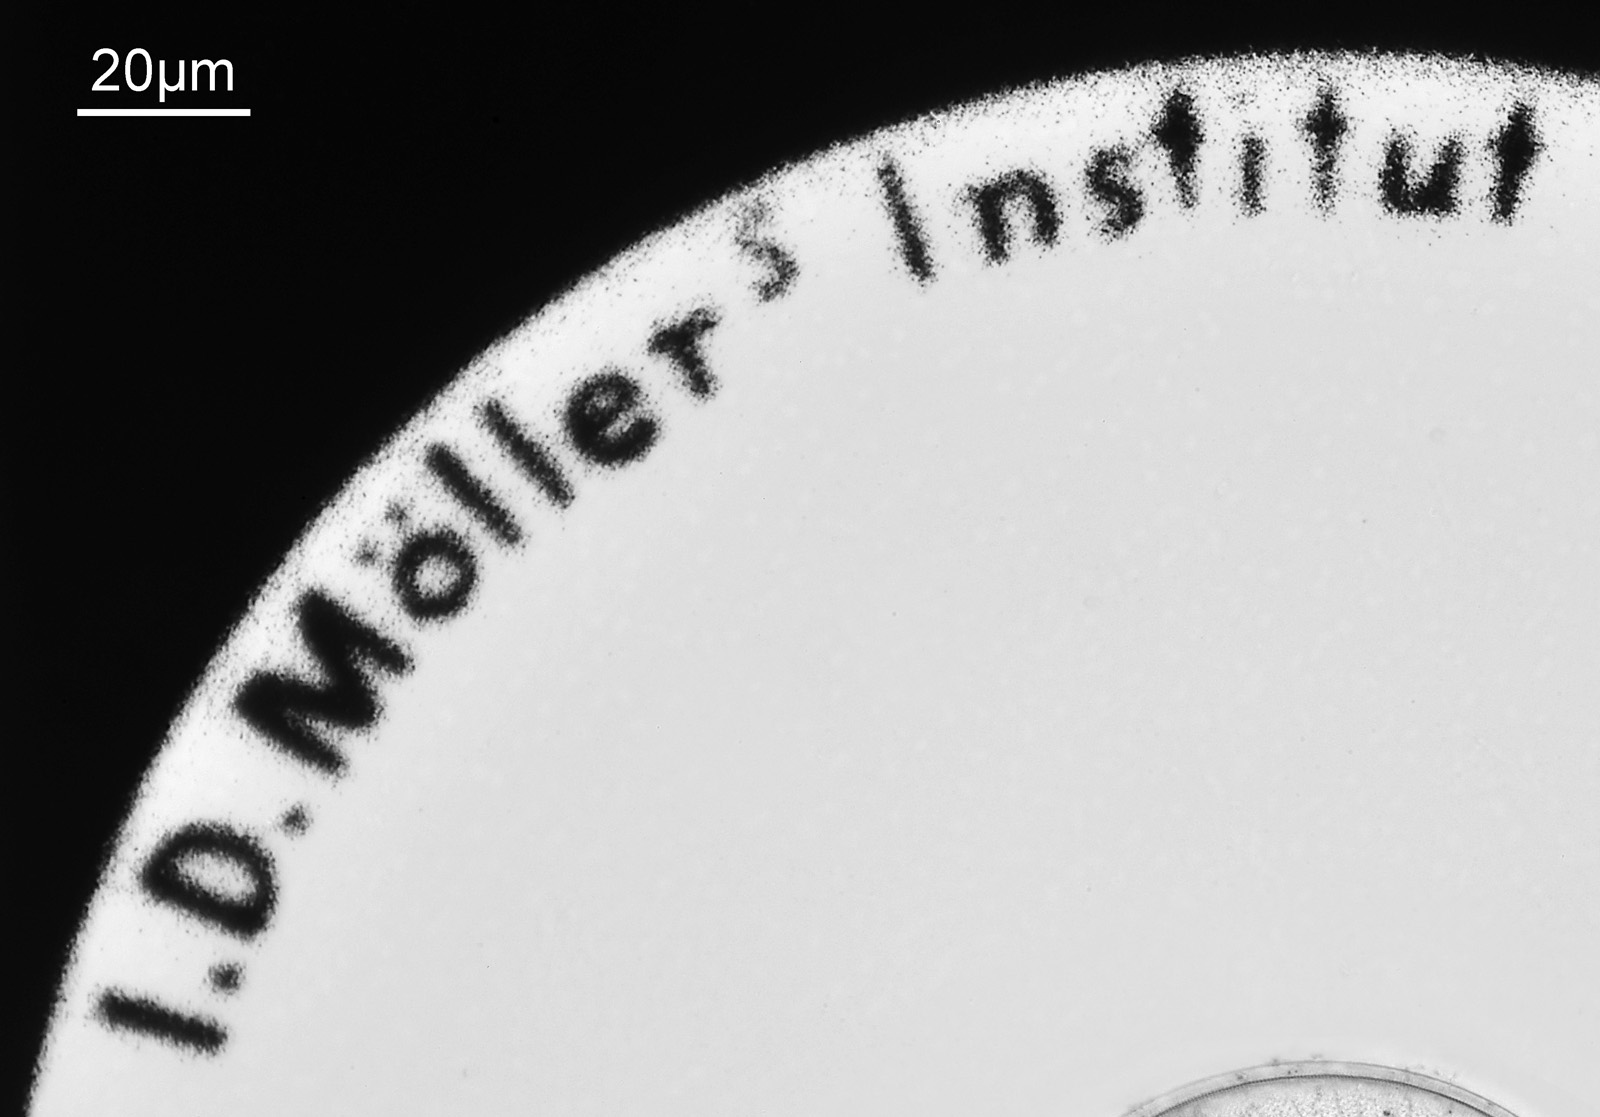
This is something which goes back to my early days of exploring microscopy in 2020. I bought a slightly mysterious lens, a 50x Leitz Pv NA 1.0 glycerine immersion objective, which has designed to be used with a 0.18mm thick quartz coverslip. I originally wrote about this here. At the time when I tested it I was slightly surprised to find that despite being designed to be used with glycerine as the immersion fluid and for use with a thin quartz coverslip, the UV transmission was not like a Zeiss Ultrafluar. Although offering some UV transmission especially at 365nm, it dropped at the shorter wavelengths and was blocking the light by about 320nm. At the time I didn’t expect this, as I had thought it would transmit further into the UV, however the objective had some unusual markings on it, and I wondered if this was a prototype, mock up or master copy for the factory perhaps just fitted with glass elements. Since then I have always kept a look out for another copy of the lens to test for transmission and compare with my original copy. However this is a rare objective, and it was nearly 4 years before I saw another one for sale. Today’s post shares the results of my transmission testing of this new copy, and discusses the implications of my findings.
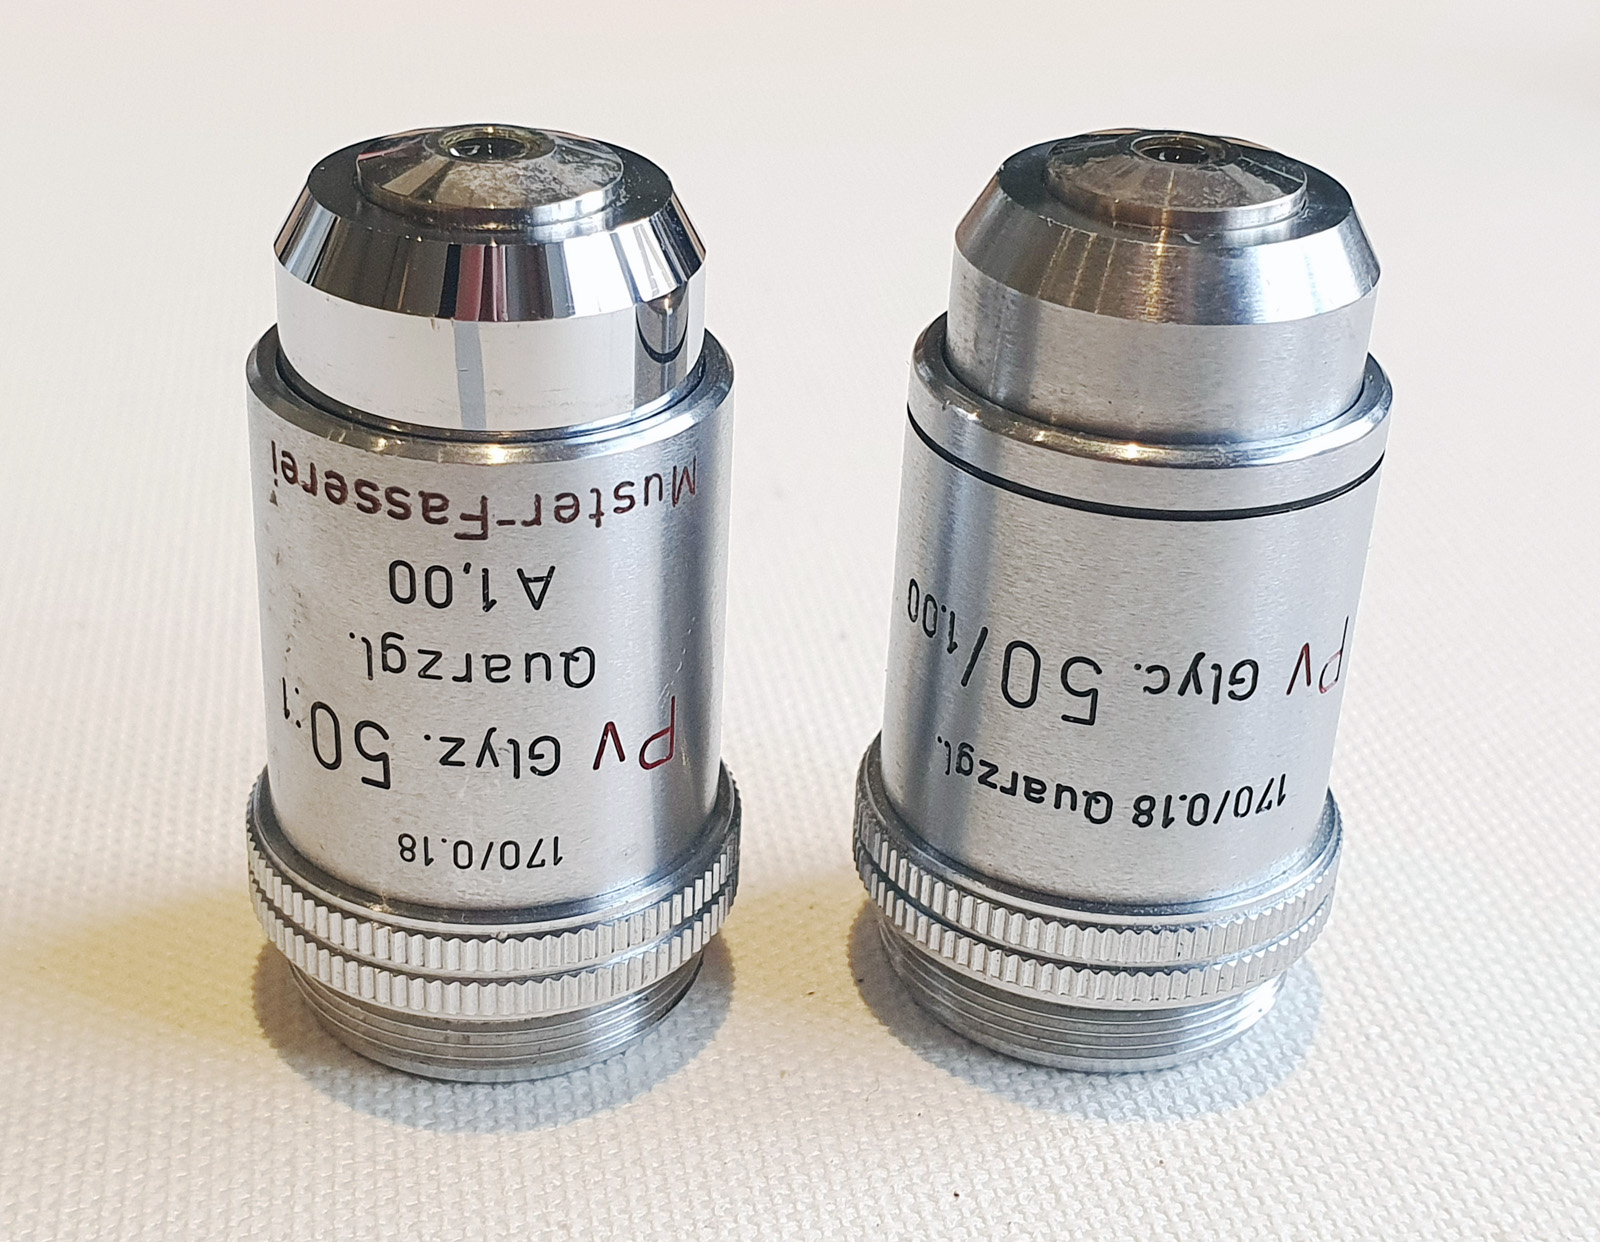
Here are the two copies of the objective. My original one with ‘Muster-fasserei’ written on the side on the left, and the new copy on the right.
And the back side of the objectives.
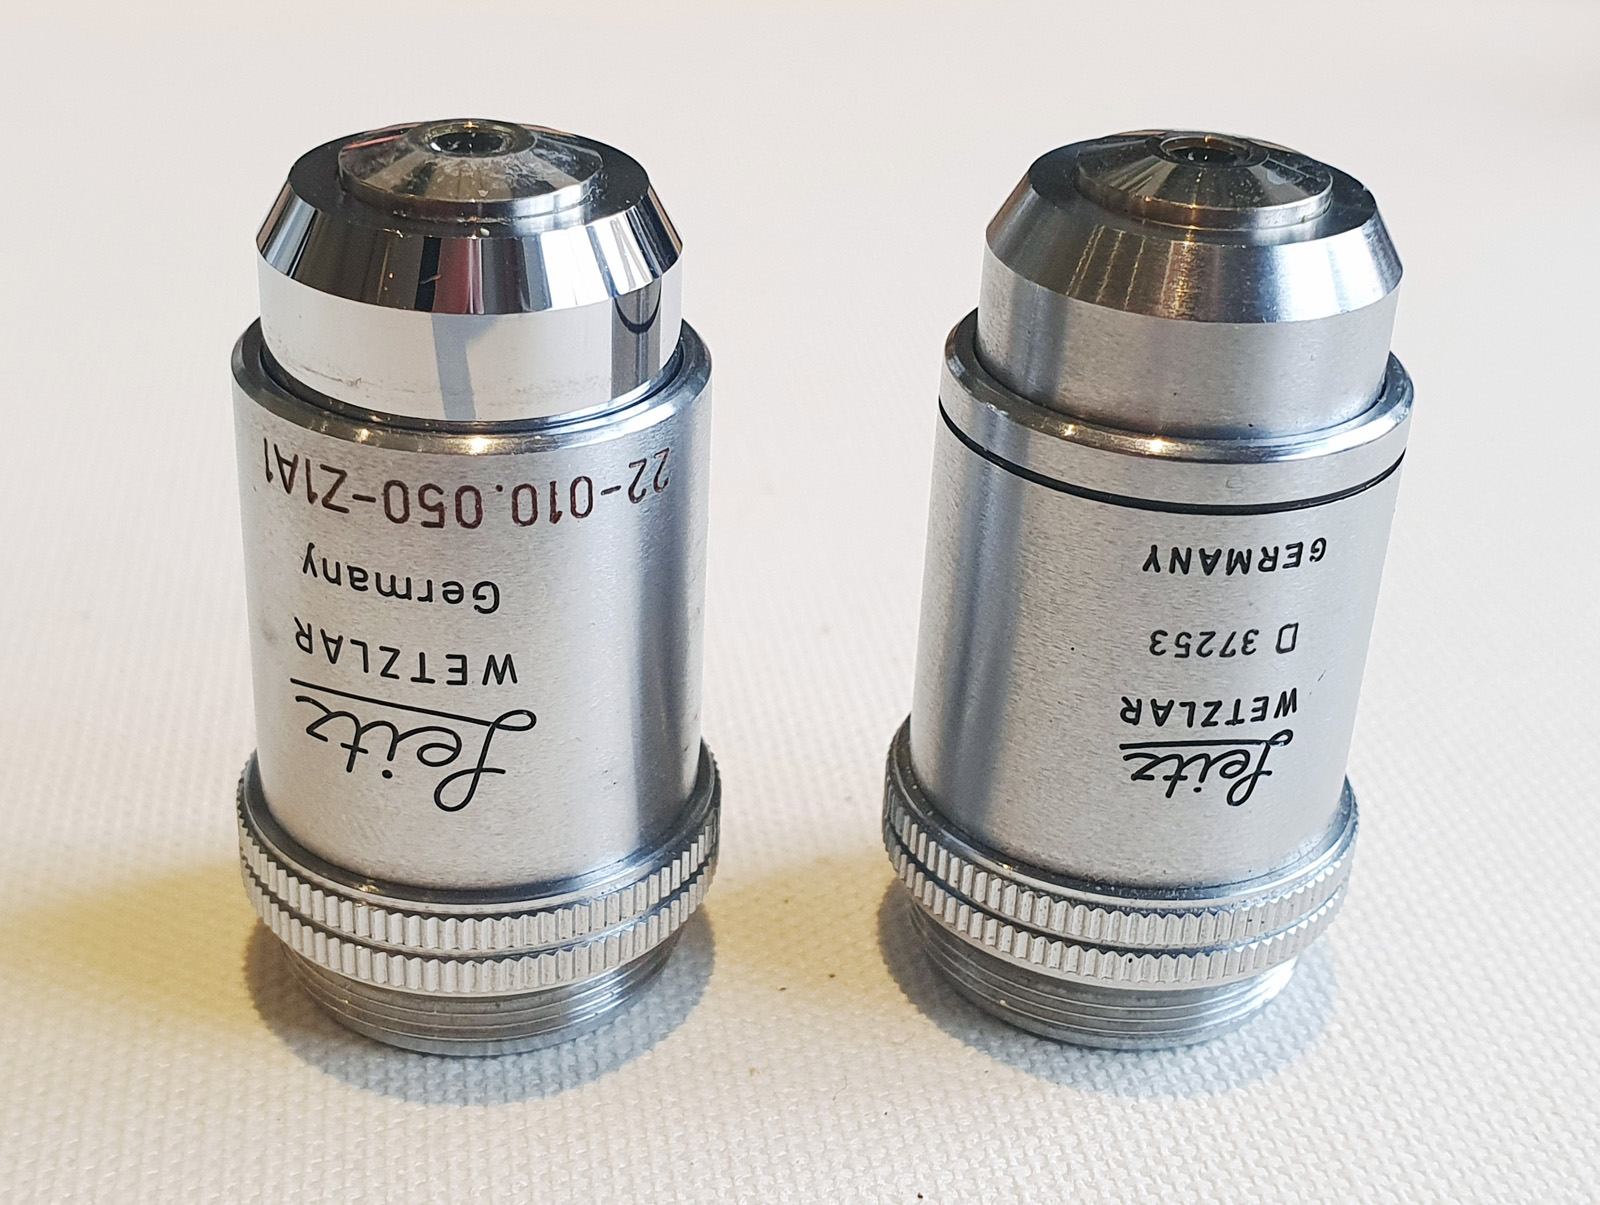
There are some differences in style and labelling of the two objectives, but overall they should be the same – 50x magnification, phase contrast (Pv), NA 1.0, glycerine immersion and for use with a 0.18mm thick quartz coverslip on a 170mm tube length microscope. Except, according to the original Leitz literature, they were actually meant for a microscope, but a ‘microspectrograph’. However they do work as normal microscope objectives with a phase contrast ring in them.
So, the six million dollar question, how does the UV transmission of the two version compare? To check this I measured both of them using my Ocean Insight FX spectrometer and got the following graphs.
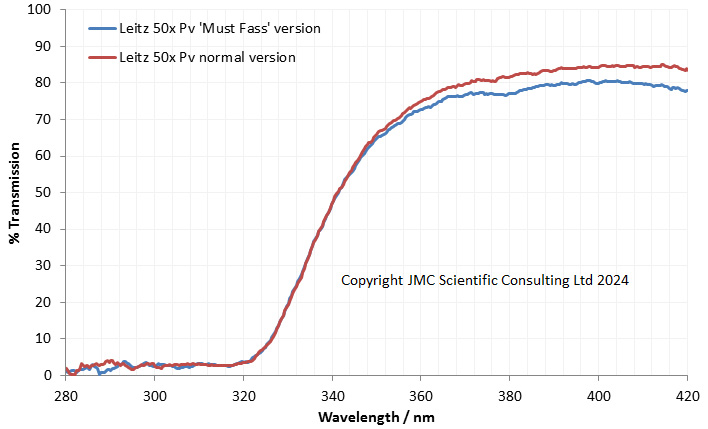
What does the graph above show? There are the two copies of the objective. The transmission through the original one with ‘Muster-Fasserei’ in blue, and the new copy in red. The transmission spectra for the 2 objectives are almost identical and certainly close enough for me to be happy that there are no major differences between them in terms of construction. Both have good transmission at 365nm, and then dropping in transmission below that, with them being essentially opaque by 320nm. Below 320nm we are down in the noise and although it says about 3% transmission this is just a quirk of the measurement process.
Where does this leave us? My original ‘Muster-Fasserei’ copy has the same transmission as the other copy, so optically I am happy that this is the same as the production copies. They have good UV transmission above about 350nm, but poor transmission below that, so they are not true UV lenses like Zeiss Ultrafluars or the Leitz UV objectives, but then they do not claim to be. Glycerine immersion normally would indicate UV work, and the 0.18mm thick quartz coverslip would also back that up. Now though I come back to the entry in the Leitz catalogue which described the objective for being for a ‘microspectrograph’. I suspect the use of glycerine as an immersion fluid was to reduce fluorescence as it is low fluorescence fluid. Also the quartz coverslip will be lower fluorescence than a glass one (I’ve looked at fluorescence of glass and quartz/fused silica here). Minimizing fluorescence of components in the optical train will be very important for a spectrograph which will be measuring light intensity. These were therefore probably designed to be used in a setup where low fluorescence was important, so perhaps for use with light with wavelengths from 350nm and up.
Answering questions about older microscope equipment can be a real challenge. Documents do not always exist online, and personal knowledge of folks who might have used or worked on older equipment is unfortunately disappearing rather too rapidly. This has taken a few years to get an answer but I feel I know more about them now than I did before, and as a scientist that is very important to me. As always, thanks for reading and if you’d like to know more about my work, I can be reached here.