
Combining multiple images together which are taken with different focus points is a valuable tool for microscopy, as it allows thicker subjects to be imaged and for it all to be in focus. This focus issue can be a big problem with microscopy as especially with high magnification and high Numerical Aperture (NA) objectives, the depth of field can be tiny, often well under a micron. The process of of combining images like this is called Stacking. There are various piece of software to do this including Zerene Stacker, and Helicon Focus, and I personally use Zerene Stacker. Today’s post isn’t a ‘how to’ with stacking, as I am no expert in it, but I wanted to share a diatom image which I recently did for which stacking we very helpful, and to show you the effects of using it.
Firstly the final image, and then I say how it was done. This (I have been told by experts) is an Actinoptychus heliopelta diatom. It has been reduced in resolution for sharing here – the original was 5202×4823 pixels, and this copy is 1600×1483.
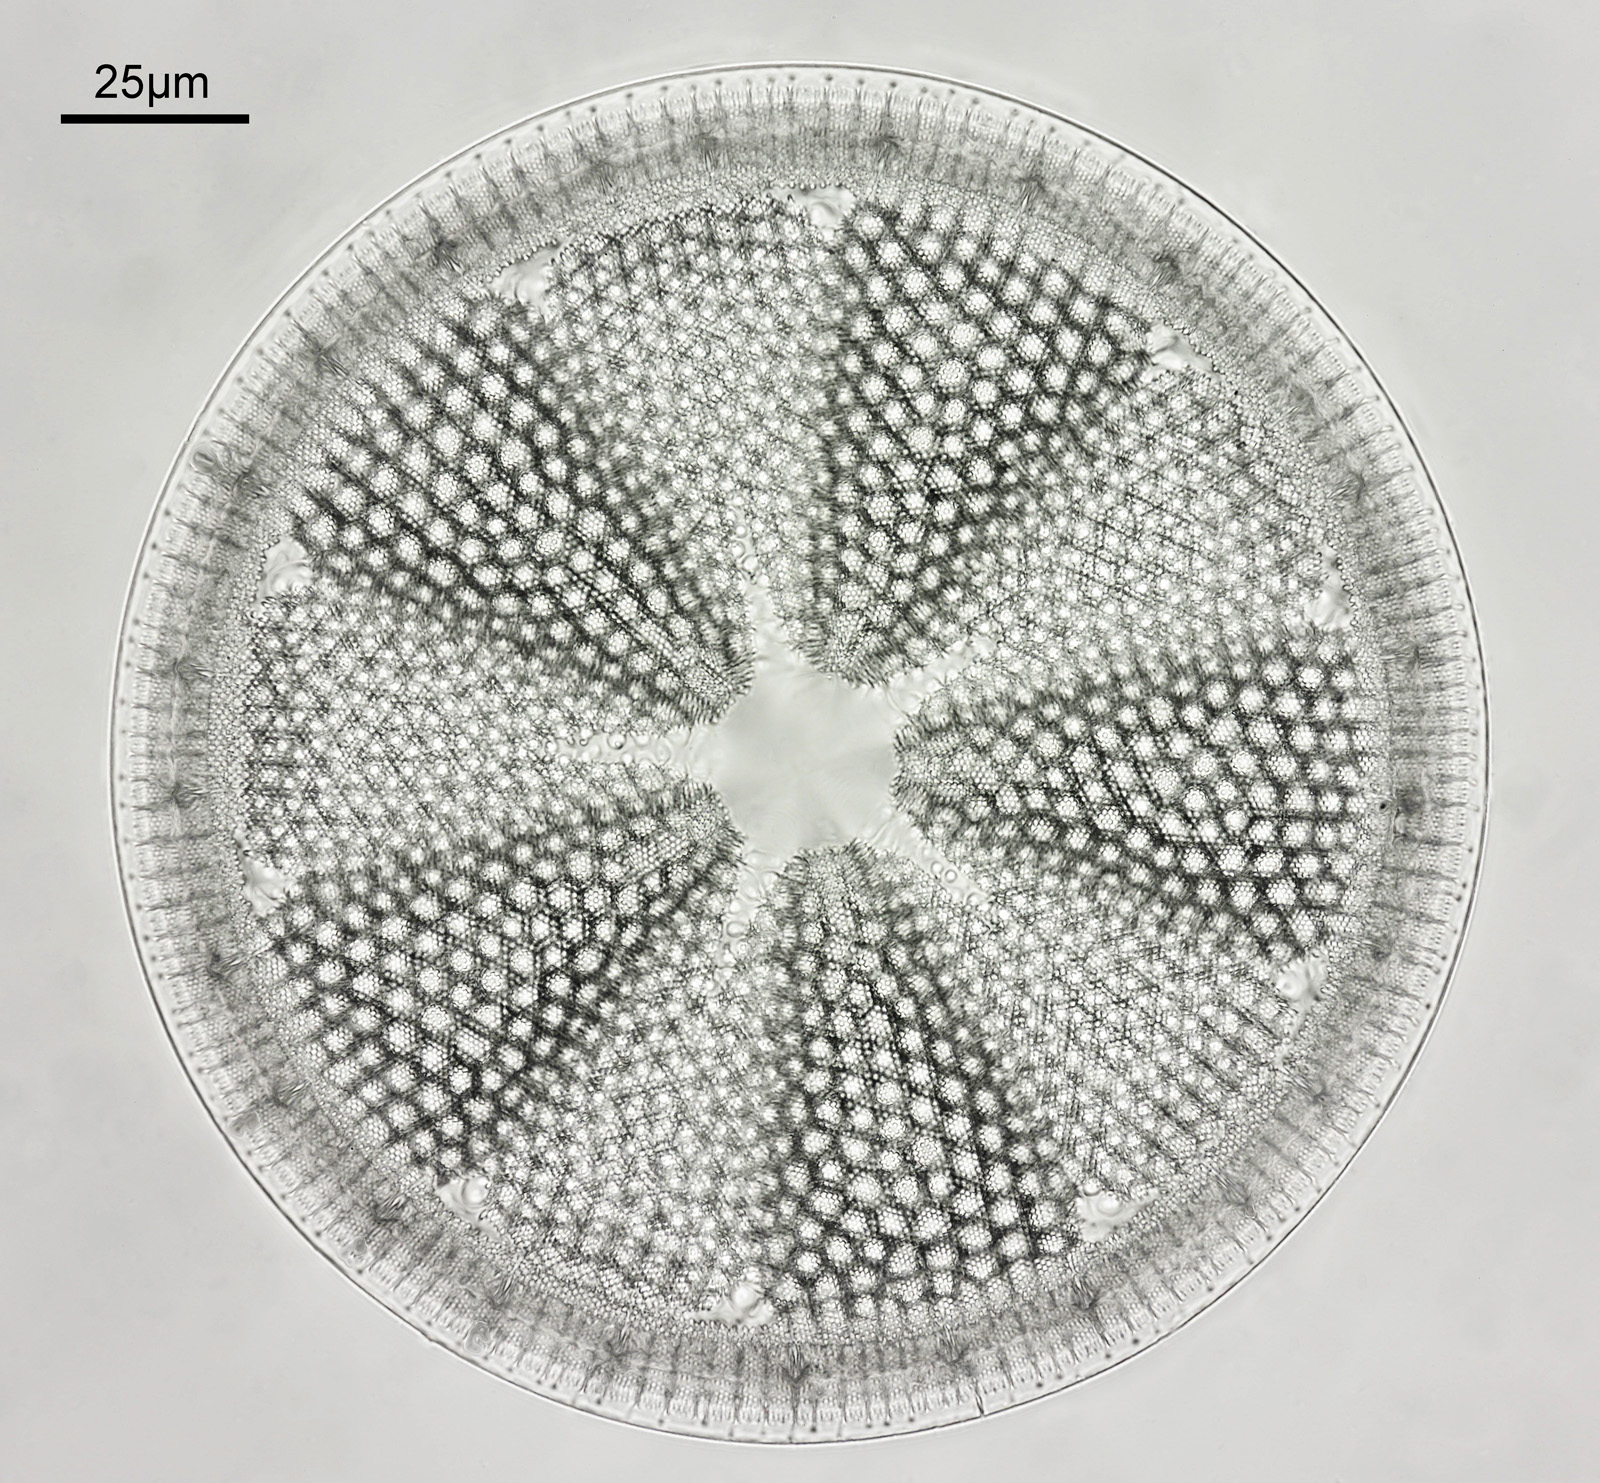
Also a crop from the original, and even this needed to be reduced in size to make it suitable for sharing.

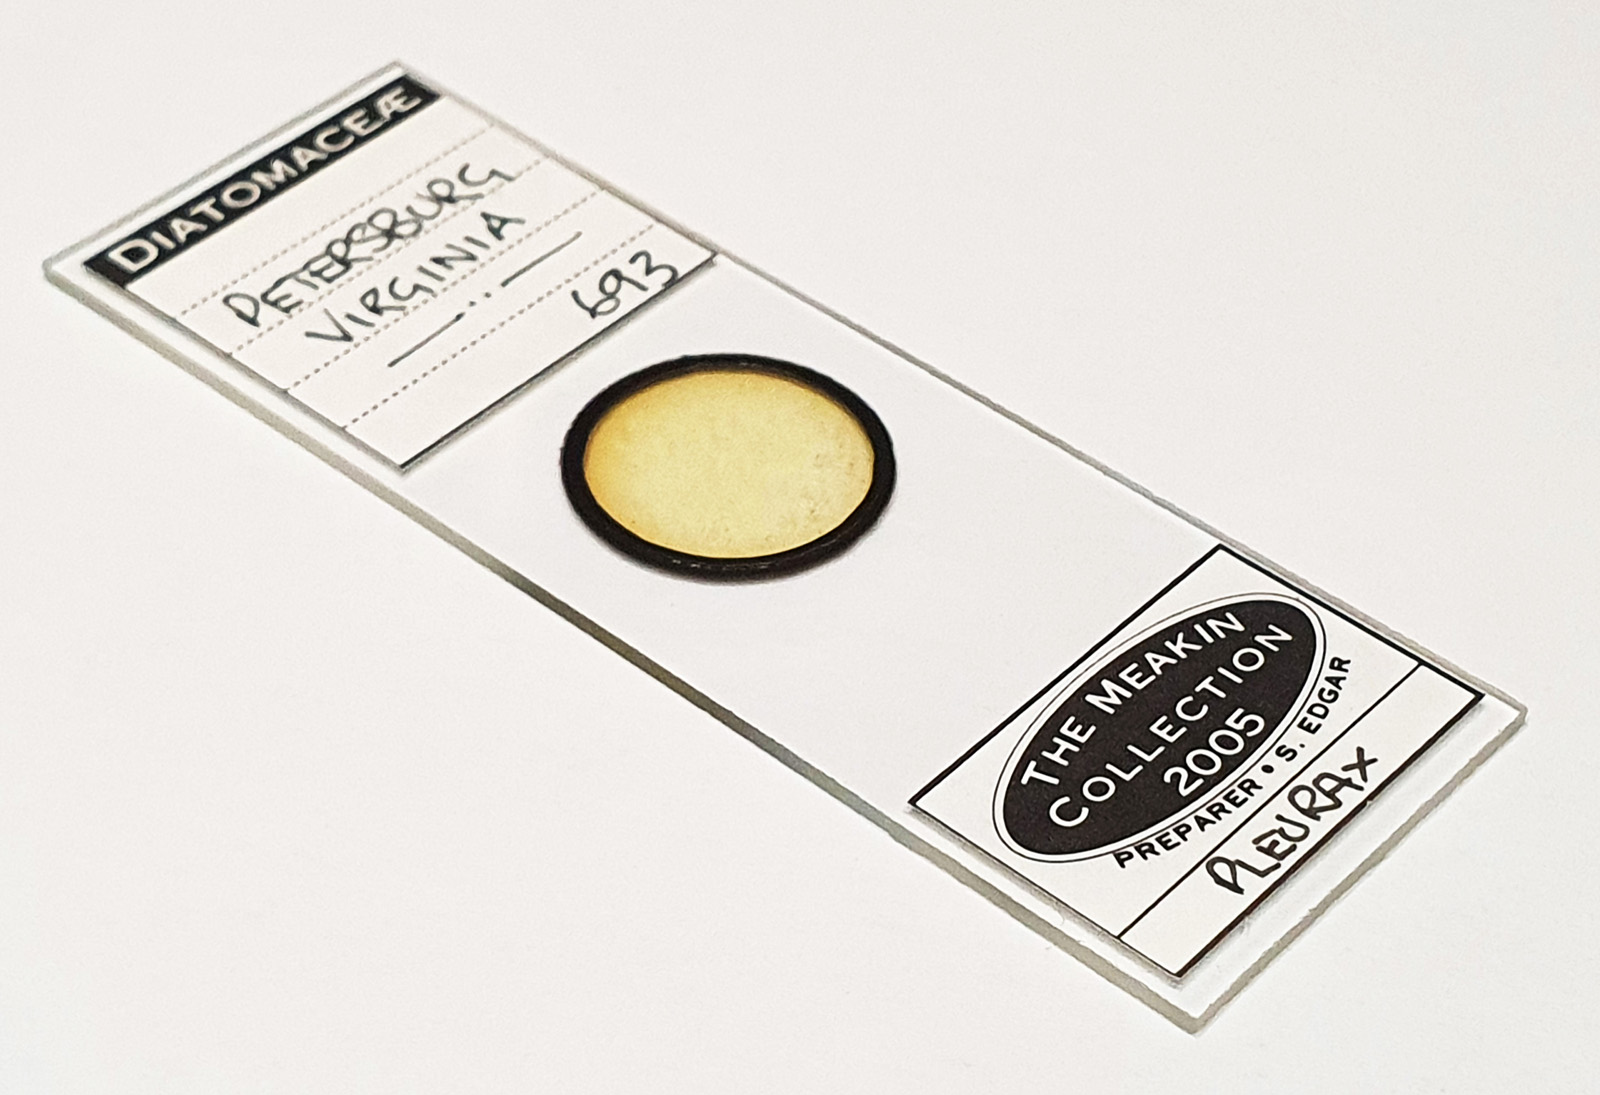
This was photographed using my modified Olympus BHB microscope which I built for UV microscopy of sunscreens. The camera was a monochrome converted Nikon d800. The objective was a 60x Olympus SPlan Apo NA 1.4 oil immersion. Condenser was an Olympus Aplanat Achromat set to oblique illumination. The light source was a white LED one I made. The image was made from a stack of 18 individual photos at different focus points, combined in Zerene Stacker using what they call the Dmap process. I’ve also cleaned up the image, sharpened it, and tweaked the curves. As you can see though the majority of the diatom is in focus. The diatom was on a slide from the 2005 Meakin Collection (Petersburg, Virginia) which I got as part of a recent purchase.
So, why bother stacking? It comes back to the issue of sample thickness, and the depth of field that is possible with the objective. By taking multiple images, moving the stage vertically so that different parts of the image are in focus, during the stacking process the software then takes the ‘in-focus’ parts of each image and combines them together to produce the final image. To help visualize that, here are three images from the original stack, taken at different stage positions. These have not been cropped, but have been reduced in size for sharing. They have also not been cleaned up, as I did this at the end.

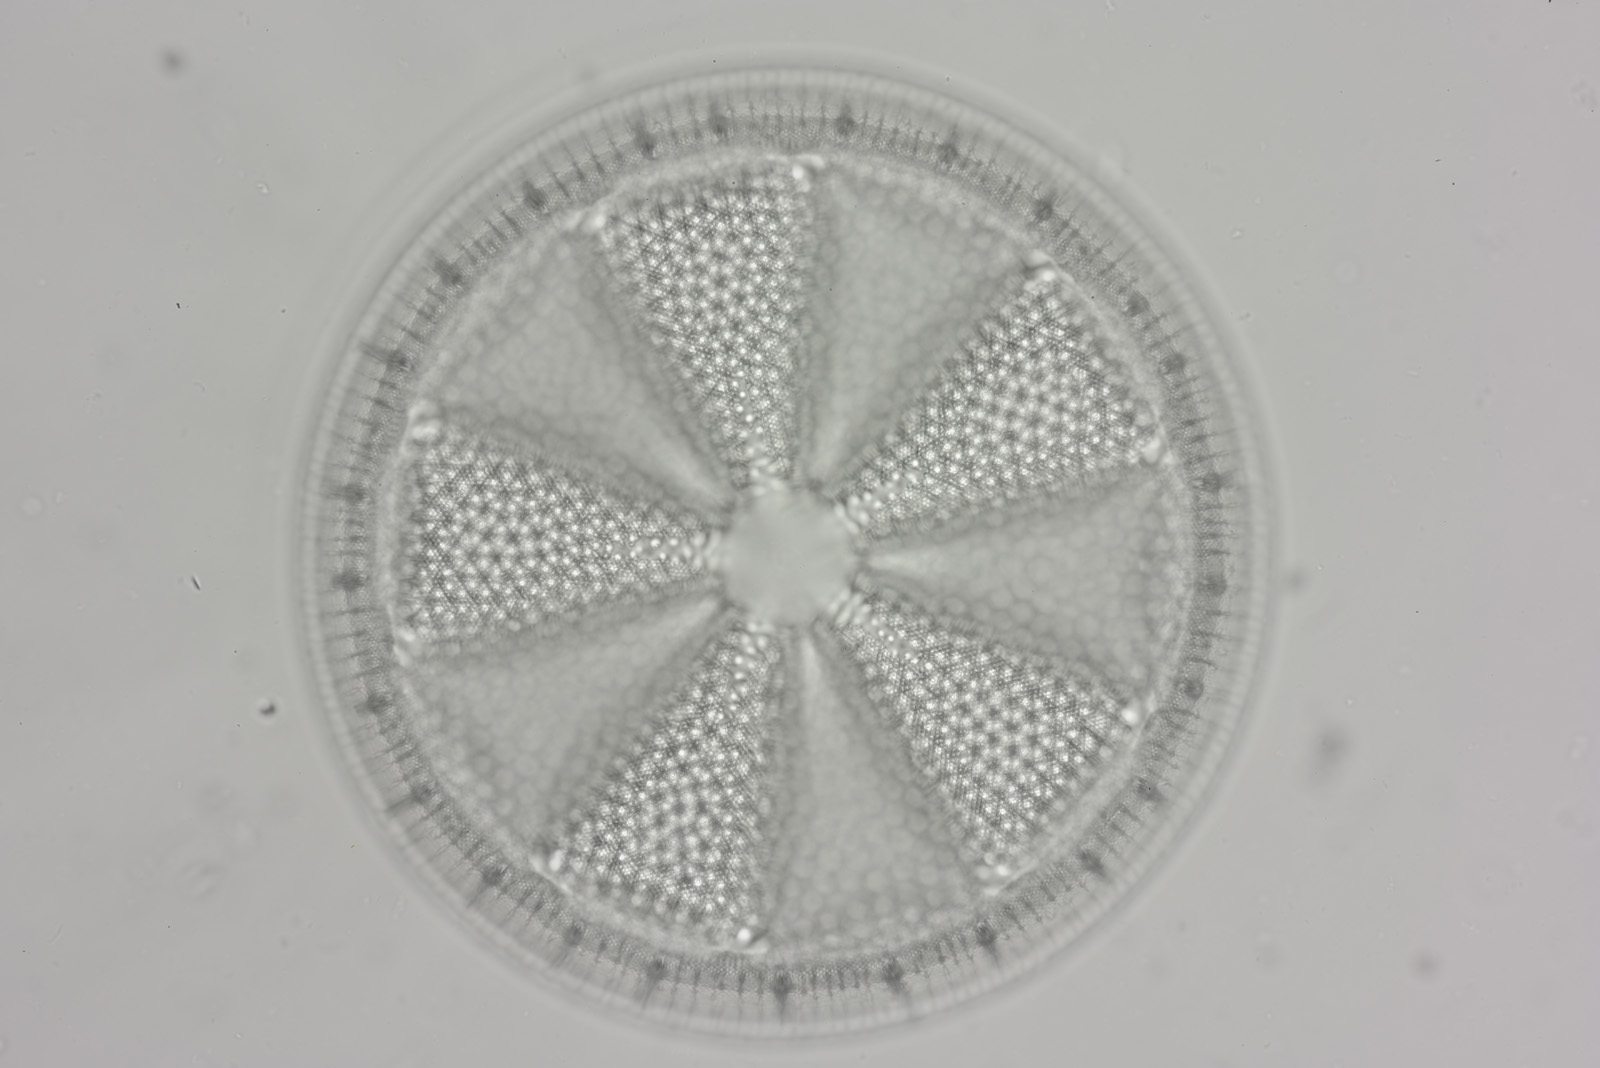

As you can see, the three images each have different parts of the diatom in focus, and one single image would not have captured the whole of the diatom AND got it in focus.
The software itself is straightforward to use, but it takes a little bit of experimenting the get the best settings that it uses for processing. This will likely depend on your setup, and to some extent personal taste when it comes to how you like your images. Give it go, and open up a whole new way of looking at your microscope images. To be clear the technique is not suitable for all subjects – if there is movement between each image then that can be a problem. This is why I do not use this for sunscreen emulsion imaging, as there is often some small degree of movement of the droplets.
As always, thanks for reading, and if you’d like to know more, please contact me here.