
It’s well known in diatom microscopy that the refractive index (RI) of the mountant has a huge impact on successful imaging. But why is this the case? Today I’ll show some examples of Amphipleura pelludica – a particularly challenging diatom to image – mounted different ways, and how the final images look.
I’ve chosen three different mountants with different RIs. First a dry mount by Watson. Second another Watson slide with Hyrax used as the mountant. Third is something a bit more unusual, a Horace Dall slide which uses titanium dioxide (TiO2) as the mountant. All images were done on my modified Olympus BHB microscope, using 365nm light from a Zeiss 50W HBO mercury xenon lamp. A 63x Leitz Pl Apo NA 1.4 objective was used with oil immersion. A simple Olympus Abbe condenser was used, again with oil immersion, to give brightfield images. A 2.5x Nikon CF PL photoeyepiece was used to project the image to a monochrome converted Nikon d850 camera. I’ll share the images and then an explanation of what is going on. Images have been reduced in resolution for sharing here.
Dry mount
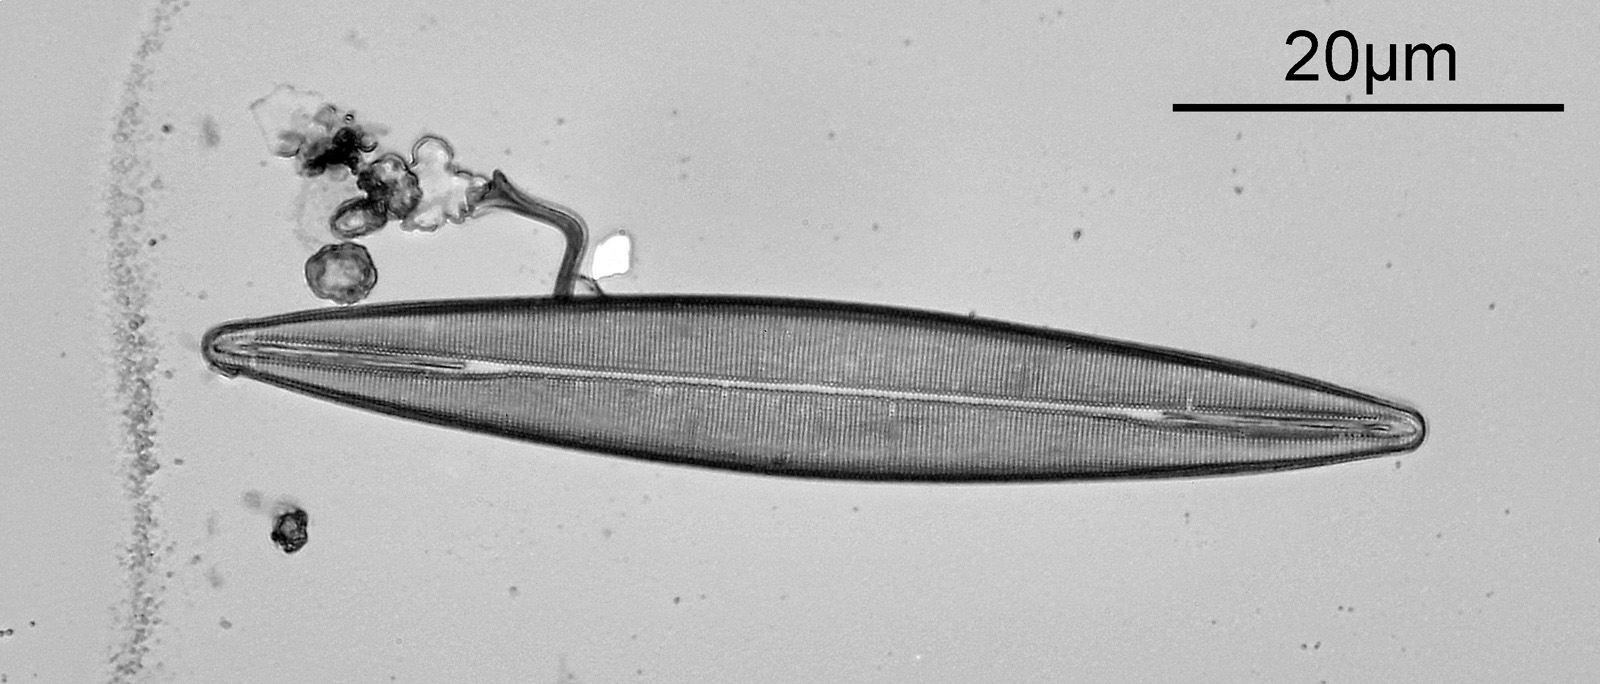
The dry mount is where we begin, and the name itself is a little bit confusing. Dry mounts are typically thought of as there being nothing between the coverslip and the slide, but that is not always the case. With diatoms there is typically a thin adhesive layer on the coverslip holding the diatoms in place, although they can also be ‘burned on’ by using high temperatures. After a chat with a few people on the Diatom Images Facebook page, it seems as though these ones are likely attached with a thin adhesive layer rather than being burned on. Here’s an image of one of the diatoms on the slide.
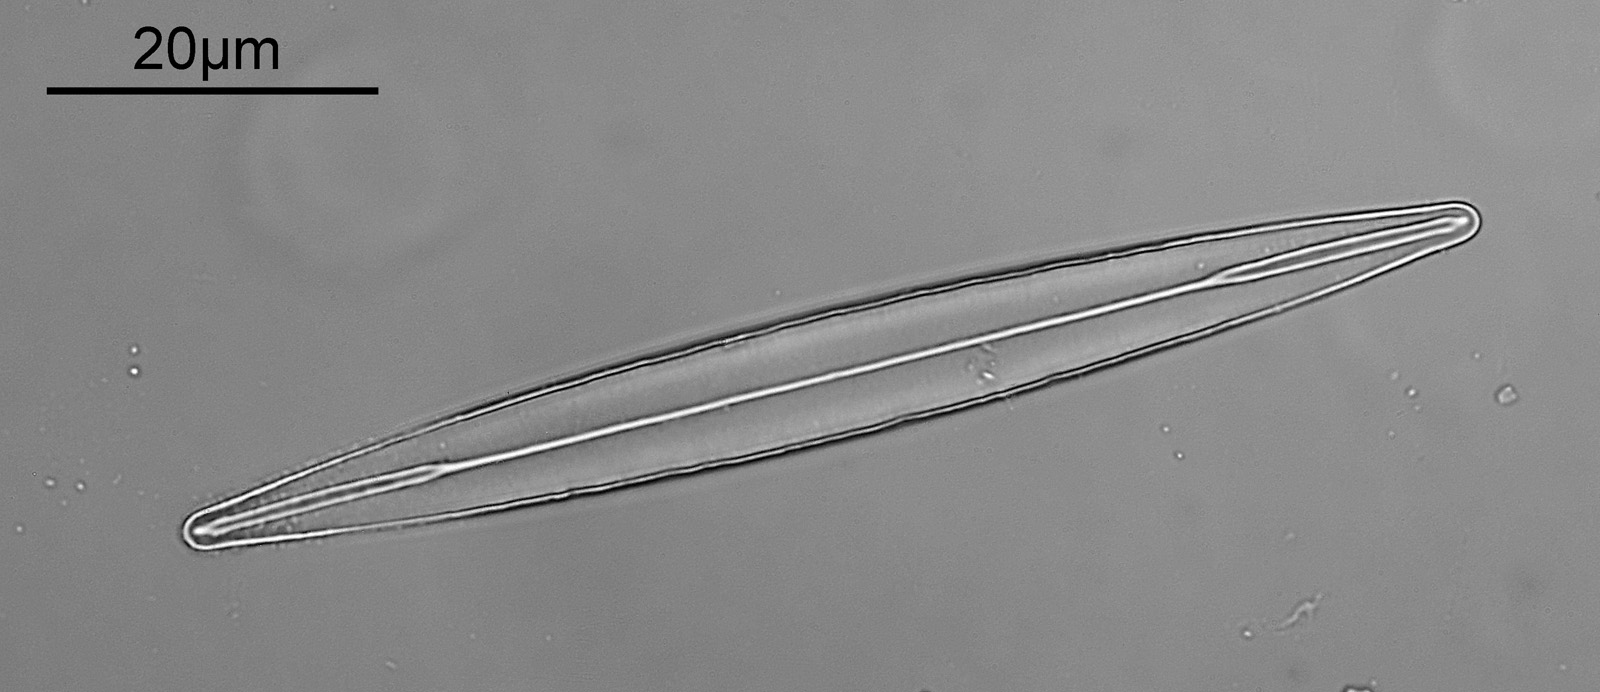
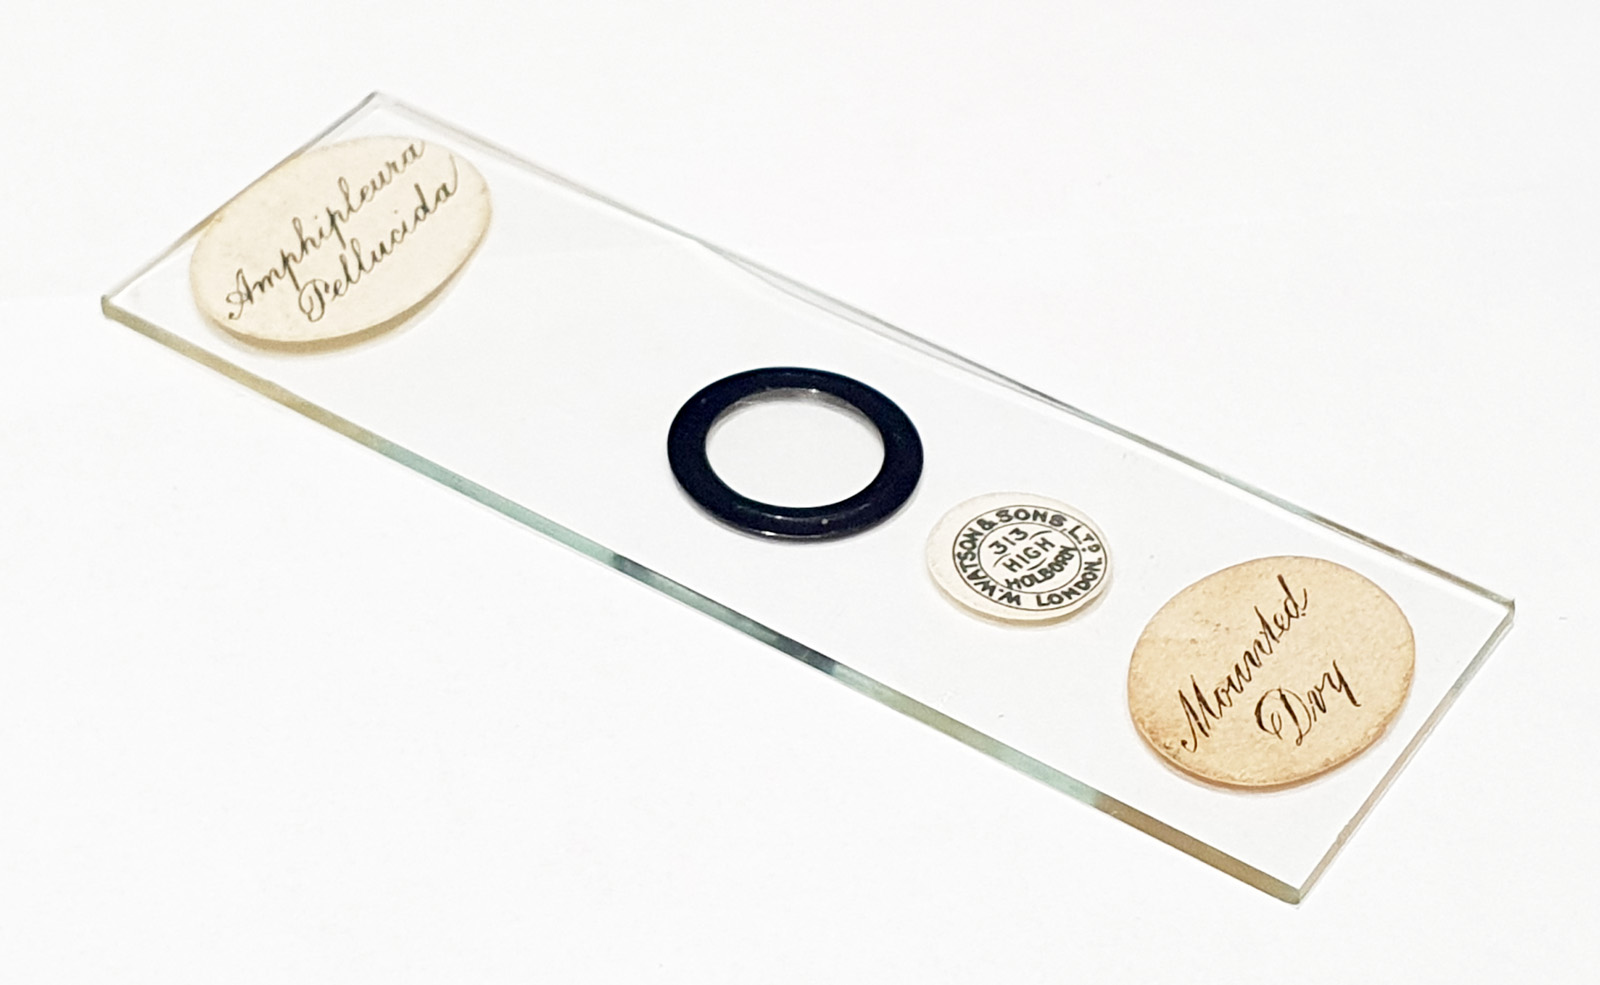
Here’s the slide (by Watson).
The outline of the diatom is clearly visible, although overall contrast on the original image was a little low. The structures within the diatom cannot be resolved here.
Hyrax mount
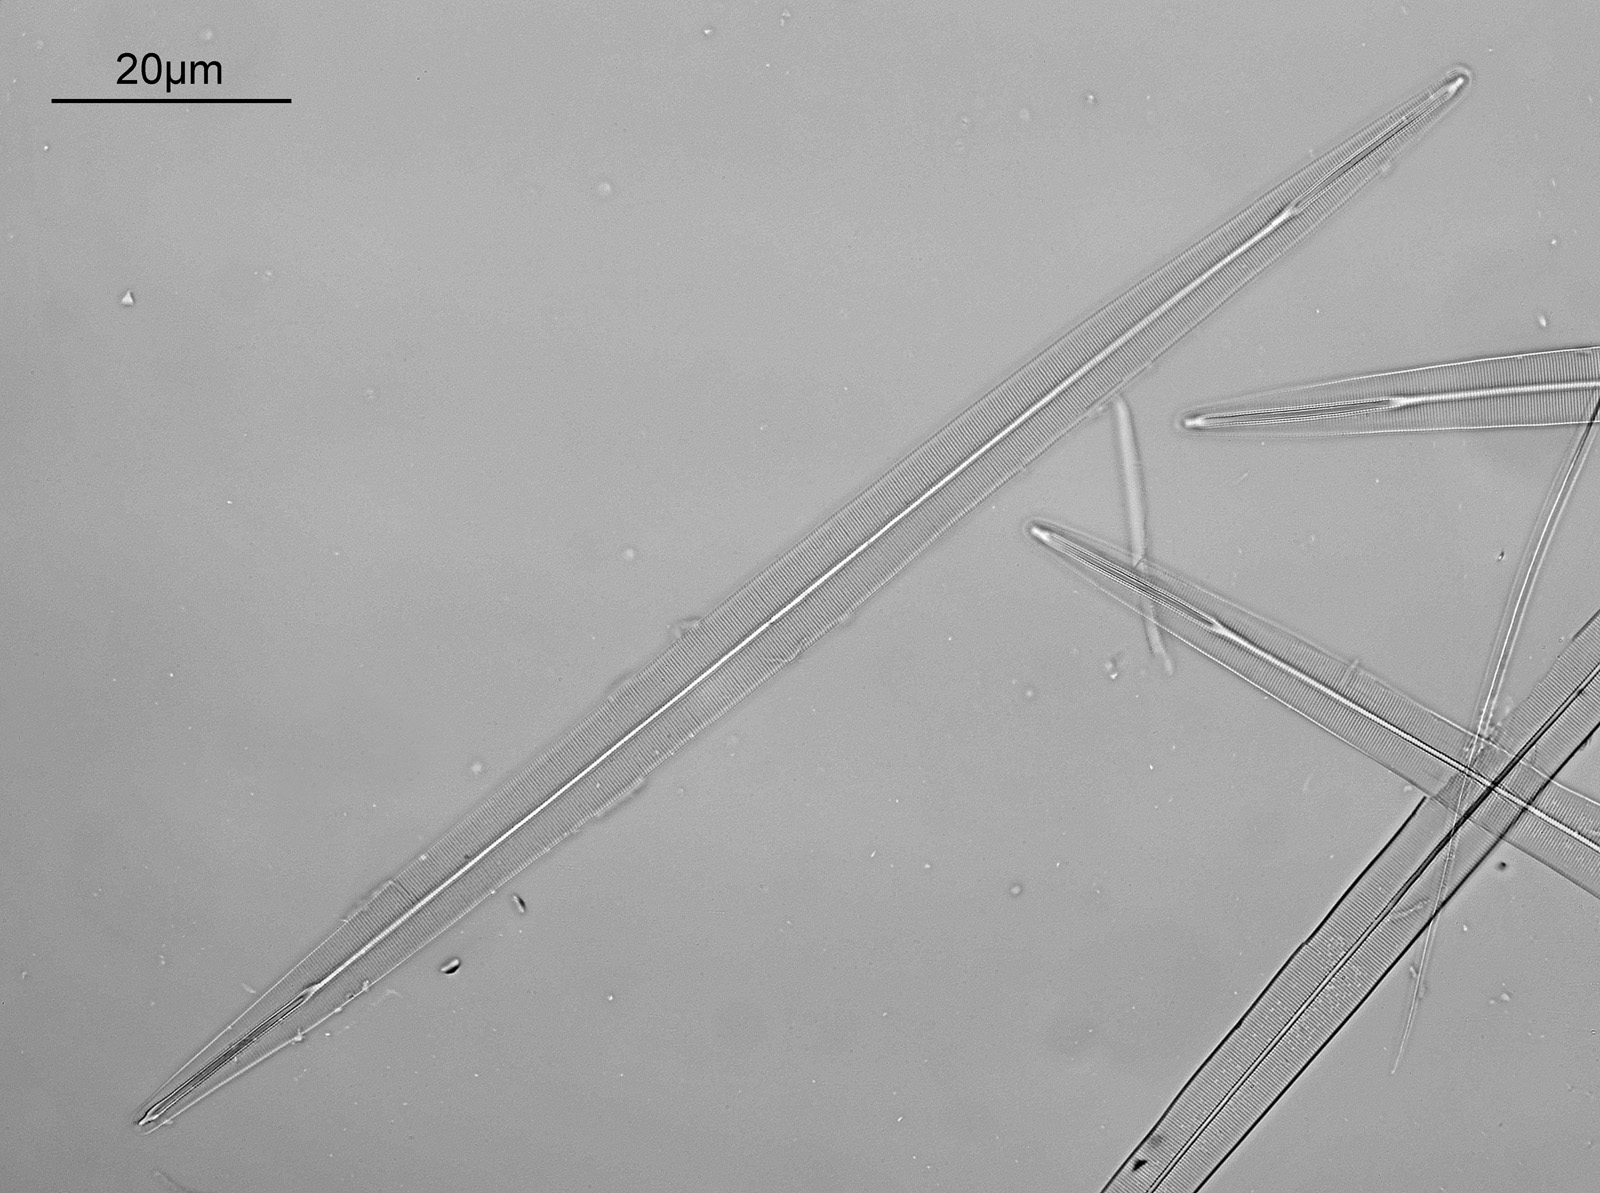
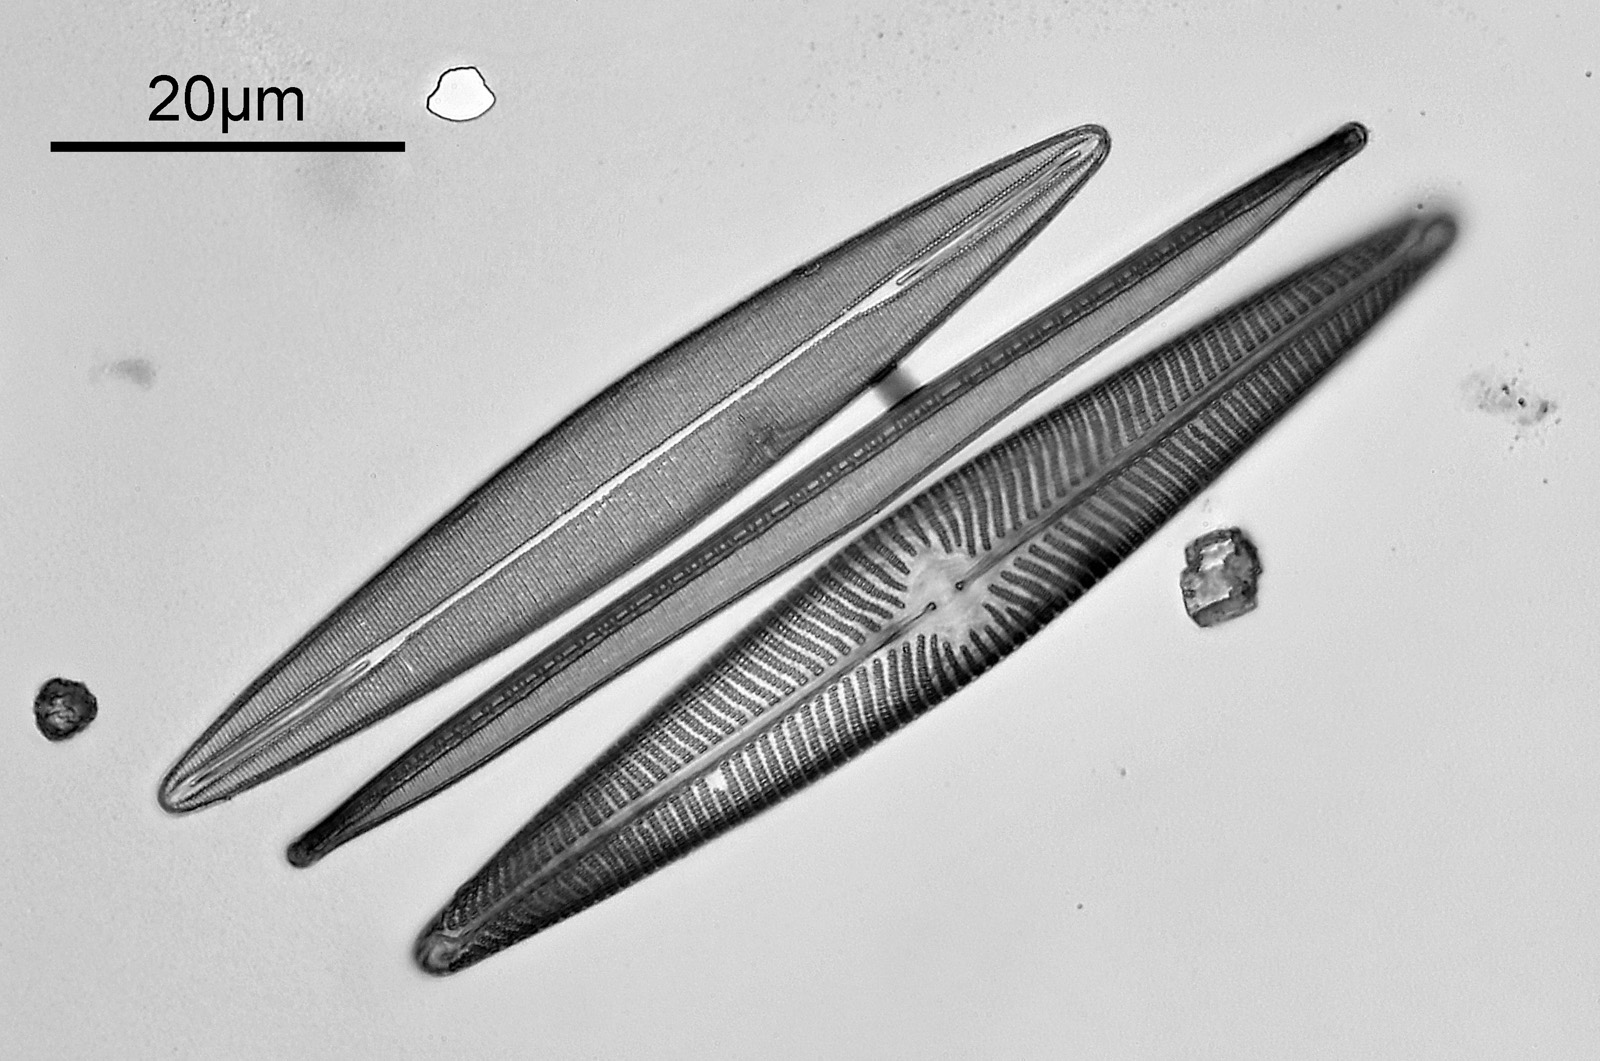
Next is a Hyrax mounted slide, again by Watson.
And the slide.

The diatoms on this slide are larger than the ones on the dry mount, and at this resolution it is s little hard to see the details, so a crop of the main image is given below.
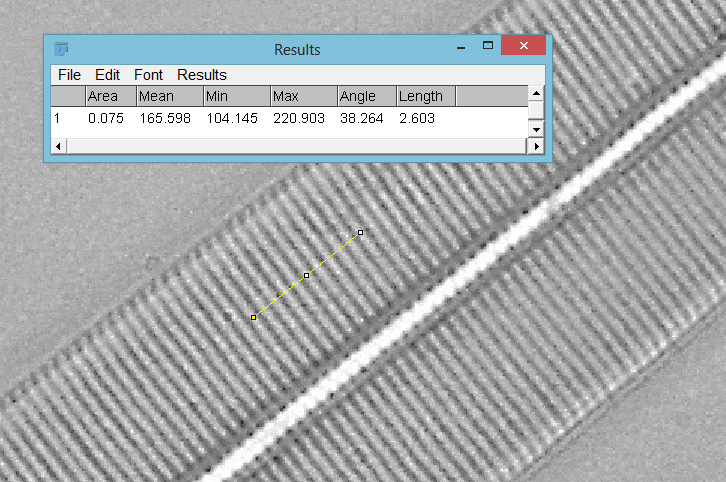
In the crop the striae (lines) in the diatom can easily be seen. Measurement of the spacing between them using ImageJ gave a distance of 2.603 microns for 10 lines, or 260 nm each which is in keeping with the expected values. Overall, while the lines are visible, the contrast between the diatom and its surroundings was still relatively low but better than the dry mount.
TiO2 mount
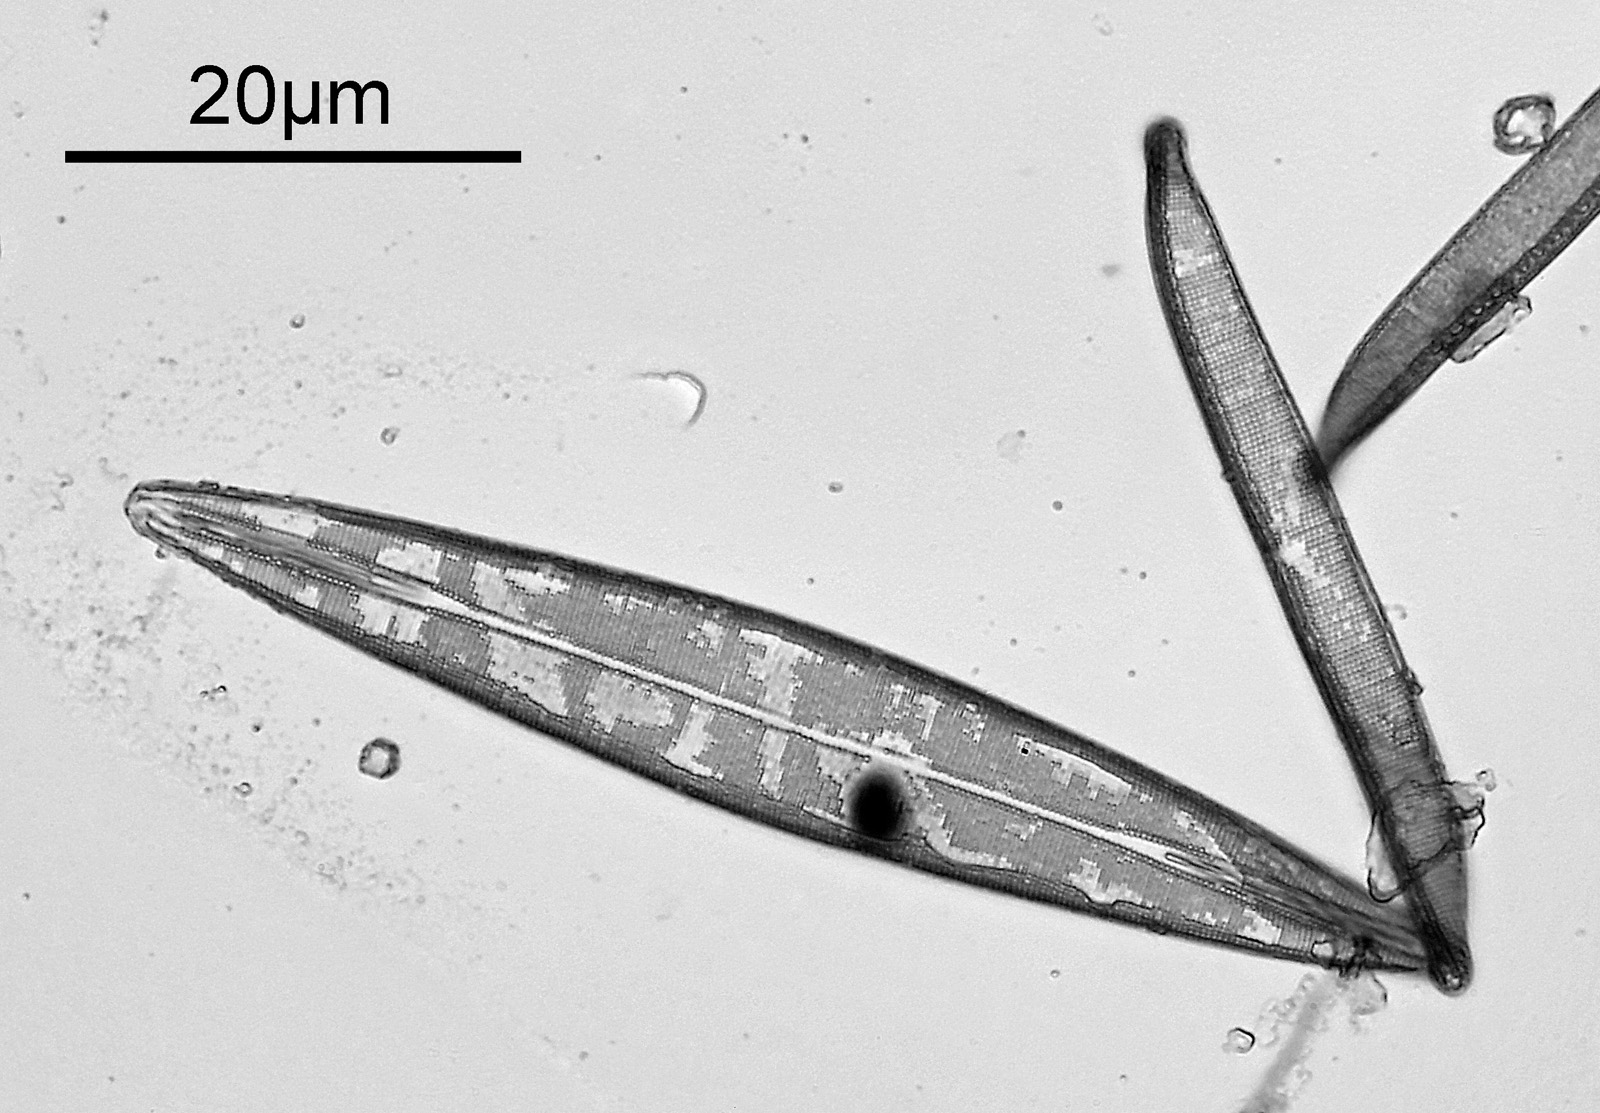
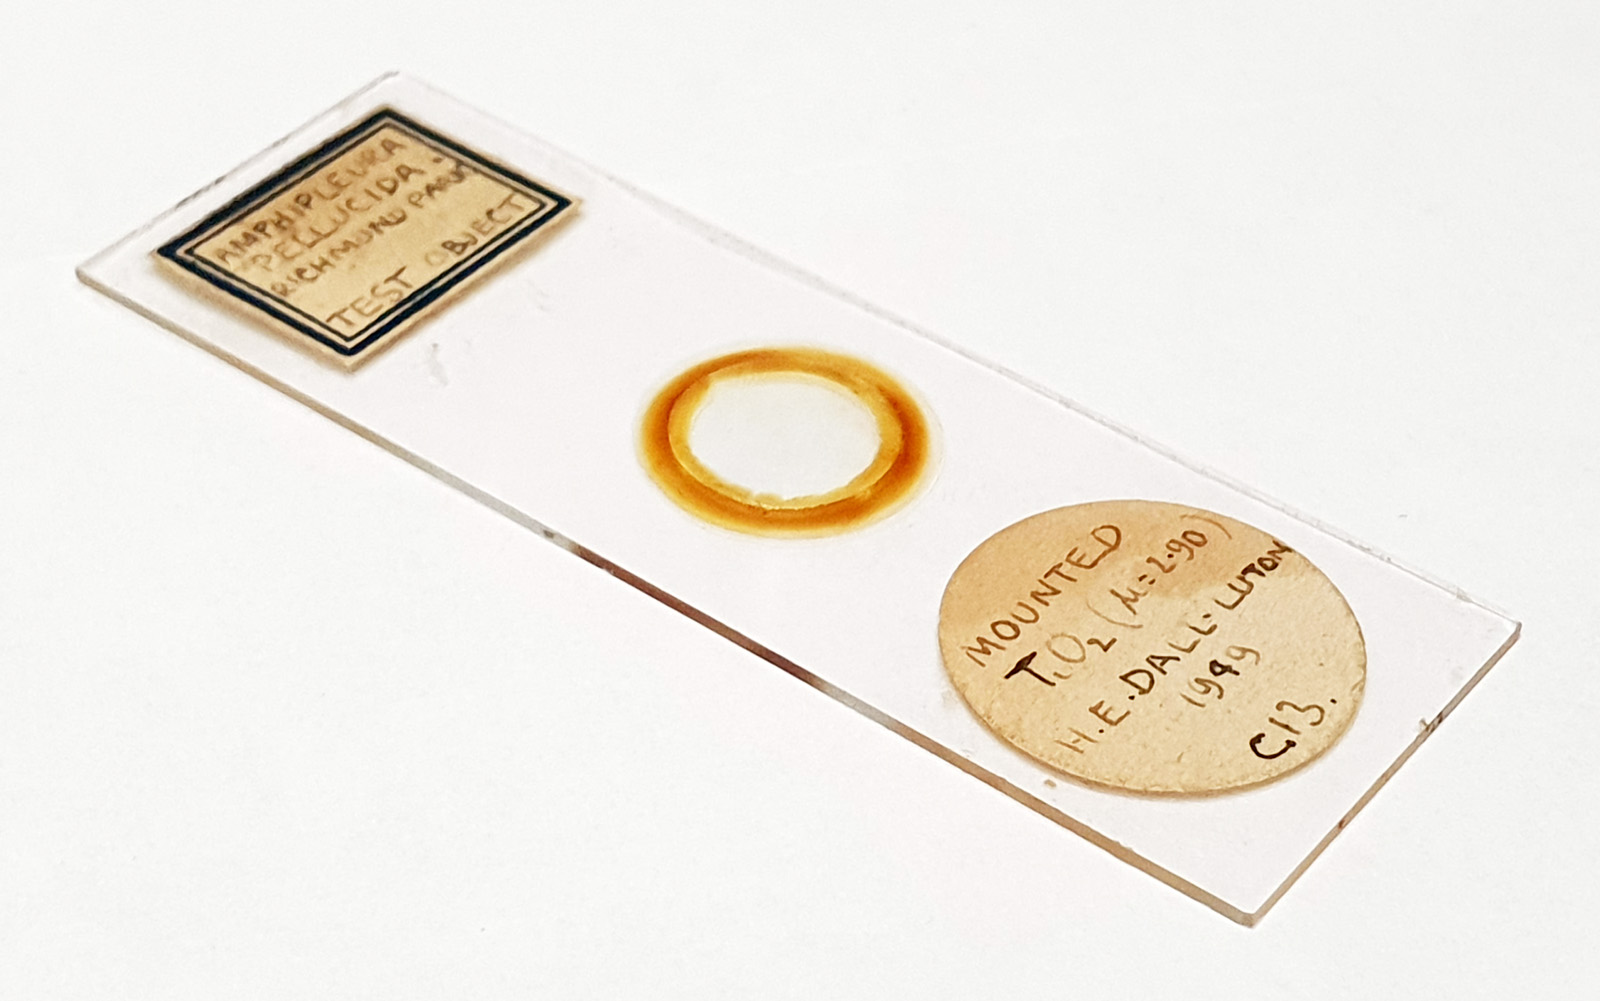
Finally is the TiO2 mount.
The TiO2 forms a layer over the coverslip and diatoms present, and a small hole in the layer can be seen as a white area in the image above. The diatoms were again smaller in this slide, and the striae are very clearly visible. Other images from the slide are below.
And the wonderful slide (I am a fan of Horace Dall’s work).
Mounted in TiO2, the diatoms have much better contrast with the surroundings. The final diatom image above shows some interesting features where it looks like the diatoms have only been partially coated.
Measurement of the striae distances from this slide gave spacings of between 260 nm and 264 nm, so again in keeping with what would be expected for A. pellucida.
What is going on here? There seems to be a clear difference in the appearance of the diatoms between the different mounts (keep in mind all the other settings were kept the same).
The key thing here is the difference between the refractive indices (RI) of the diatom and what it is mounted in. The bigger the difference between the diatom and its surroundings, the more visible it becomes. This is known as the ‘visibility index’ and is discussed further in “Special Methods in Light Microscopy” by Robert McLaughlin.
The RI of silica in diatoms is quoted as 1.434. The adhesive layer on the dry mount slide is likely something gelatin based with a relatively low RI of around 1.5. With relatively little difference between the the diatom and it’s surrounds, the visibility will be low, resulting in low contrast and making it hard to discern details such as the striae.
Next is Hyrax and I have seen this quoted as having an RI of between 1.65 and 1.70. This bigger difference to the silica of the diatom, increases this visibility index, and a higher contrast is seen making it easier to see the fine striae.
The final on is TiO2. It’s RI is very high, and is written on the slide as 2.90. This is hugely different to the diatom silica, and the result is a much higher contrast image, making the diatom and its structures easier to see.
As you can see, going to a higher refractive index is beneficial for imaging diatoms as it improves contrast and helps with visibility. It should be remembered that what is being enhanced is contrast and not resolution (which is defined by wavelength of light and NA of objective and condenser). The resolution of the setup is the same for all these slides, but changing the mountant varies the contrast and therefore the visibility of the features. Interestingly, although perhaps not visible on the images at the resolution on here, the lines on the TiO2 coated slide were sometimes a little less well defined than the Hyrax slide. I think what is happening here is that the TiO2 is forming a layer over the diatom which is ‘a few’ nm thick and with minor variations in thickness. I think it is these variations in thickness which are being imaged and resulting in a slight waviness of the lines.
If you’ve made it this far, well done, and I hope you found it interesting. As always, if you’d like to know more about my work I can be reached here.