
Those that know me, know I have built myself a UV capable microscope primarily for imaging sunscreens at 365nm and 313nm. I also enjoy imaging other things and diatoms are great for UV imaging as the achievable resolution for a given setup improves as the wavelength decreases. However there can be issues with UV imaging – glass absorbs short wavelength UV, so optics and slides need to be made of quartz or fused silica when going deeper into the UV. Normal slide mountants absorb short wavelength UV, so things like glycerin need to be used. UV dedicated objectives tend to need non standard thickness coverslips, which can be expensive and awkward for getting slides made up. However there is a bit of a middle ground – imaging slightly into the UV at 365nm means that often fairly conventional microscope optics can be used, and normal slides are usable (depending on the mountants). In today’s post I return to a favourite of mine – the diatom Amphitpleura pellucida – which has particularly small features, and is a real challenge to image with optical microscopes.
The microscope I used was my modified Olympus BHB. The objective was a 63x Leitz Pl Apo NA 1.4 (oil immersion). The condenser a Watson Quartz Cassegrain. The light source a 365nm LED torch. A 2.5x Nikon CF photoeyepiece was used, and 2x 365nm, 10nm bandpass, Edmund Optics filters were stacked together to filter the light going to the camera. The camera was a monochrome converted Nikon d850 by MaxMax. No stacking at different focus depths was used, however 10 images were averaged within the d850 using its own handy multiple exposure feature. The image is cropped from the full sized one, but is shown at original pixel resolution. Finally after all that, here’s the image showing one end of an A. pellucida diatom.
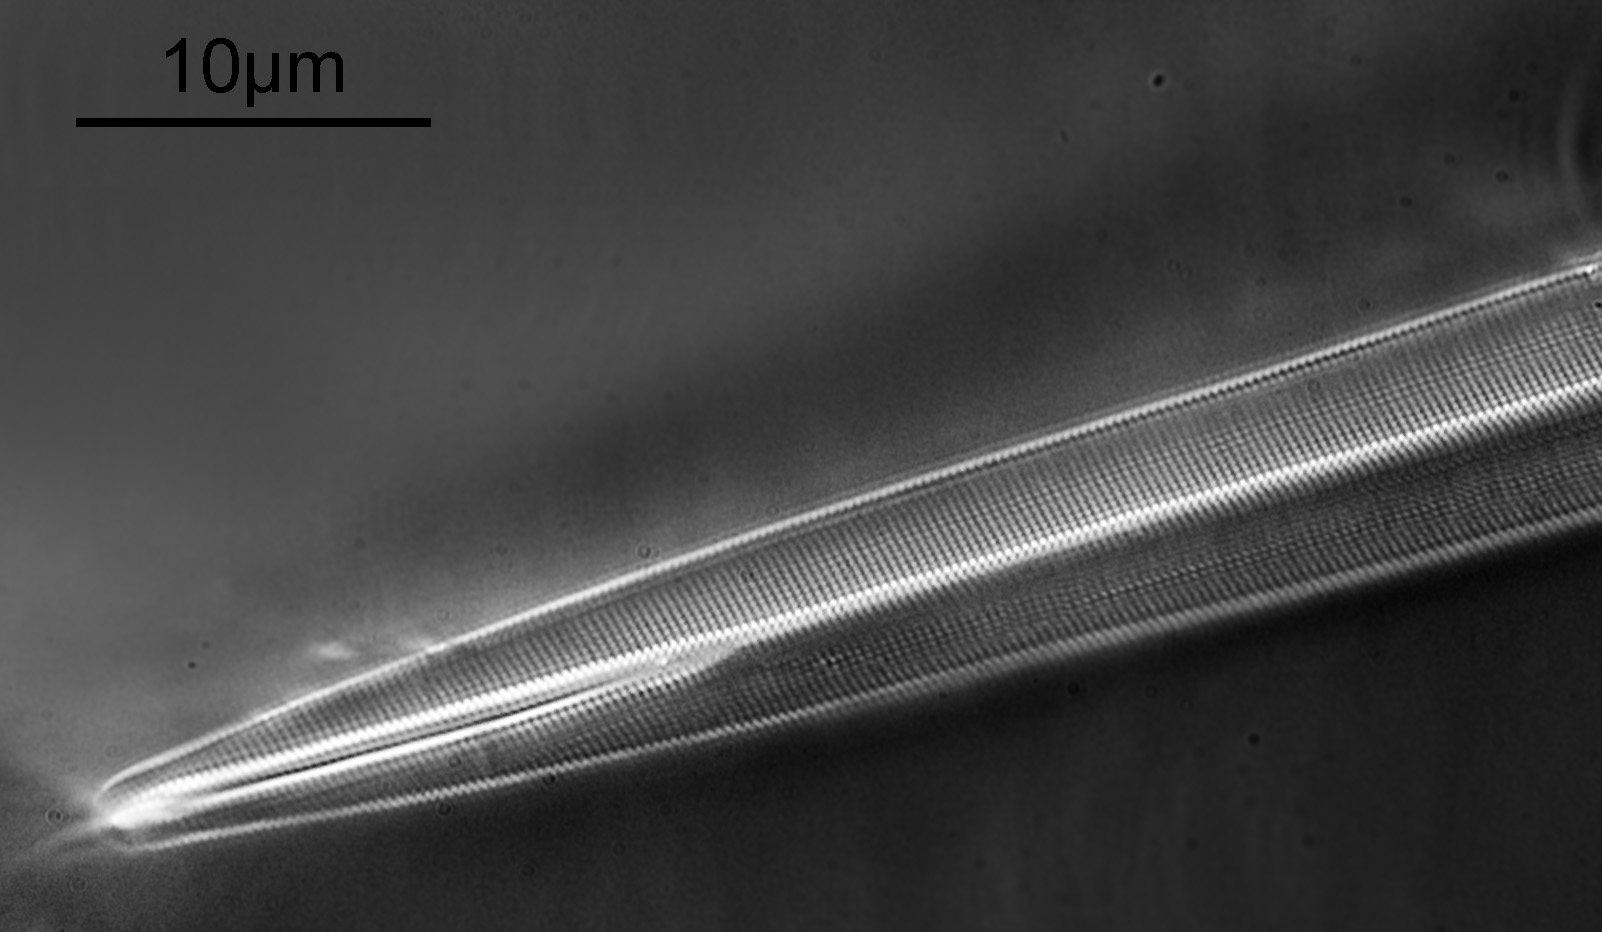
A. pellucida is a challenging diatom to image as the striations and puncta are so close together (distances of about 200nm apart) with the striations being slightly further apart than the puncta. Usually a combination of oblique and polarized light are needed to resolve both striations and puncta when using visible light. I used a standard (although very high quality), non UV specific objective, a 63x Leitz Pl Apo NA 1.4 in combination with a Watson Quartz Cassegrain dark field condenser which I currently have access to. This condenser has a high NA of about 1.4, and when used in combination with the high NA Leitz objective gives me a circular oblique illumination (not quite full dark field). I did not use any polarization, and just used a cheapy eBay 365nm torch as the light source. The end result was clearly defined striations and puncta and I was able to get some measurements on the distances between them using ImageJ. Firstly, the striae.
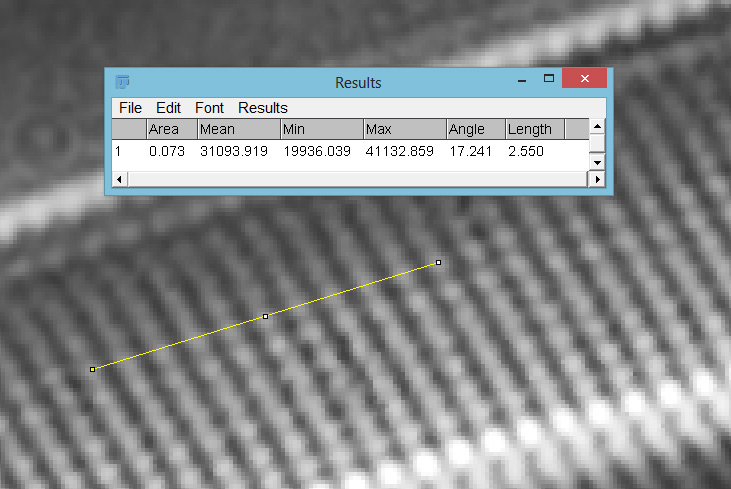
Between 10 striae there was 2.55 microns, corresponding to a 255 nm distance between each one.
Next the puncta.

Between 5 punctae there was a distance of 1.081 microns, corresponding to a distance of 216 nm between each one (given how narrow the diatom is I wasn’t able to get a reliable reading between 10 like for the striae, hence I just did 5). So a striae spacing of 255 nm and a puncta spacing of 216 nm, which is in the same ball park as the values I have seen in the literature for this diatom. Let than sink in for a moment, the features in the image above are just over 200 nm apart, that is 250x less than the diameter of a typical human hair (50 microns), 40x less than the diameter of a red blood cell (8 microns), and more like the size of a single virus.
The camera used was my monochrome converted Nikon d850, and I did do something more than usual when capturing the image. The image was taken as a 10 shot average stack done within the camera, where 10 images are combined together and averaged to produce the final image. This was done to reduce noise (even though ISO100 was used, exposure times were about 1s) and to help define the small features in the diatom. I saved it as a RAW file (NEF format). This was then put into Monochrome to DNG which can take a RAW file from a monochrome converted camera and process it to take into account the de-bayered sensor, the results being an improvement in resolution vs. not doing this. Different people claim different amounts of improvement but the effects are certainly noticeable here as I also tried processing the image without do this. After this the DNG file went into Darktable and processed as I would with a normal RAW file, before being exported as a 16 bit TIFF file. This then went into Photoshop for final cropping and processing. All in all it took about 45mins to do this processing, and there was the benefit here of not working with stacking images which can be very time consuming for my old PC.
I have tried imaging A. pellucida before with UV (for example here) and have never been really happy with the results. The image shared here today is the best I have managed to get of it so far, and I love the 3D effect the lighting gave to it combined with the fantastic resolution. What amazed me more though was actually I didn’t use that much in terms of ‘dedicated UV’ optics for this. The objective and the slide are standard not UV specific, as is the photoeyepiece. The condenser is, but there are options for high NA dark field condensers which have reasonable transmission at 365nm. The camera obviously need modifying, and the bandpass filters need buying, but the light source cost me about £30 on eBay.
Before I go, here is the slide.
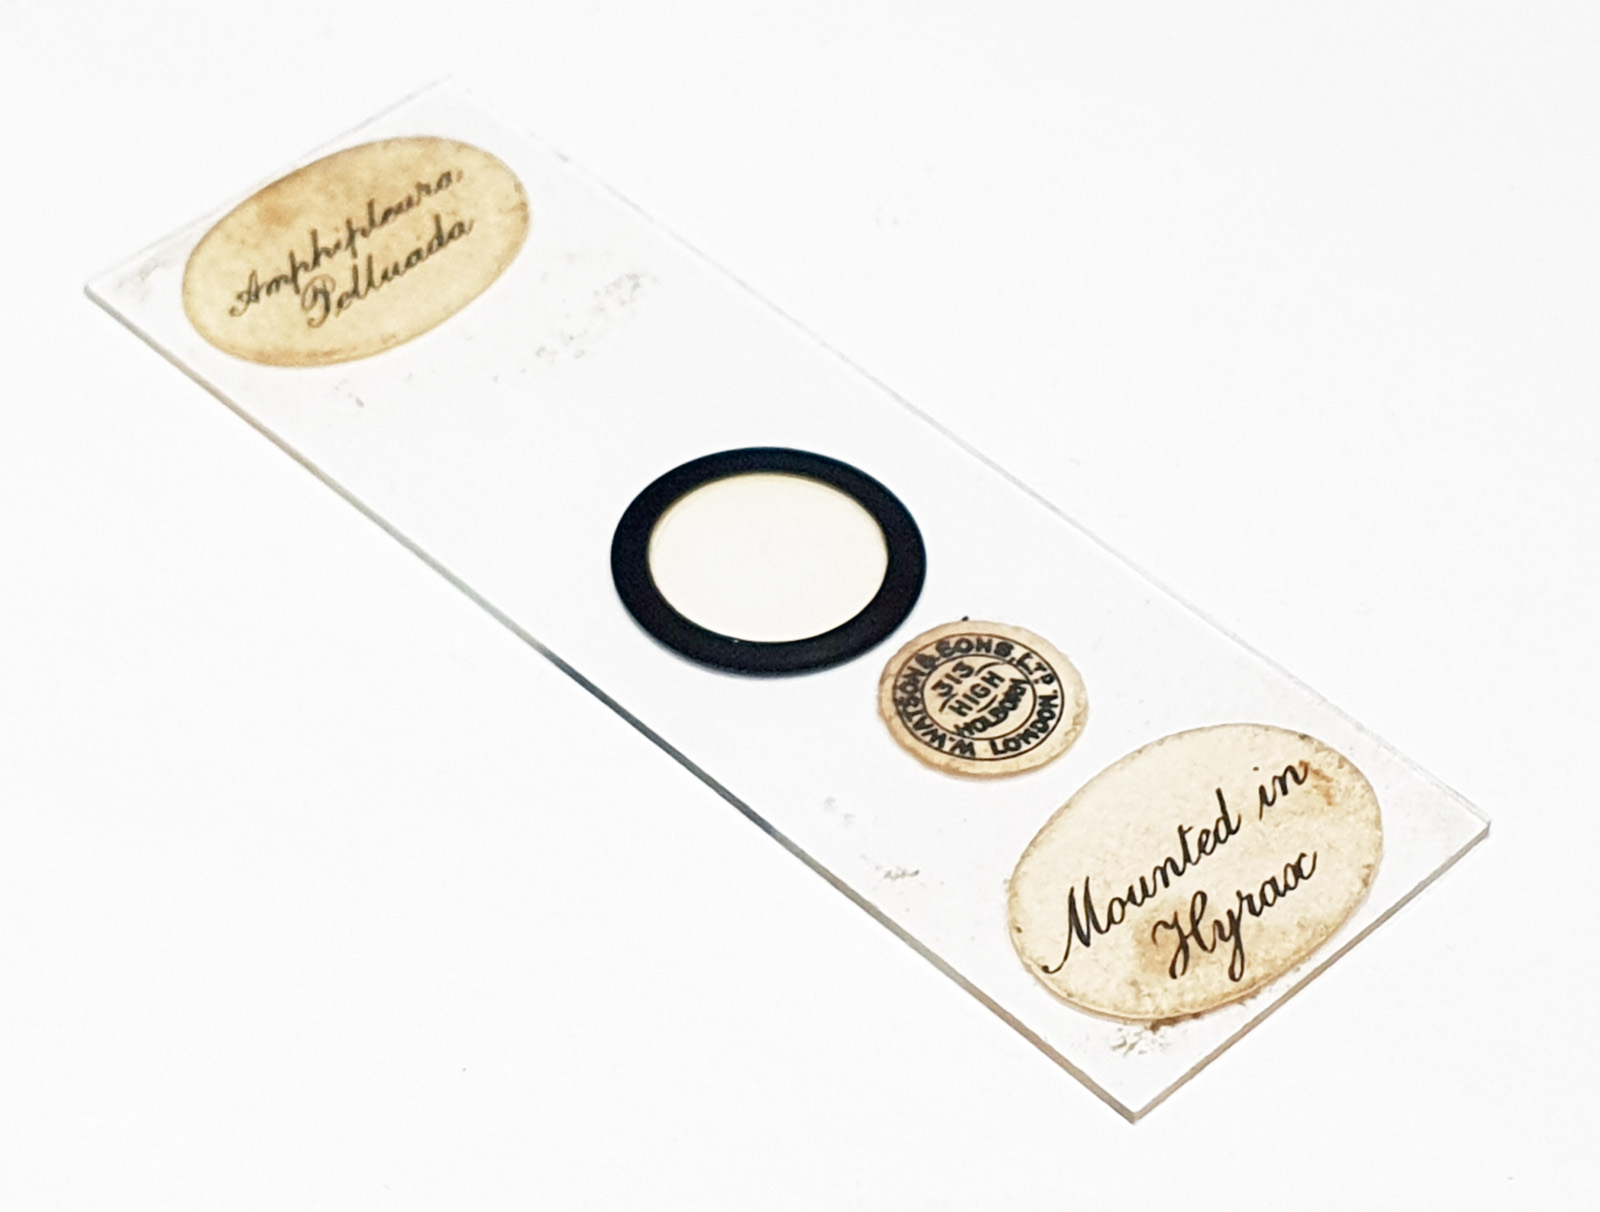
It’s a Watson slide, and is a strew of diatoms mounted in Hyrax. As always thanks for reading, and if you’d like to know more about my work, I can be reached here.