During my research into UV microscopy I’ve come across references to various different objectives. Some of these were refracting objectives, with quartz and sometimes other exotic lens elements. Other are reflecting objectives, which are based on the use of mirrors (and in some cases refracting elements as well). Today I’d like to share some findings on a recent acquisition – an American Optical 50x NA 0.56 reflecting objective. To start with some images of it.


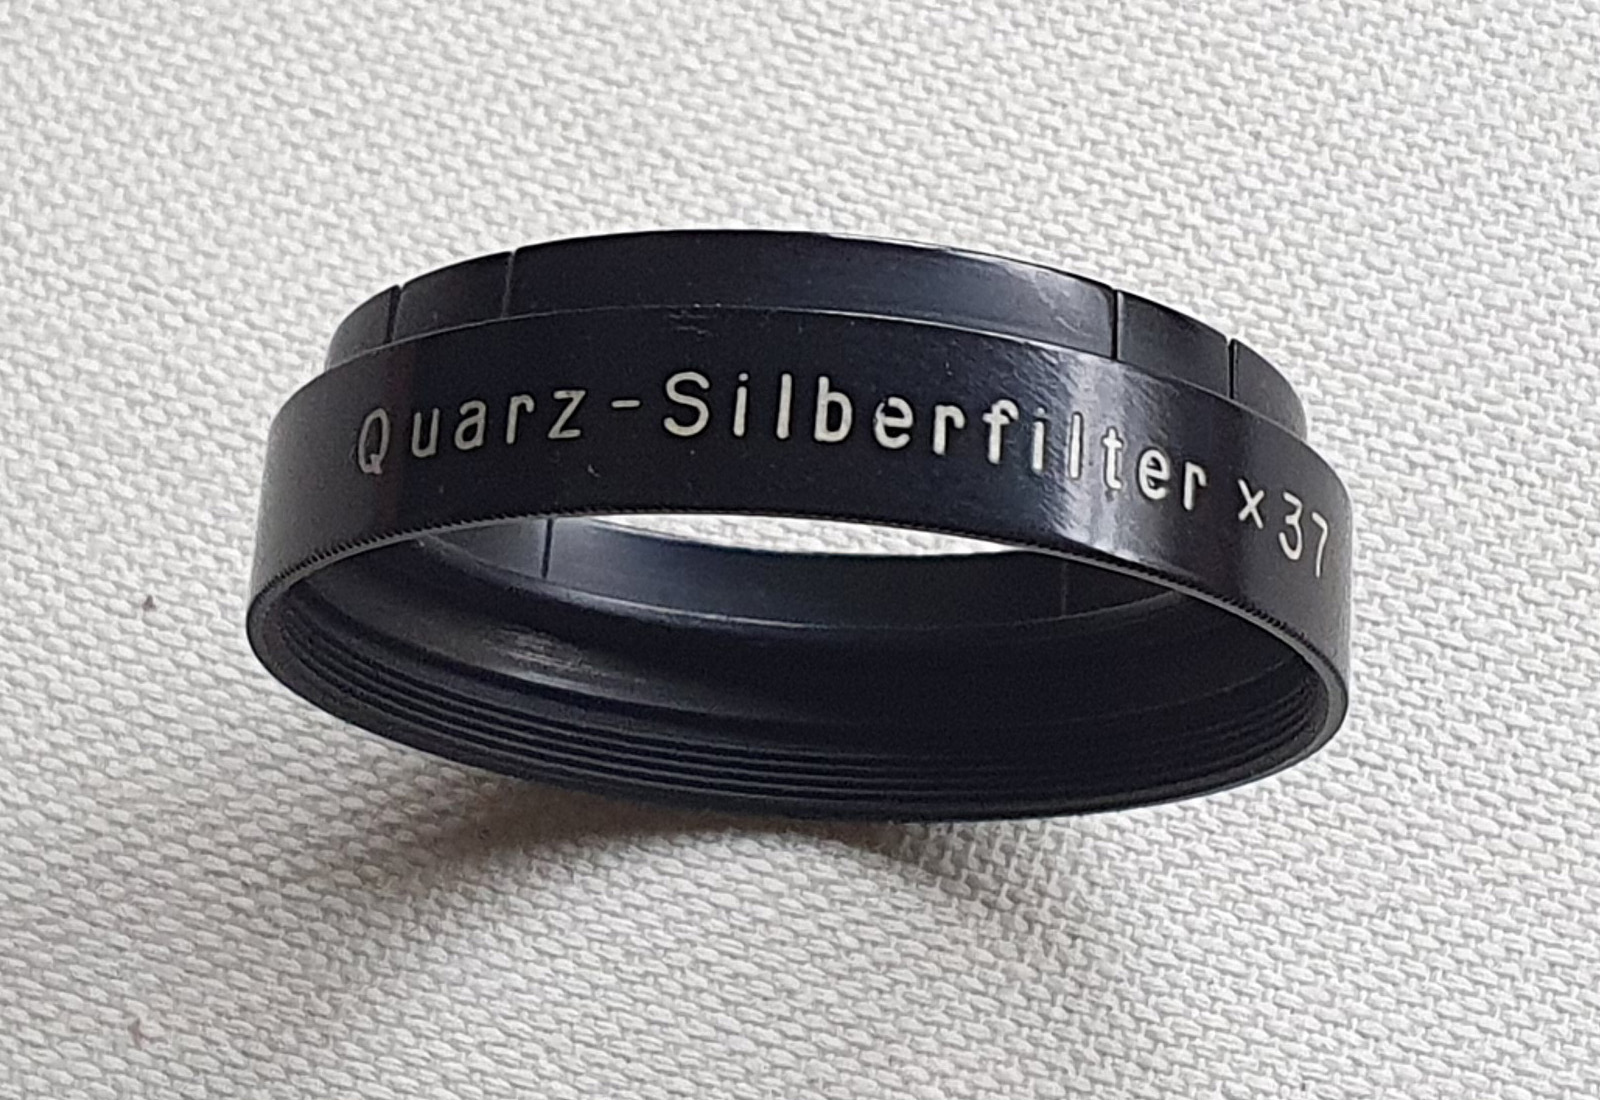
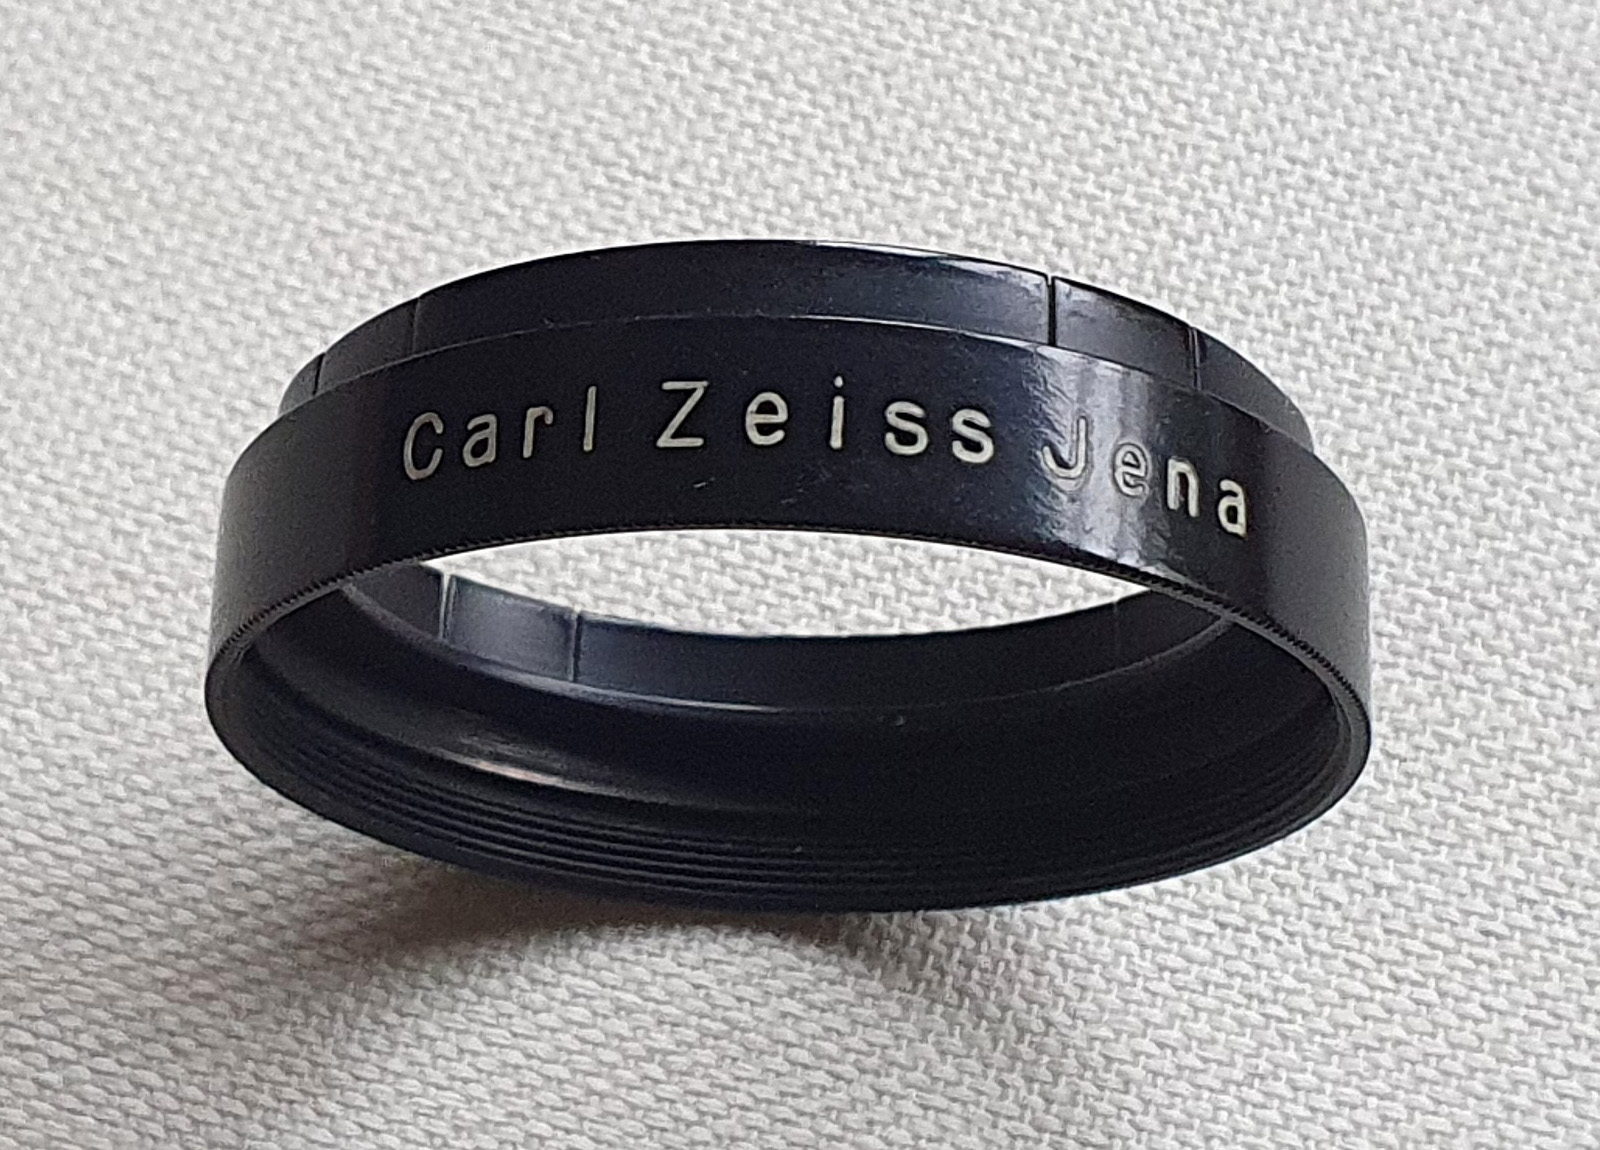
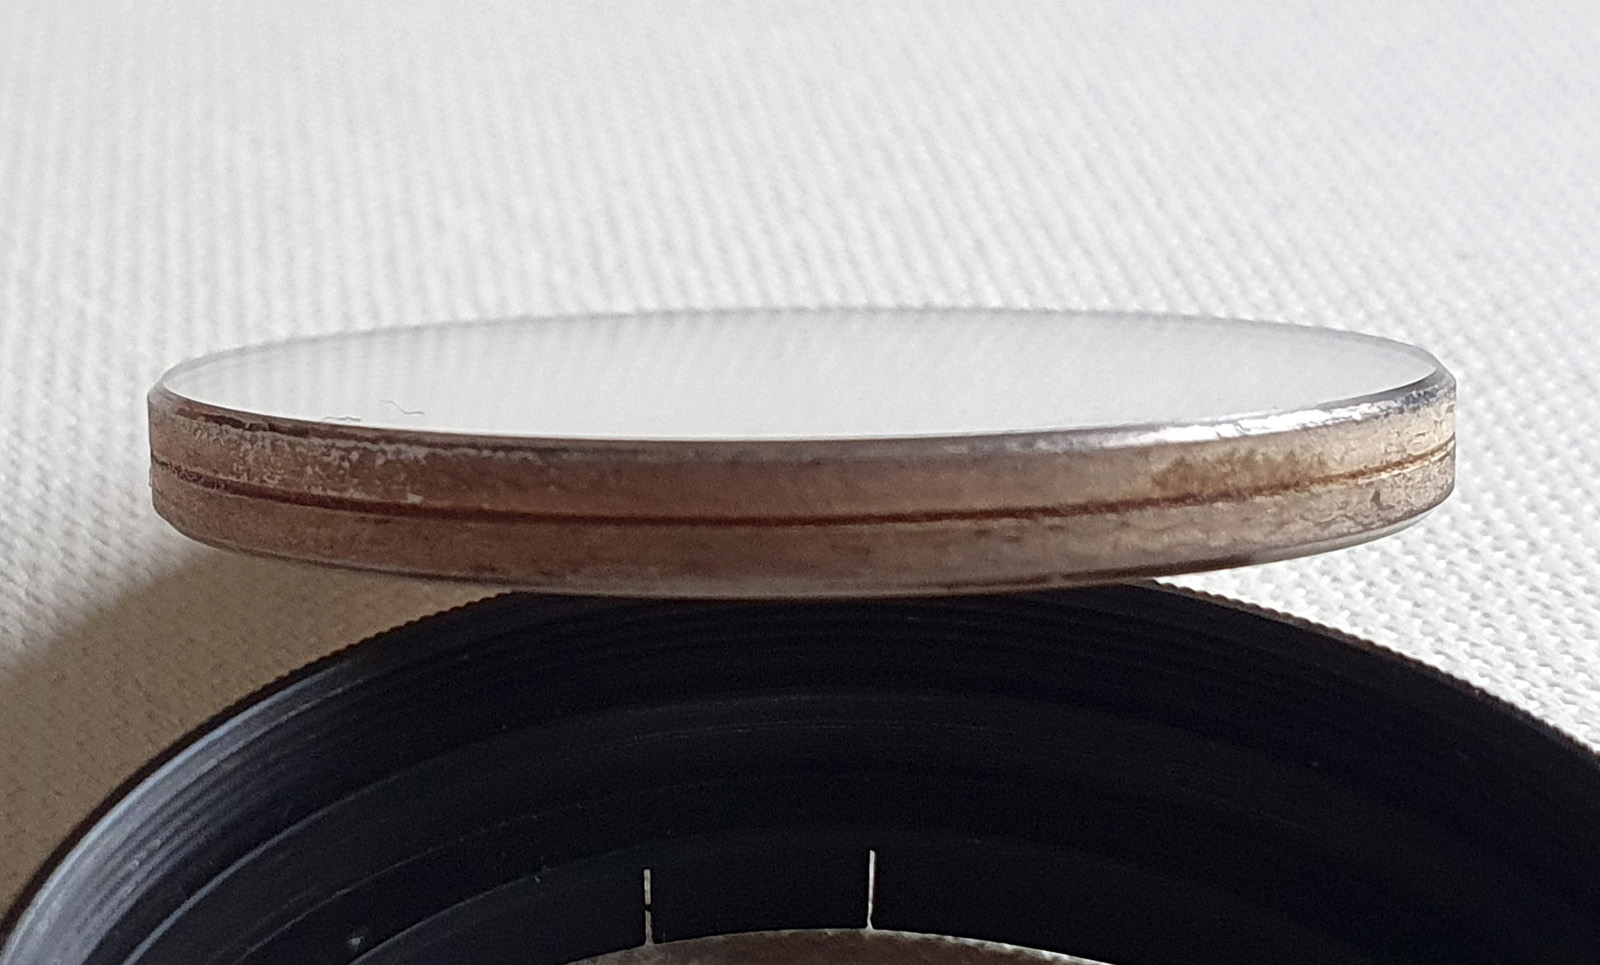
It’s quite a tiny little thing. RMS threaded, and comes in its own box with a plastic push on cap to protect the front face. It is 50x and NA 0.56 and is designed to be used dry. It is marked ‘AO’ and ‘Spencer Made in USA 946485’. Mine is also engraved with ‘UC ZOO 66079’. This has been professionally done (not scratched on as these things are so often done), and presumably a University Zoology department. On the front of the objective there is a small opening and the 3 legged ‘spider’ that holds the small tiny mirror. Here is the entry for it from an AO catalogue.

Interestingly (and incorrectly) the catalogue entry states this is a catoptric objective. There is at least 1 refractive element to it and this can be seen in the image of the rear of the lens near to where it is threaded. It was designed to be used in spectrophotometric work from ultraviolet through to infra-red.
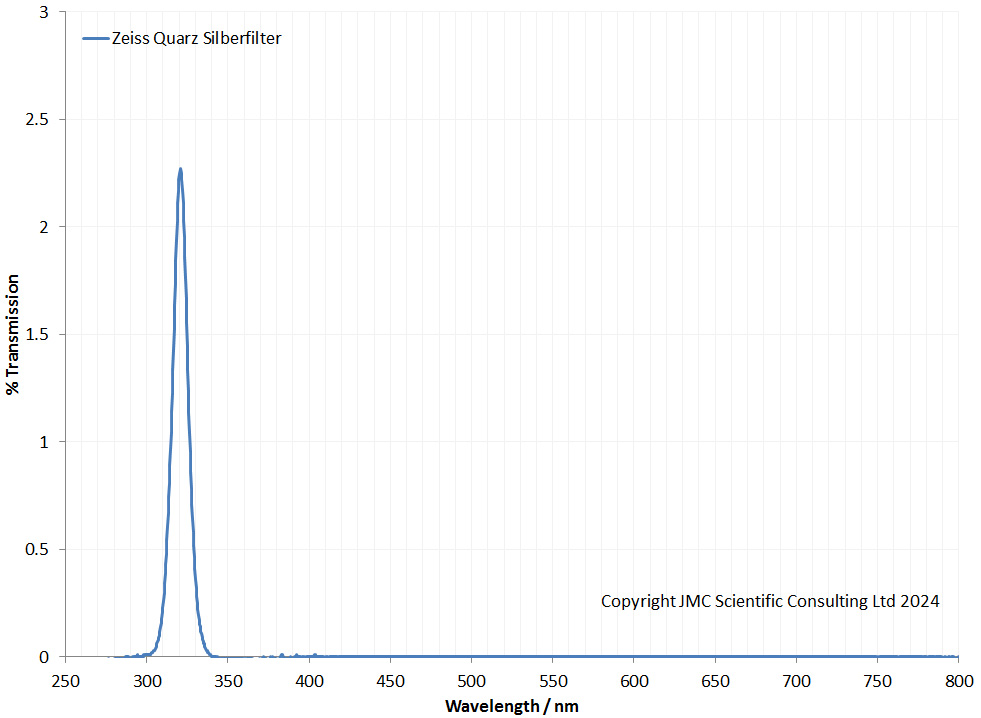
Next I measured the optical transmission through it in the UV (UV is more of my area than IR).
Transmission remains relatively flat between 280nm and 420nm, and I have no doubt this is a true UV capable objective (something with normal glass elements would not transmit down to 280nm). Overall % transmission is low as there is some clipping of the beam by the objective, and is nothing to worry about.
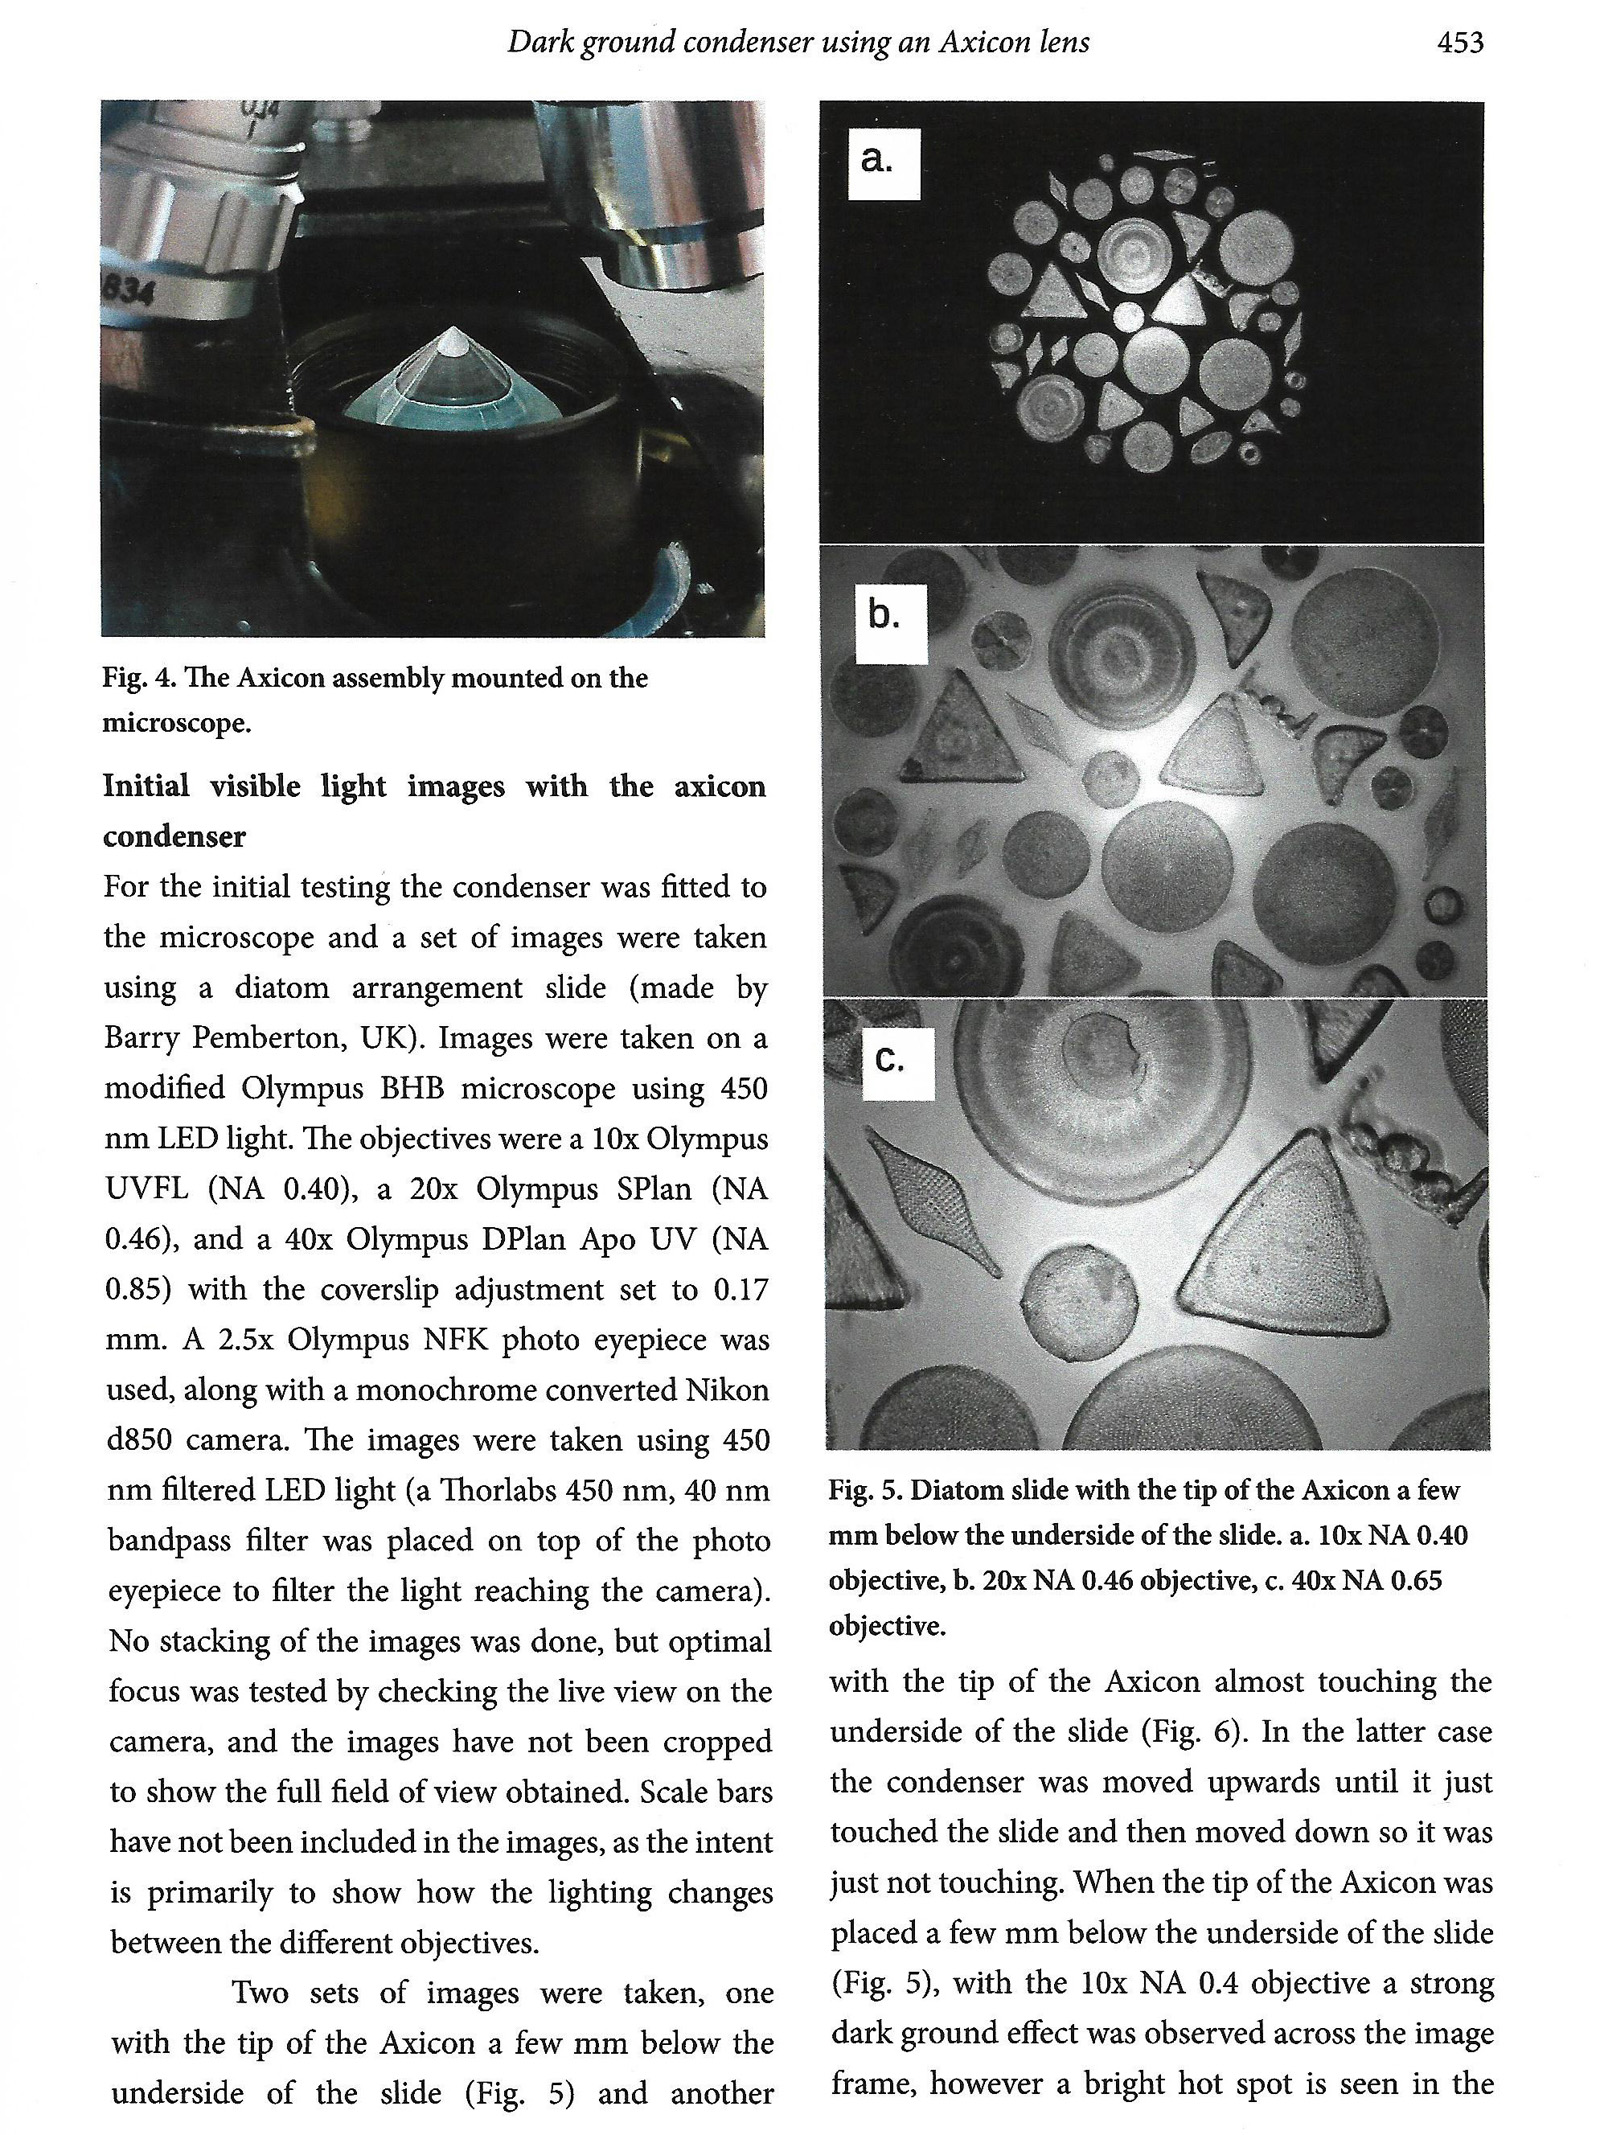
Next some tests on the microscope. I mounted it to my Olympus BHB microscope using a 8mm RMS spacer (just to get it approximately parfocal to my other objectives). Imaging was done with an Olympus Aplanat Achromat condenser, brightfield, optimized for each photo. Monochrome converted Nikon d850 camera. 450nm LED light.
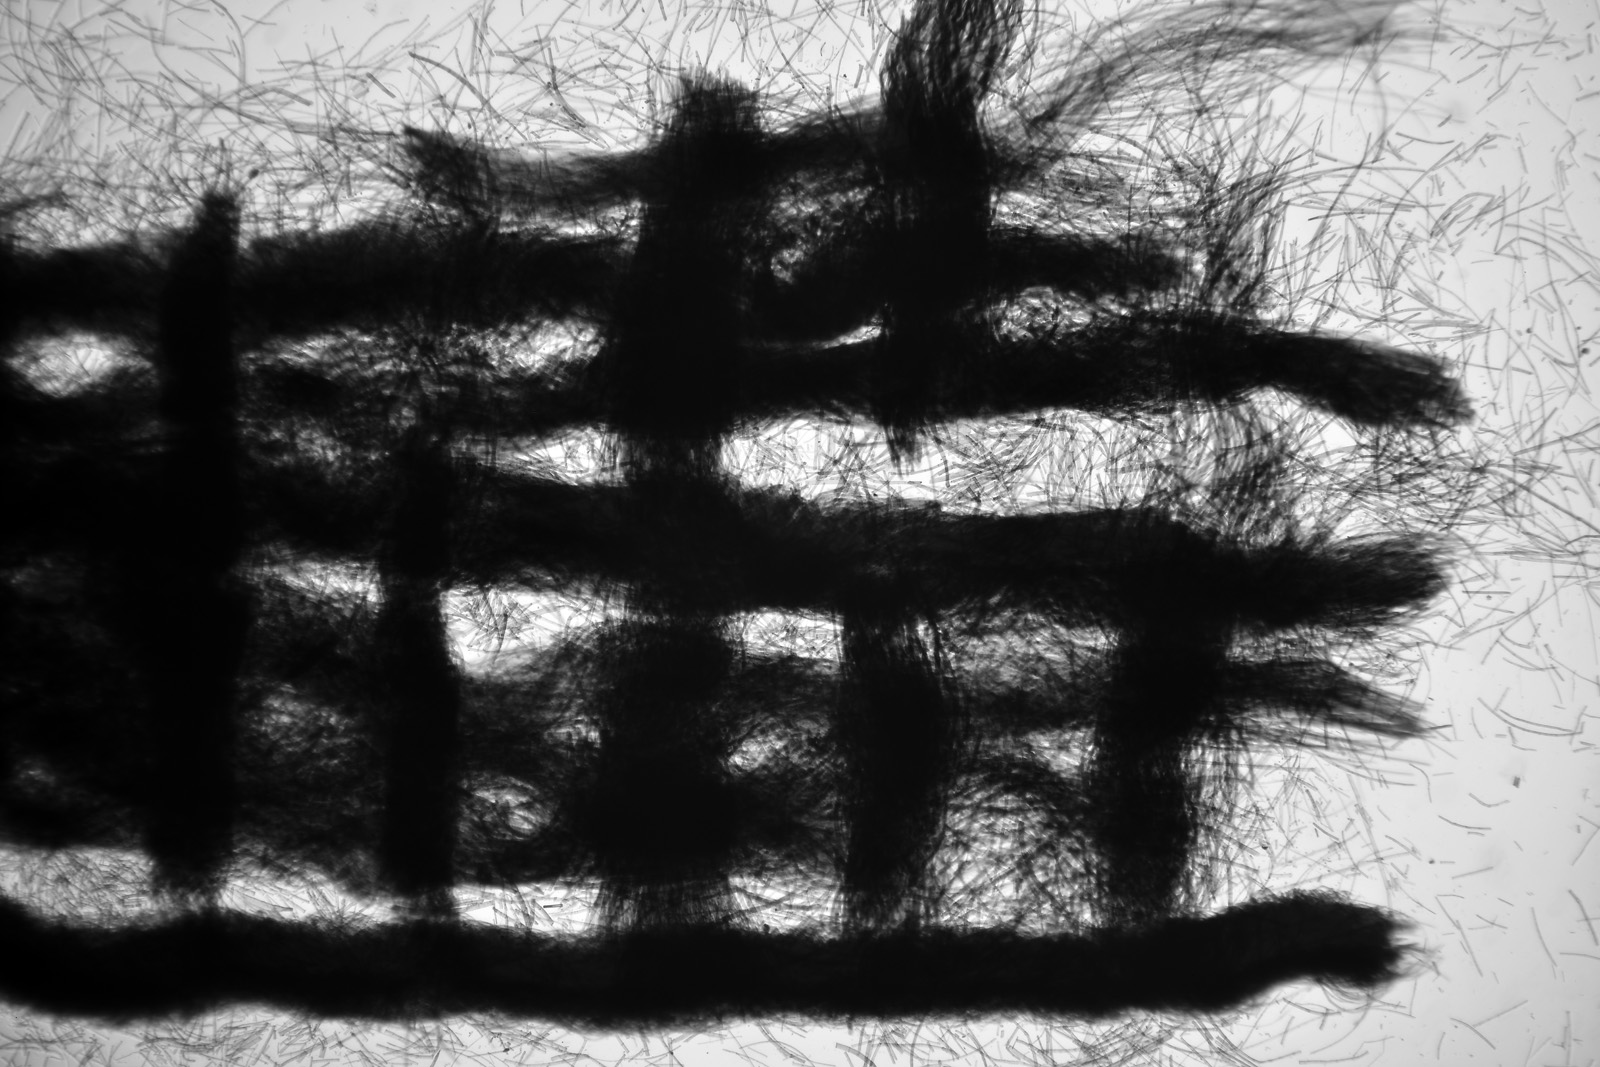
First a Beck Optronics Silverpoint test slide, used to check alignment of reflecting objectives, which showed no obvious streaks which would indicate the mirrors weren’t aligned properly (thankfully).

Changing the focusing of the slide showed nice circular features as it went in and out of focus, with the 3 legs of the spider being visible.
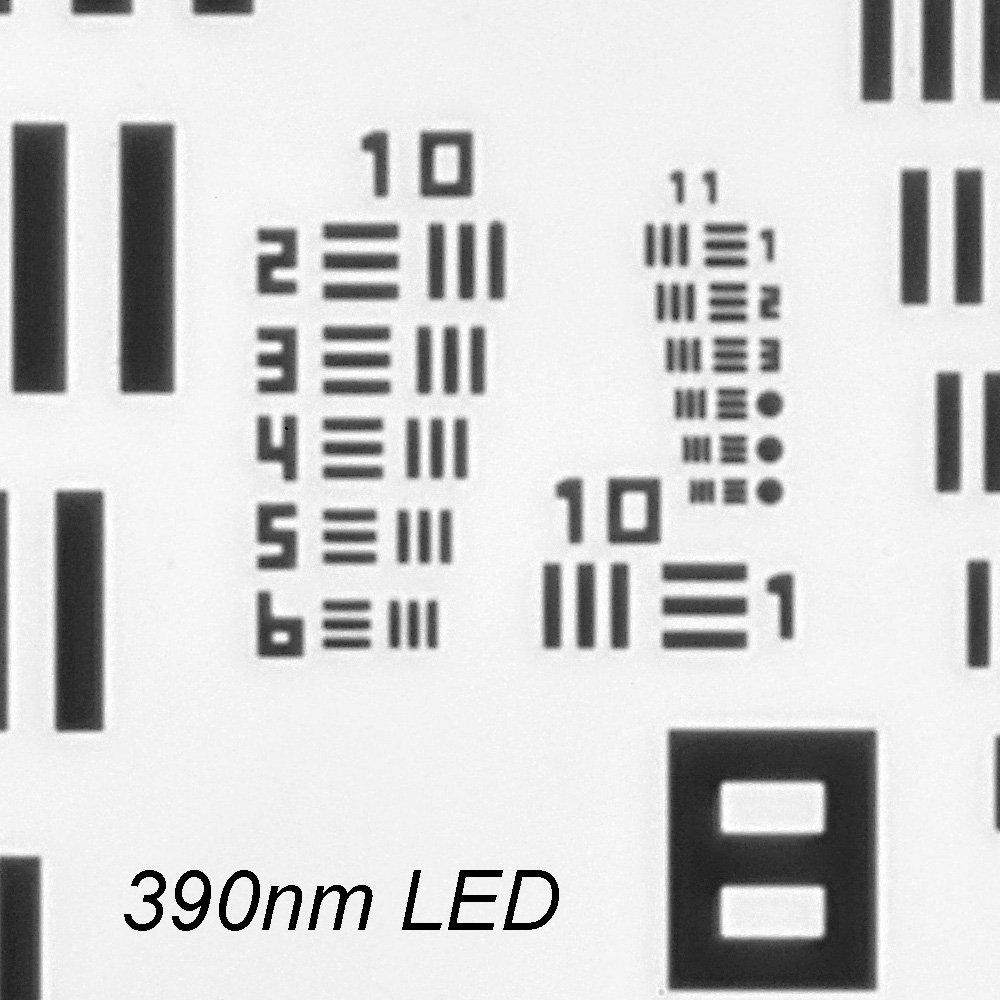
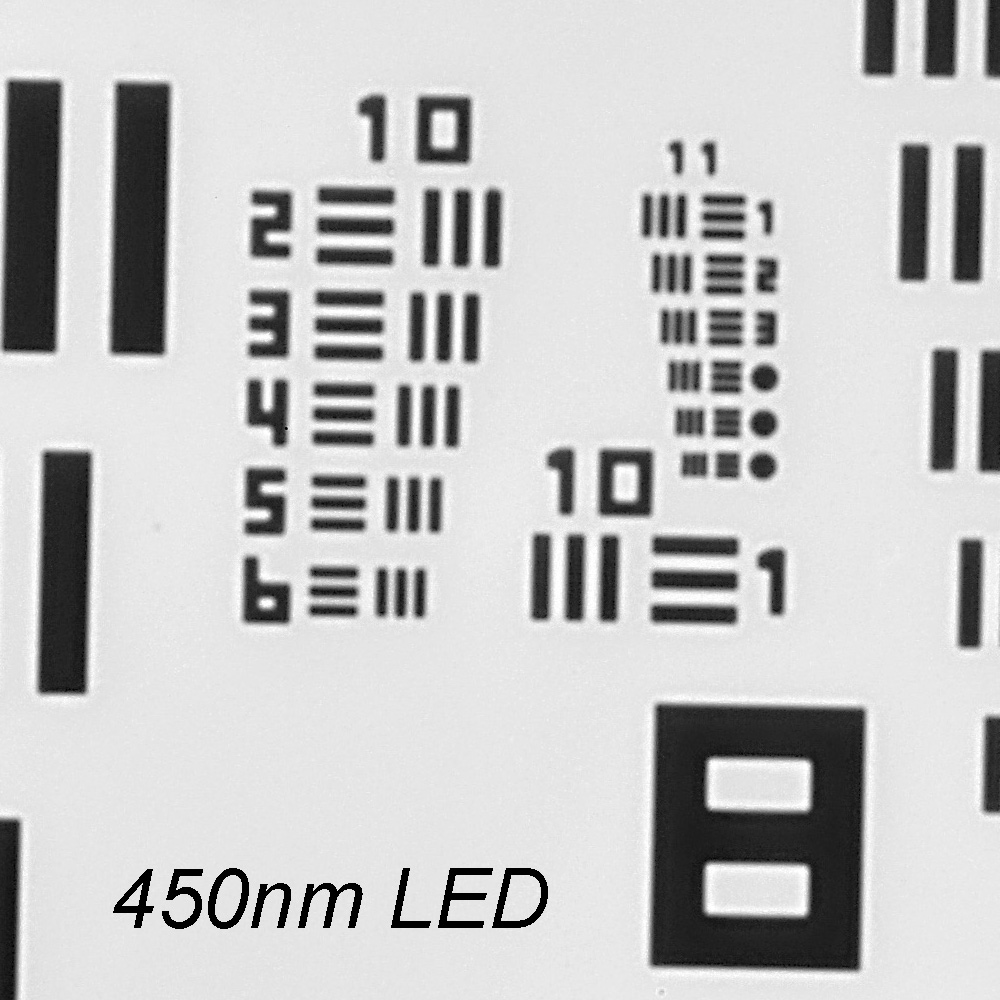
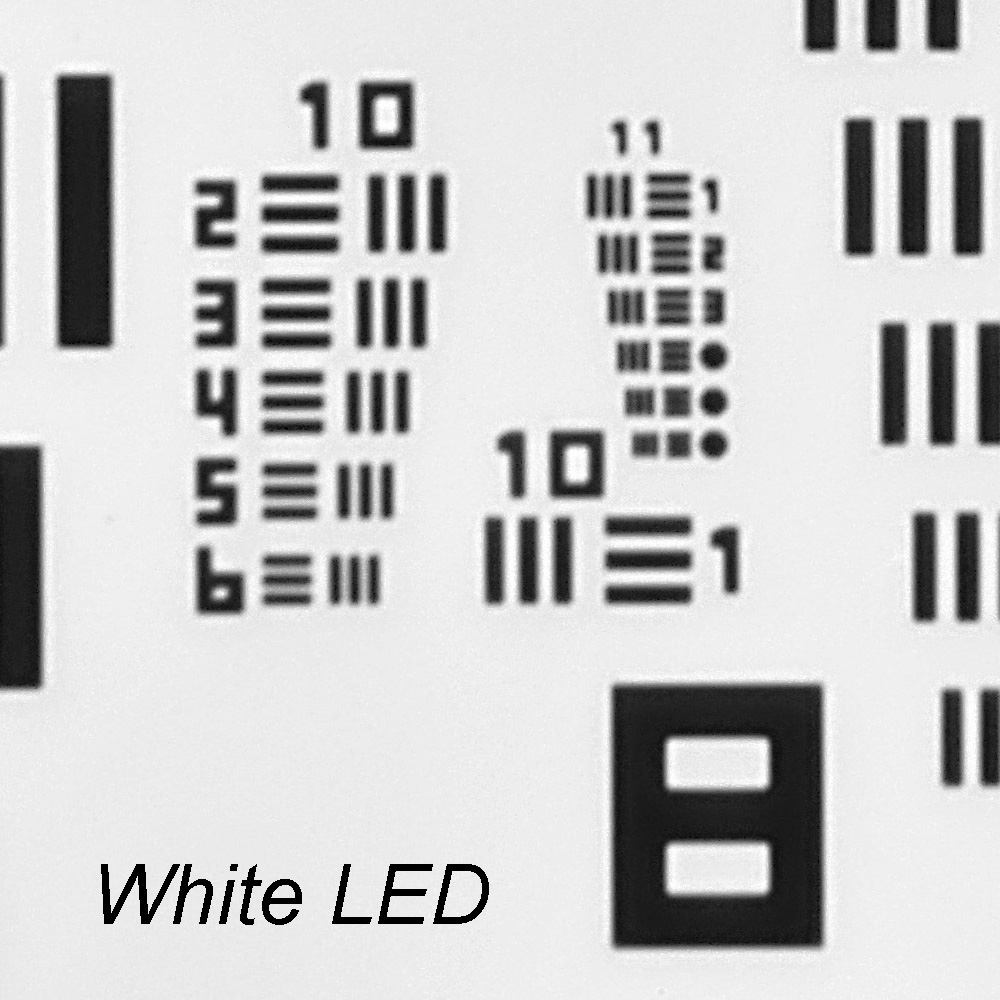
Next a resolution test. Three images of a Newport test slide. The AO objective, and then 20x NA 0.65 and 10x NA 0.45 Nikon Plan Apo objectives.


The resolution for the AO reflecting objective (with its 0.56 NA) is certainly up there with the 20x Nikon NA 0.65. The AO image is more ghostly than the other two (which are Plan Apochromats) which I often see for reflecting objectives. In hindsight this was not the best test to do, as the image was so small with the 20x and 10x objectives, that the features were approaching the size of the pixel resolution on the camera. However it highlighted no major issues with the objective.
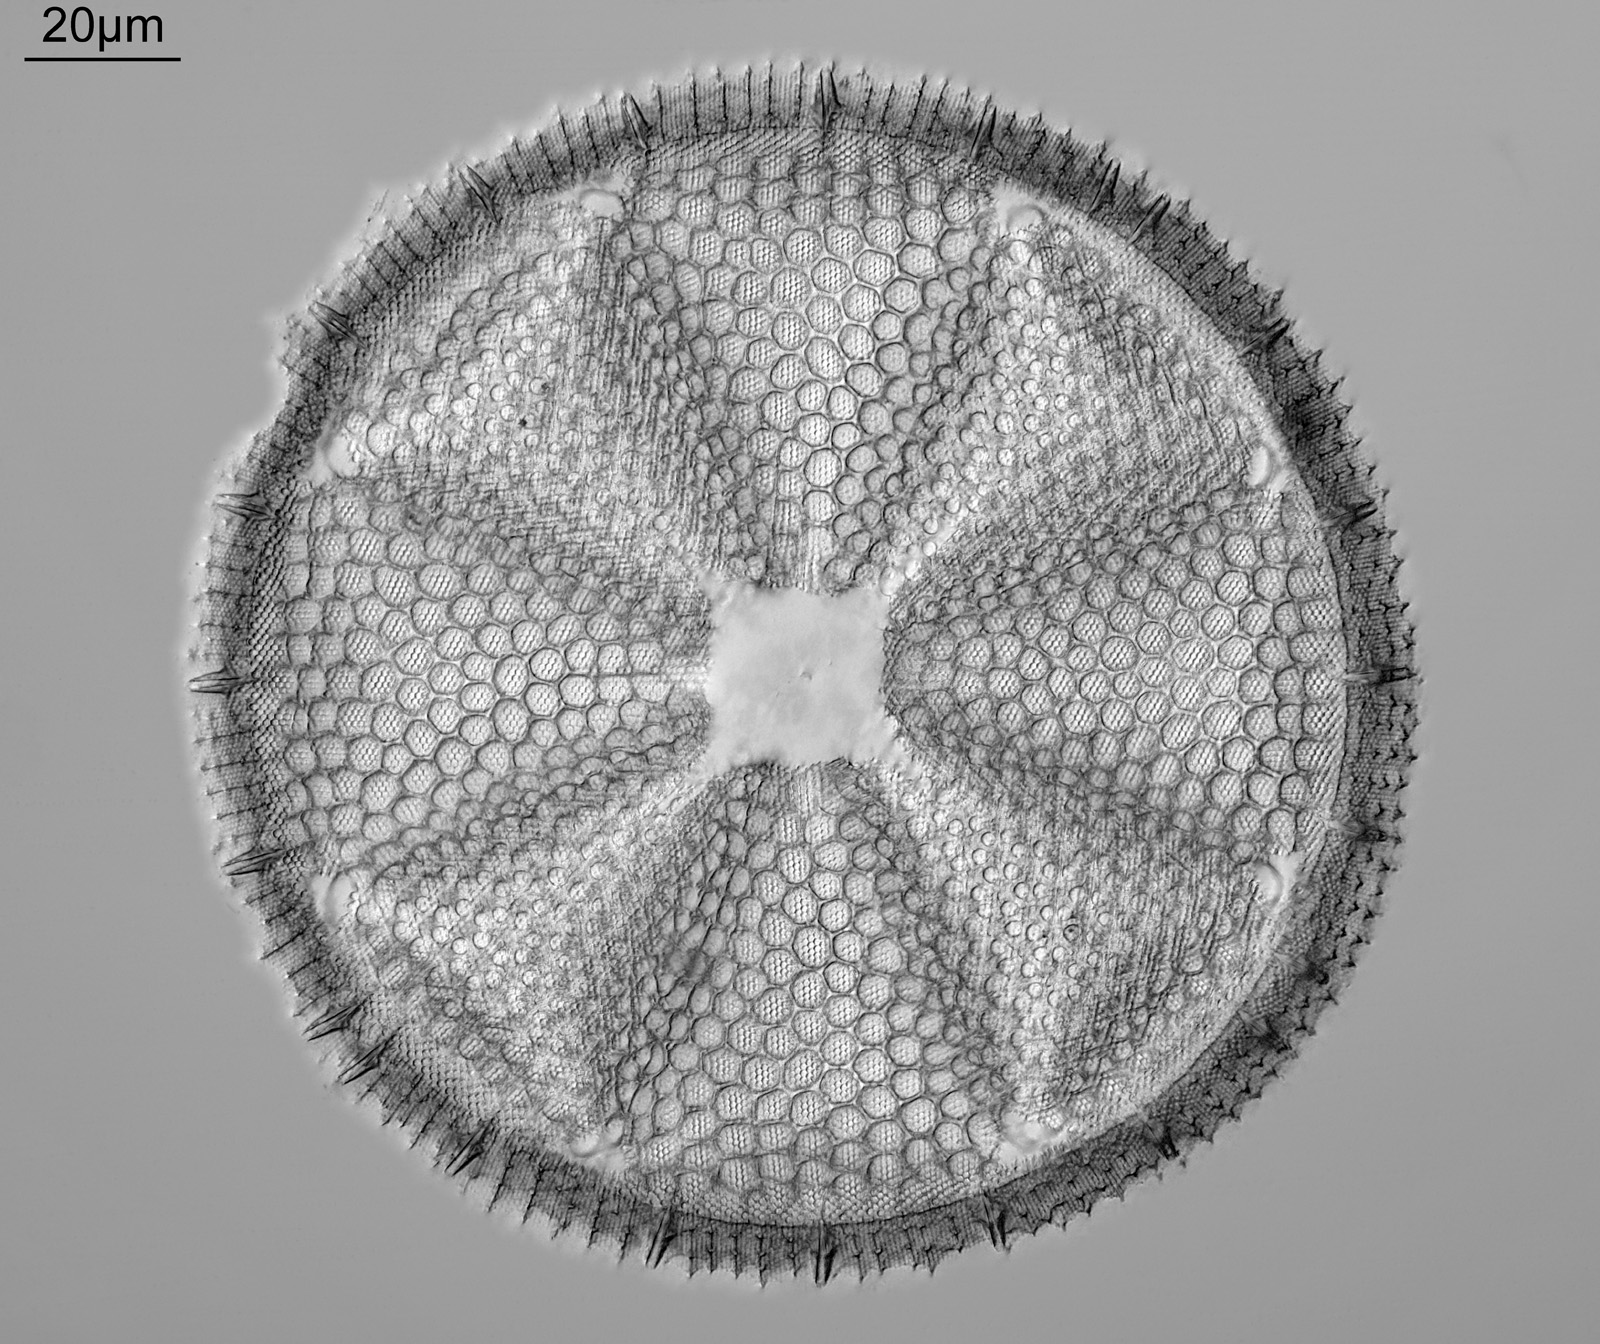
Finally some images of a diatom – Amphiplueria lindheimerii – single images using 450nm LED light. First image with the AO objective, with the condenser iris open.

Next a brightfield image with the 20x Nikon NA 0.65 Plan Apo objective. Compared with the Nikon, the AO objective shows some field curvature (seen as the ends of the diatom go out of focus), but it is not designed to be Plan so this is not a huge surprise. It could also to be due to my ‘hybrid’ microscope setup.

Final image, the AO objective with the condenser closed down to produce a darkground effect (this happens when the iris opening in the condenser is smaller than the front mirror of a reflecting objective).

Overall, the American Optical 50x NA 0.56 reflecting objective is a nice addition to my collection of quirky and ultraviolet objectives. It being RMS threaded makes it easy to use. As for finding one if you want to try it, I wish you good luck. As with many of these unusual objectives they were never made in large numbers, and rarely come up for sale. However, it is ‘rarely’, and not ‘never’, so keep your eyes out and you never know. I got mine on ebay.
As always, if you got this far, I thank you for your attention, and if you think I can help with your research I can be reached here.