All posts by Jonathan Crowther

Mini UV camera – Matrix Vision BlueCougar with the Sony IMX487 sensor, spectral sensitivity

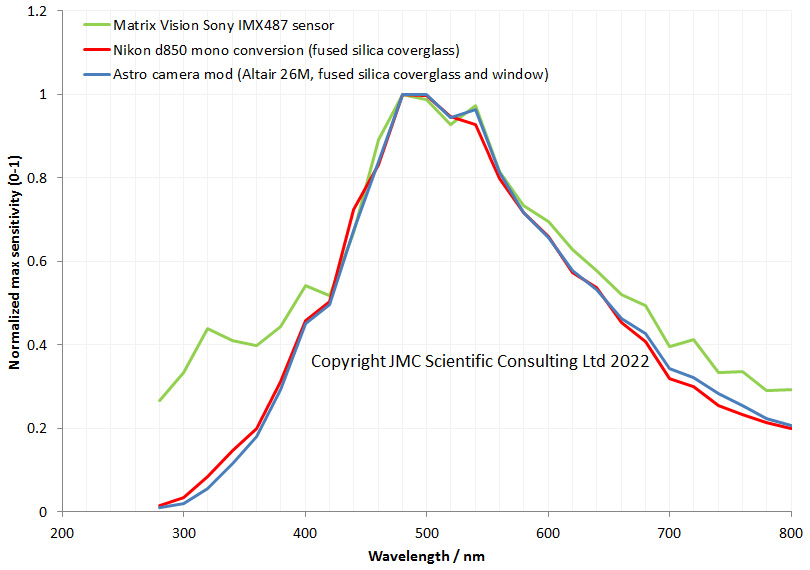
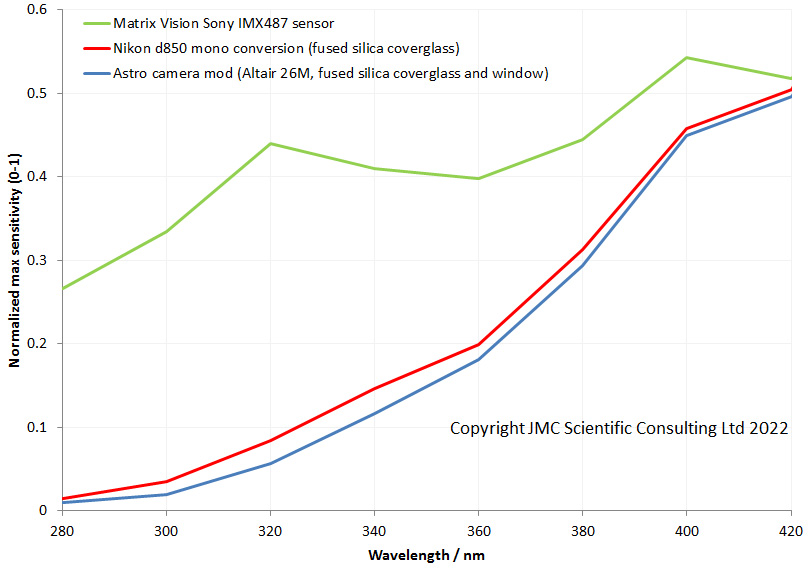
Having received a Matrix Vision BlueCougar camera with a UV sensitive Sony IMX487 sensor (which I reported here) one of the first jobs is to understand just how sensitive it is, especially in the UV. To do this I ran it through a test with my spectral sensitivity measurement system (see here for details on that build). As comparisons I used two different cameras – a monochrome converted Nikon d850 with the Bayer filter and microlens array removed, and an astro camera (Altair 26M) which still has microlenses. Both of these have fused silica coverglasses and are optimized for my UV work. I normalized the output from each camera to the max value to more easily compare them, and here is what the comparison looks like.

Comparison of the IMX487 sensor with other monochrome cameras

And a more close up view of the UV region.

Comparison of the IMX487 sensor with other monochrome cameras closeup on the UV region

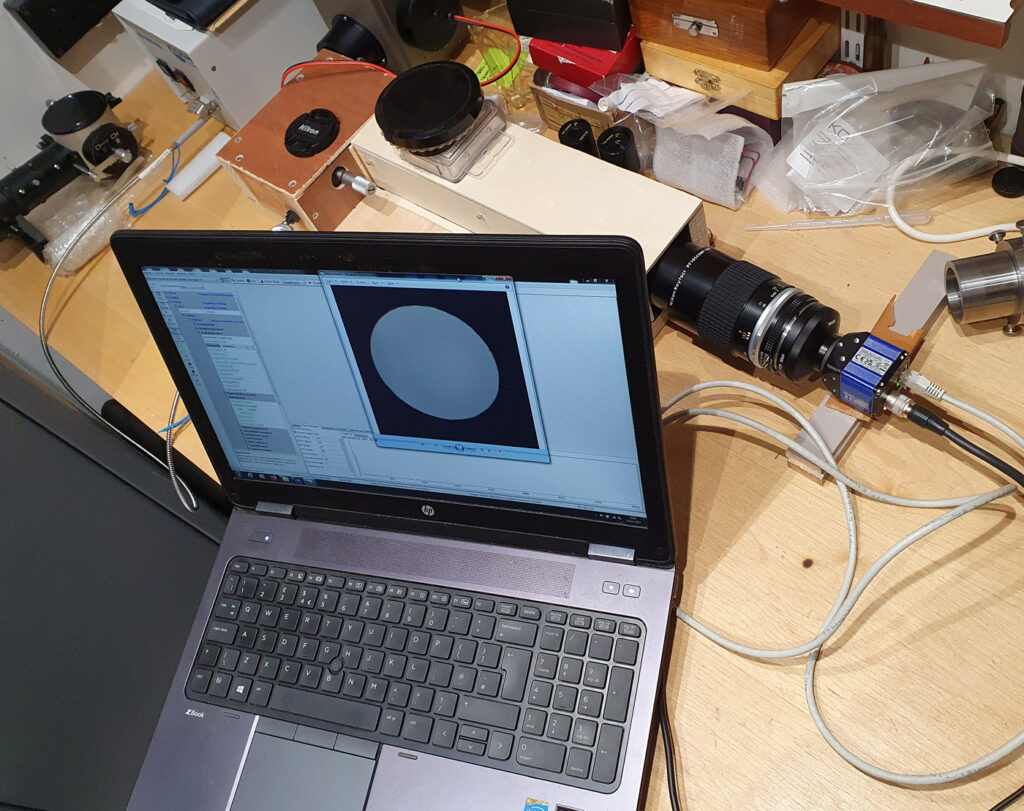
Here’s an image of the testing setup, on a suitably disorganized work bench.

Spectral sensitivity testing setup

Having seen a few different QE curves for this sensor, I wasn’t sure what to expect. This was why I needed to do the measurement myself, to allow for comparison with other meaningful cameras, and as of today (14th Dec 2022) as far as I am aware this is the only such comparison available. The Matrix Vision software for the camera was great for this test, as it allowed me to get the histogram data directly, without saving the files and then analyzing later, which saved me loads of time. Also I used binning to improve the overall sensitivity of the camera. As I am slightly limited by max exposure time (I used 5s for the Matrix Vision camera, vs 30s for the Nikon d850 and up to 4 mins for the astro camera) I did a 4×4 binning which reduced file size but drastically reduced the need to long acquisition times. This was kept the same for all wavelengths, so doesn’t change the shape of the curve and still allows for comparisons with other cameras.

After all that testing, what to make of this? I’m actually pretty amazed by how sensitive this camera is in the UV, especially below 350nm where it is dropping only very slowly. In fact for my microscopy at 313nm and 365nm, the sensitivity at these wavelengths is almost the same, while with my other cameras at 365nm they are about 4x as sensitive as they are at 313nm. This will make imaging at short wavelengths simpler, especially when combined with the live view capability of the Matrix Vision camera. While I cannot measure below 280nm with my setup, the sensor is supposed to offer good sensitivity down to 200nm, only dropping slightly between 300nm and 200nm, and this is where it really should shine when compared with the others. The only way I can test that though is to get it on the microscope and see how it behaves, and that is for another day. Sony have been pretty cagey about how they have made this UV sensitive. I have my suspicions, but more testing needed on that.

As always, thanks for reading, and if you’d like to know more about this or any other aspect of my work, I can be reached here.

Mini UV camera – Matrix Vision BlueCougar with the Sony IMX487 sensor

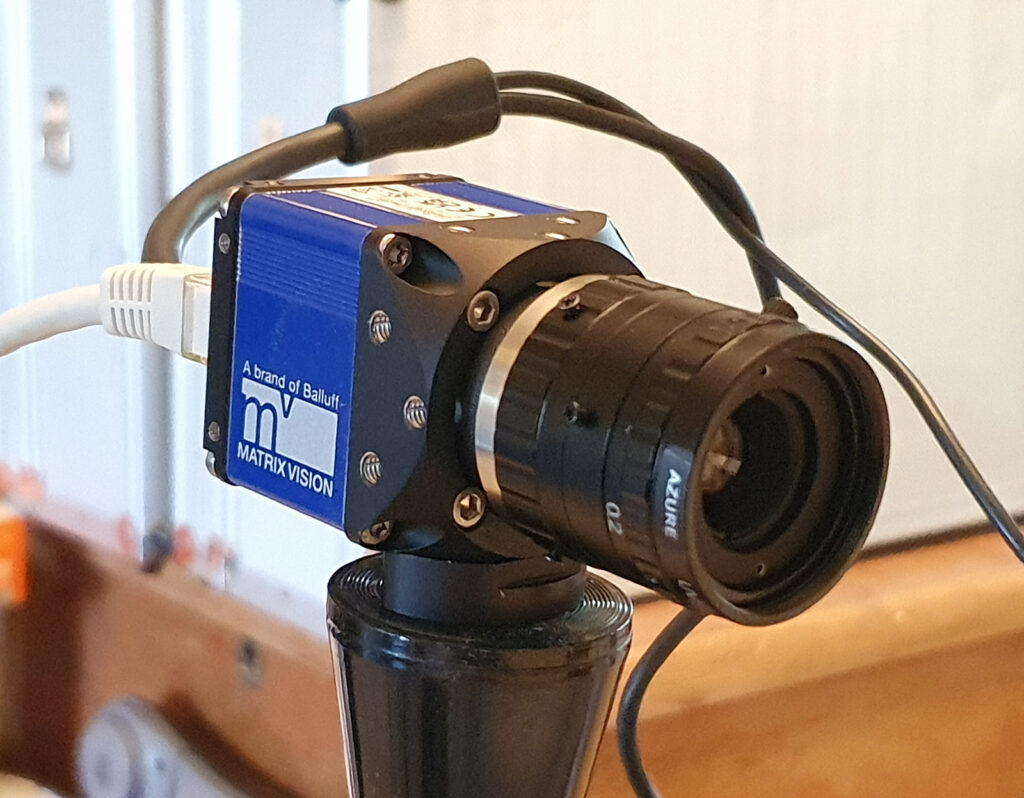
Good things come in small packages, and today’s arrival will hopefully fall into that description. With imaging in UV, sensor sensitivity is always a challenge, with the sensitivity getting worse as the wavelength gets shorter. With my UV microscopy, if I image down at 254nm, it is not unusual to have exposure times of 20 minutes or more, even with my monochrome converted cameras. What seems like an age ago now, Sony announced they were going to be making a new camera sensor which was specifically designed for imaging in the UV from 200nm to 400nm – the Sony IMX487 sensor. This is a small sensor, designed for C mount industrial cameras, but had an impressive 8Mp resolution, so it got me interested in the possibility of using it for my microscopy work on sunscreens and diatoms, or for other general UV imaging. I approached a couple of different vendors when they started announcing they were going to be making cameras with these sensors in and settled on Matrix Vision, who would be making it as part of the their Blue Cougar range (see here). The camera arrived today, so I thought I would share some image of it before the testing begins.

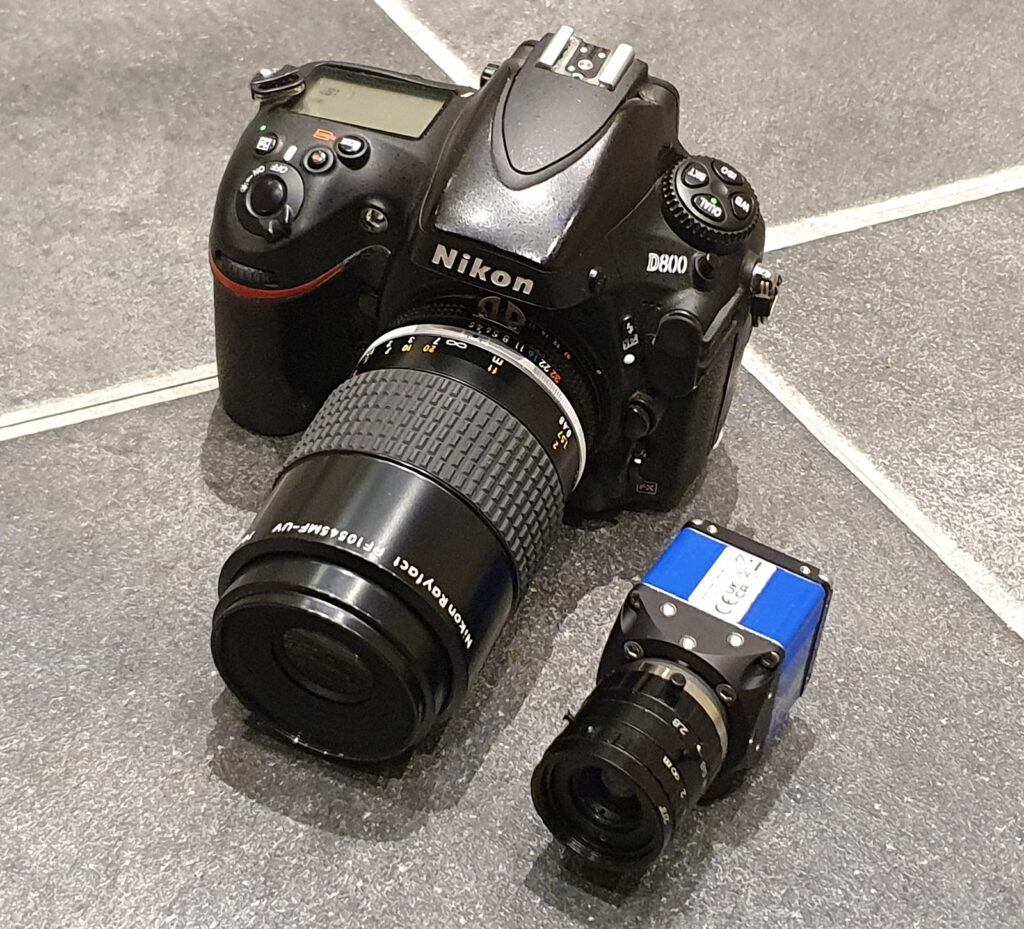
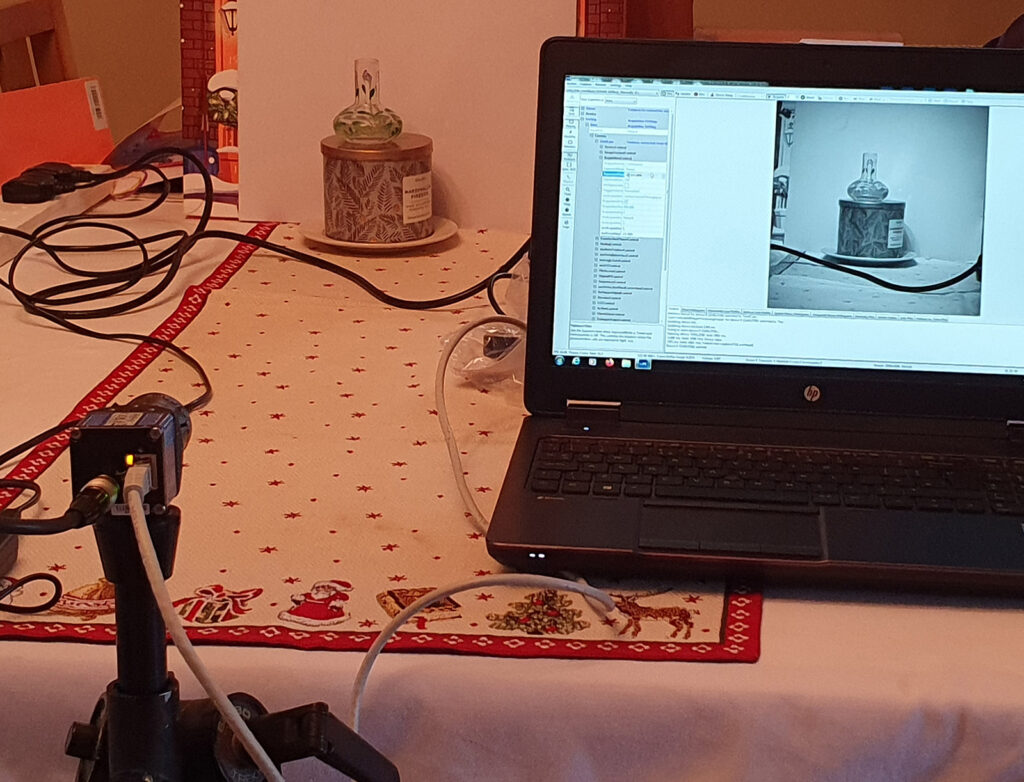
This thing is tiny. I thought it would be much smaller than my normal cameras, but I wasn’t quite ready for just how small it is (a diminutive 4x4x5cm and apparently they can make it smaller if needed). Here it is on a tripod with a 25mm f2.8 quartz lens attached (which is also dinky).

And a shot of an initial visible light image from the setup testing.

So far first impressions are good. The software is straightforward but comprehensive, and the camera is built very well. I did do some UV images at 365nm and 254nm, and it certainly gives images there, but I haven’t done anything systematic yet to see just how sensitive it is. The next step will be to do some spectral sensitivity measurements, which will give me the sensitivity from 280nm to 800nm. Then it’ll be time to get it on the microscope and see how it behaves. This should offer much more sensitivity than my monochrome converted cameras when imaging at 313nm and 254nm, without the drawbacks of the astro camera I tried (cooling fans causing vibration for instance). The ideal goal would be to be able to do videos in the UVA, UVB and even UVC if possible. While I have been able to get UVA and some UVB video files, the cameras I have had up until now just didn’t have the sensitivity for UVC video work.

I shall of course be updating with my findings on here, so check back in occasionally for new news. As always, thanks for reading and if you’d like to know more about this or any other aspect of my work, I can be reached here.

Royal Photographic Society – Good Picture 2022 Meeting

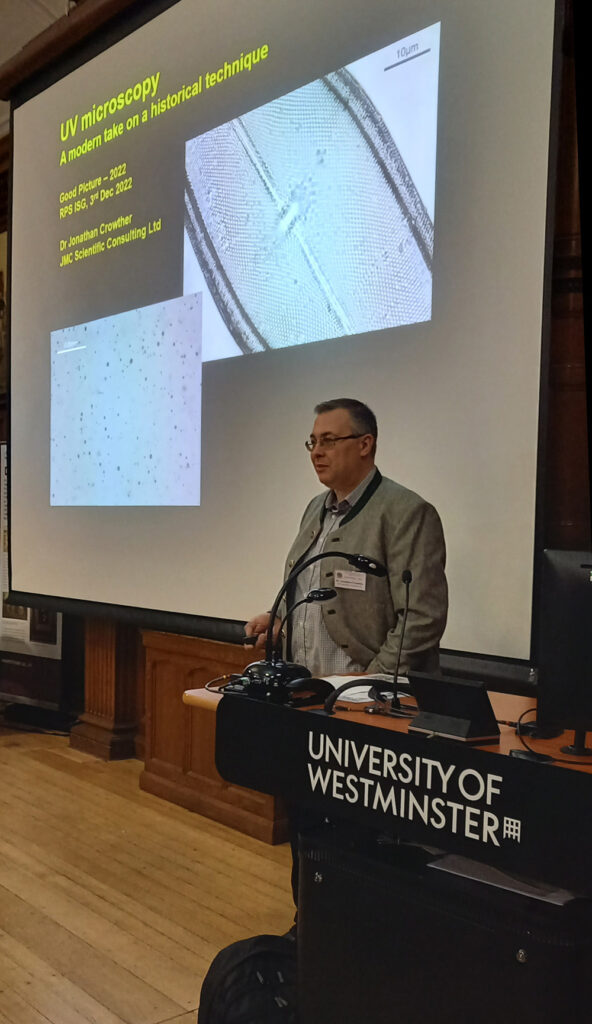
When I get the chance I make the time to give talks about the research that I do, and this last weekend I spoke at the Royal Photographic Societies Imaging Science Group meeting – Good Picture 2022.

The meeting brought together those of us with a passion for imaging, from widely different backgrounds, for a day of talks, and was held at the University of Westminster in London.

I gave a talk on the building of my UV microscope, and its use for looking at sunscreen emulsion structure and the imaging of the fine structure present in diatoms.

My time at the podium…..

Involvement with organizations such as this helps drive the science forward and is something I recommend to anyone at any stage in their career. Face to face meetings have been hard, if not impossible, for the last few years, but things are starting to ease a little now, and it has been great to get back and see people again.

Charity donation – Wildlife Aid Foundation

As part of running my company, I think it is important to give something back to the wider world. Wildlife is a bit of a passion of mine, and I often spend time photographing the birds in our garden. For a long time now I’ve been a volunteer with various wildlife related projects and organizations such as Surrey Wildlife Trust and the Woking Biodiversity Partnership, either helping out in person or through donations from my company. I also donate to charities which look after injured wildlife as humanity has a huge, and often detrimental, impact on the environment. I wanted to share a recent story as it highlights one of the reasons I do what I do.

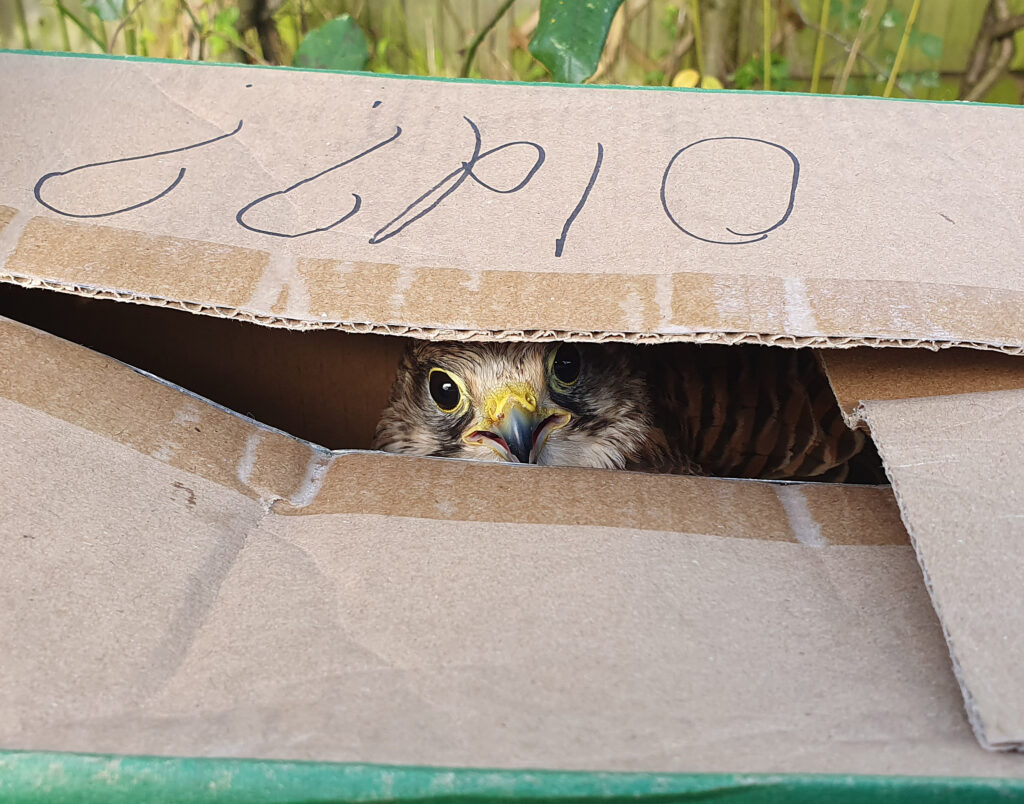
A couple of months ago I went out into my front garden one sunday morning to go the bins. It was raining heavily, and as I came back towards the house I saw a bird under my car. Initially I thought it was a Sparrowhawk, but it turned out to be a Kestrel, a beautiful little bird of prey. I went towards it and it hopped off, unable to fly. My guess is that it was hit by a car as we live on a busy road. I went back inside and got a box and a blanket and went back out, spending about 5 or 10 mins gradually getting closer to the bird, and was eventually able to pick it up and put it in the box. I wouldn’t necessarily advise doing this – sharp talons and beak – but I had thick gardening gloves on.

I phoned the Wildlife Aid Foundation who are based about 15 miles away from me and they said ‘yes, bring it down to us’. I quick drive later and it was with them. It turns out that it had had a head injury, but they were hopeful of its chances. A few weeks later I was called up to say it had healed and was ready to be released and if I wanted to come and collect it so I could release it where I had found it.

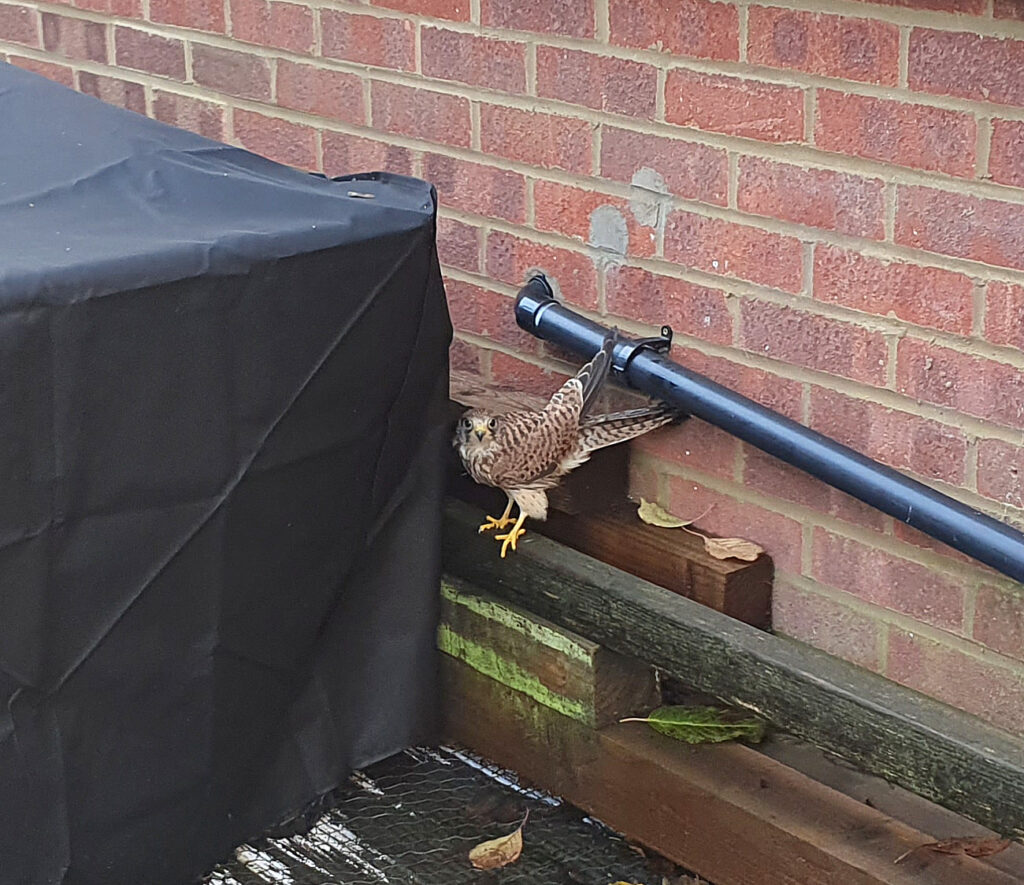
Back I went and brought the Kestrel home and duly released it in the back garden (away from the traffic) where it was glad of its freedom – it was off as soon as the box lid was opened. Although I managed to grab a couple of quick photos of the release, it was all over very quickly and off it went.

The Kestrel, watching me as I got ready to open to box to let it go free
After release it hopped around the decking a bit before flying off

The Wildlife Aid Foundation is one of the organizations I donate to when I can, however this very personal experience really brought it home to me as to why these places need to keep going and carry on doing the work they do. We all have huge financial pressures at the moment with everything that is going on in the world. If you can though, remember the wildlife when it comes to giving something to charity. Research has shown the beneficial effects spending time in nature has on our well-being, and with the rate at which we are destroying it, anything to help is a good investment in our future.

Microscopy of gold coated diatoms

Coating of diatoms in a thin layer of metal or metal oxide has been reported for many years as a way of improving their visibility for microscopy (as examples, work I have discussed and published on slides from Horace Dall and John Dale. However it was never a common technique and is not widely used today. Recently I was sent a few slides from a fellow microscopist which contained diatoms which had had a thin (a few nm) coating of gold applied to them before mounting.

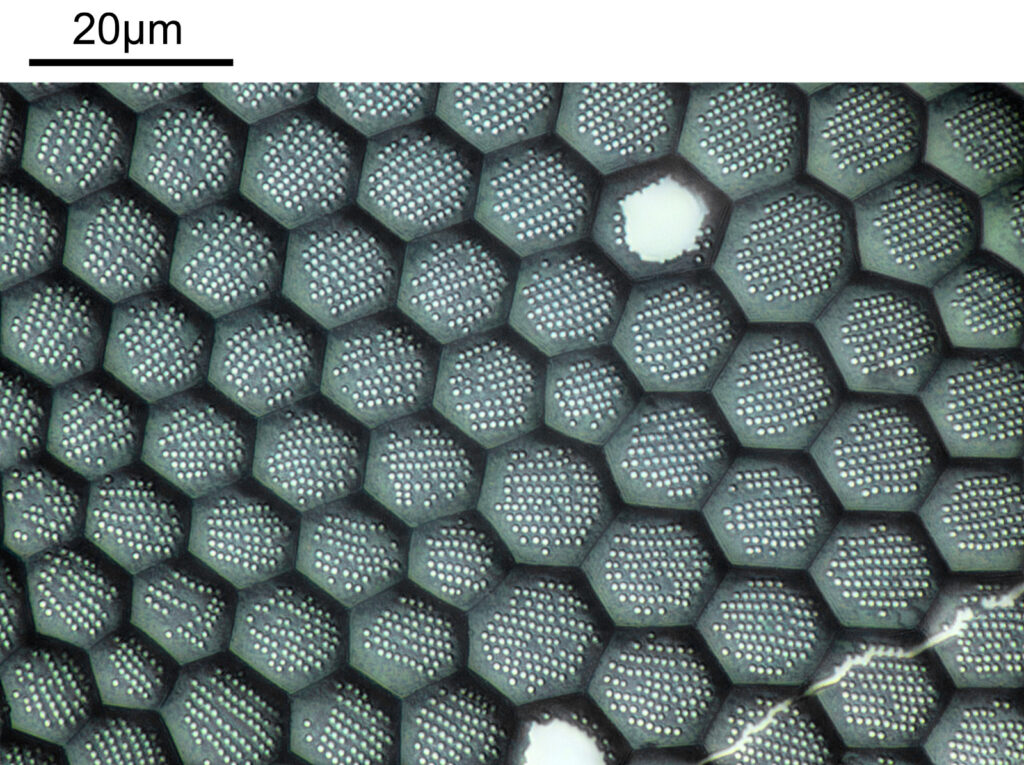
Her is an example image from one of the slides. It shows part of a diatom (likely Triceratium grande, or Triceratium favus). The resolution has been reduced for sharing here.

Gold coated diatom sample

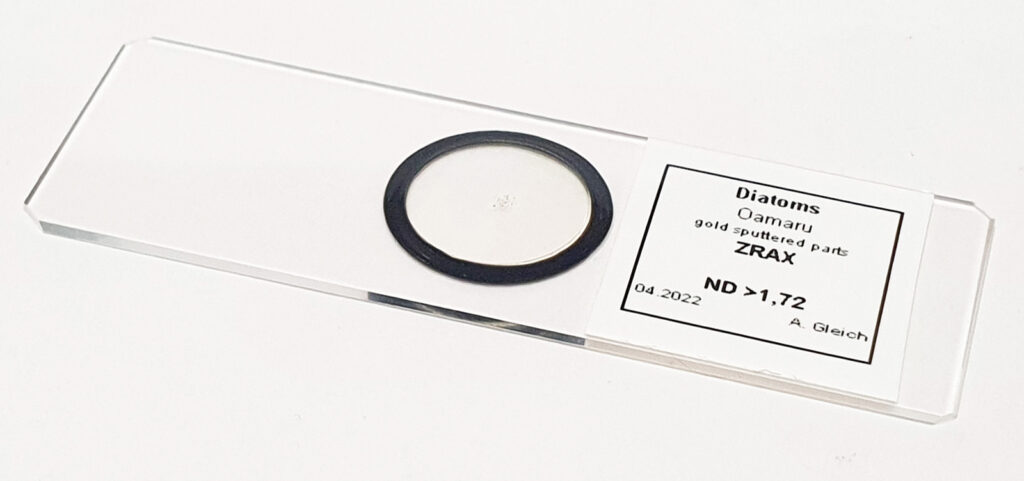
And the slide itself.

The slide with the diatoms mounted on it

Imaging was done on my modified Olympus BHB microscope with a 60x Olympus Splan Apo NA 1.4 objective, and oblique illumination from below using white LED light. The image is a stack of 10 images (stacked using Zerene stacker) and photographed with a Canon R7 camera. The image shown has not been cropped – this was the full field of view.

Gold coating of of the diatoms certainly improves the visibility of the features, and I am looking forward to looking at the other samples. Thanks for reading, and if you’d like to know more about my microscopy or other aspects of my work, I can be reached here.

Award and presentation with the Quekett Microscopical Club

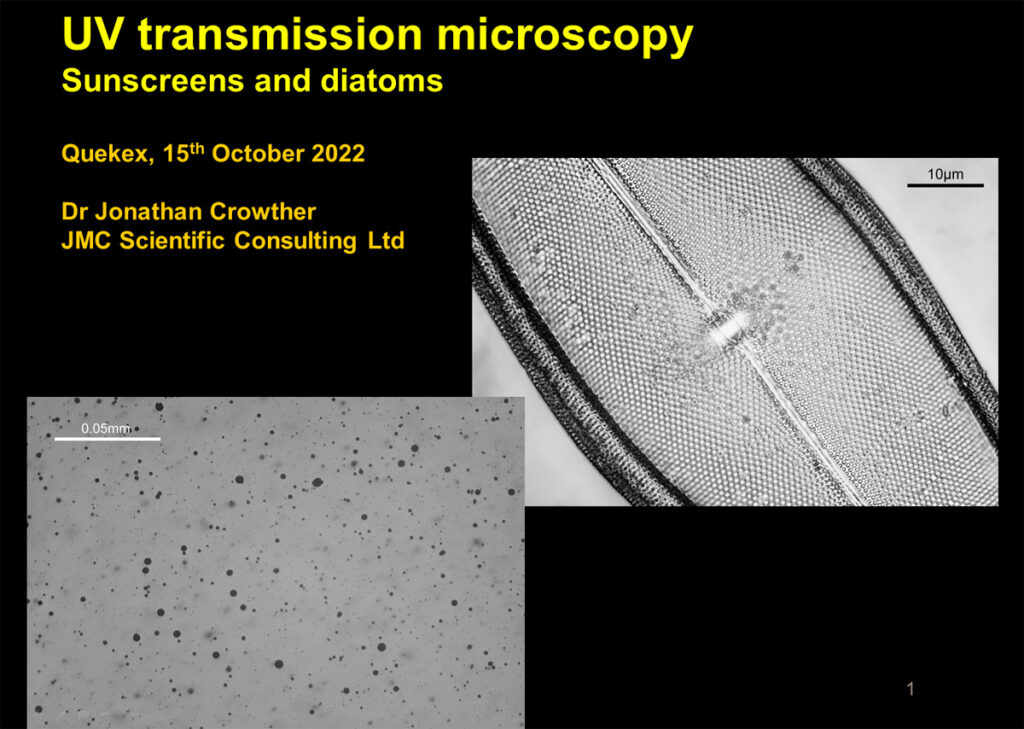
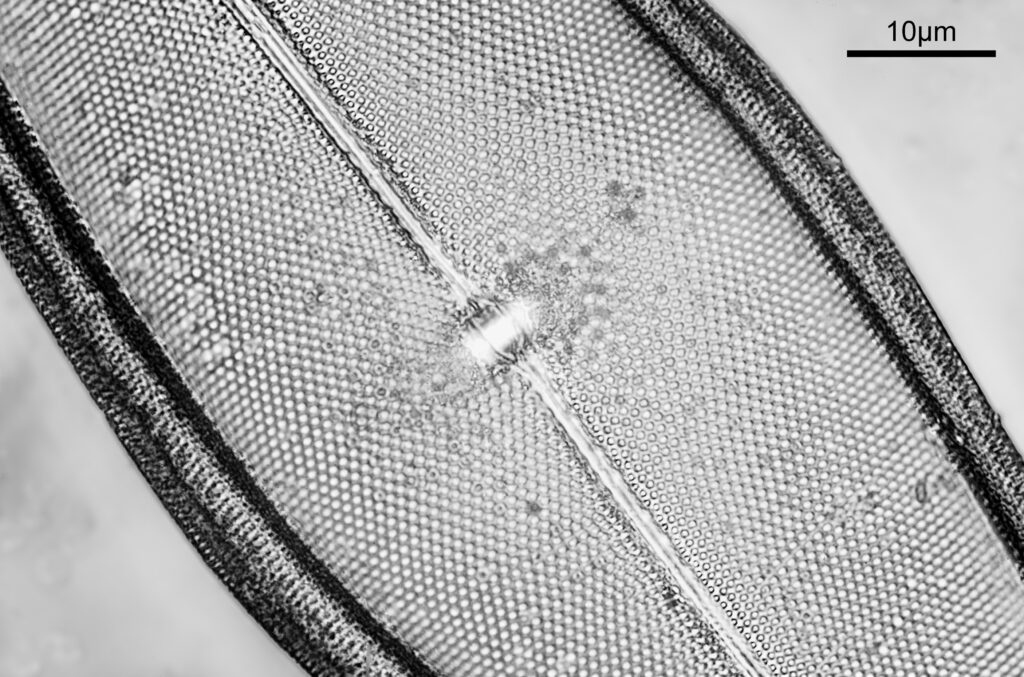
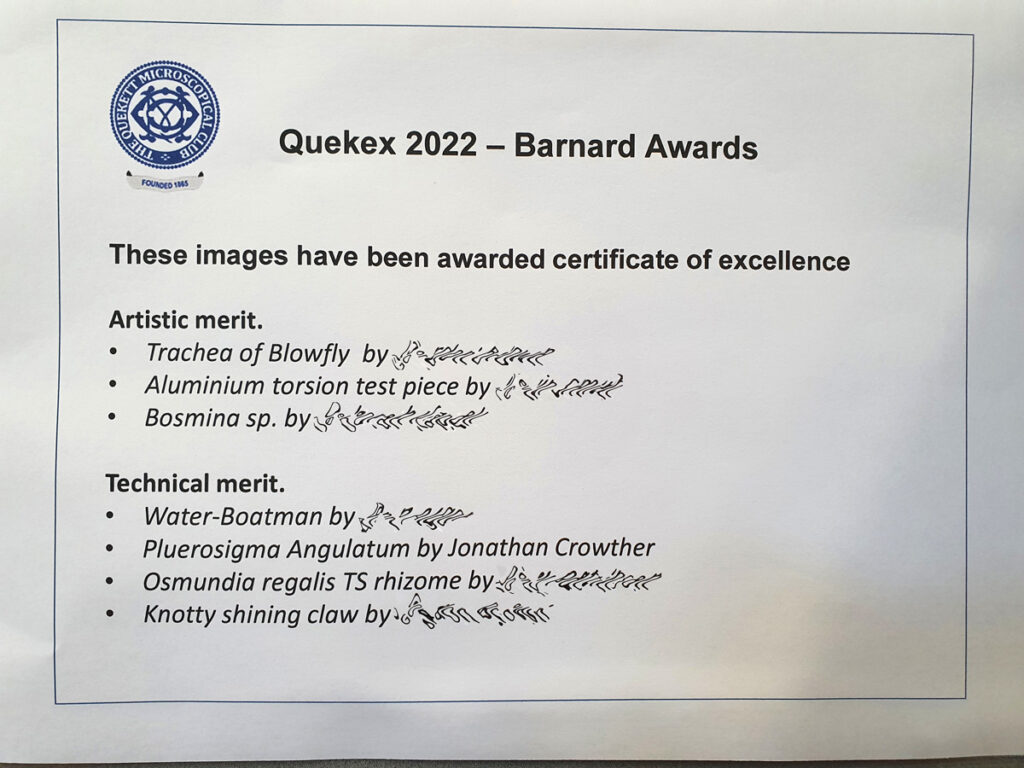
On saturday 15th October 2022, I attended the Quekex meeting of the Quekett Microscopical Club (of which I am a member). I had been asked to give a talk on my UV microscopy work on sunscreen and diatom imaging, and as it turned out I had also been awarded a Certificate of Technical Merit for one of my UV microscope images of a diatom (taken using 313nm light). A very successful and fun day and here’s a few pictures from it.

The title page from my talk to the club.
My diatom image of a Pleurosigma Angulatum taking at 313nm on my UV microscope.
The awards notice from the day (I’ve blurred other people for the sake of confidentiality).

If you’d like to know more about my microscopy or other work, I can be reached here.
Bausch and Lomb 365nm microscope objectives and equipment

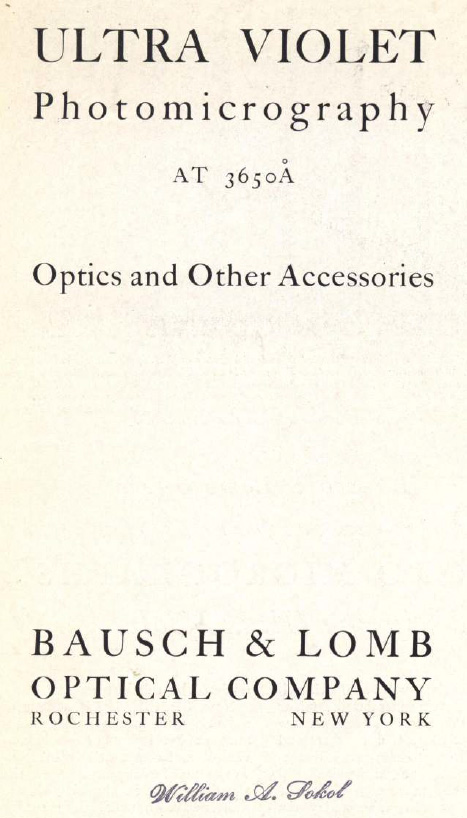
Given my ongoing research interest in UV microscopy, I am always looking out for information on the subject. A few days ago I found a brochure published by Bausch and Lomb which talked about objectives and other items they had made which were designed for use at 365nm. As I hadn’t heard about these before, and I haven’t found any more about these, I thought I would share it here.

The document was called “Ultra Violet Photomicrography at 3650Å Optics and Other Accessories”. Here’s the cover page.

3650Å is 3650 Angstroms and is the same at 365nm. These are glass objectives and are corrected so the focus point at 365nm is the same as that at 546nm, so that they can be focused in visible light and then used for imaging at 365nm. This was done to improve resolution, as a ‘half way house’ imaging in the UV with glass optics but not going to the extremes of using quartz optics and imaging down below 300nm.

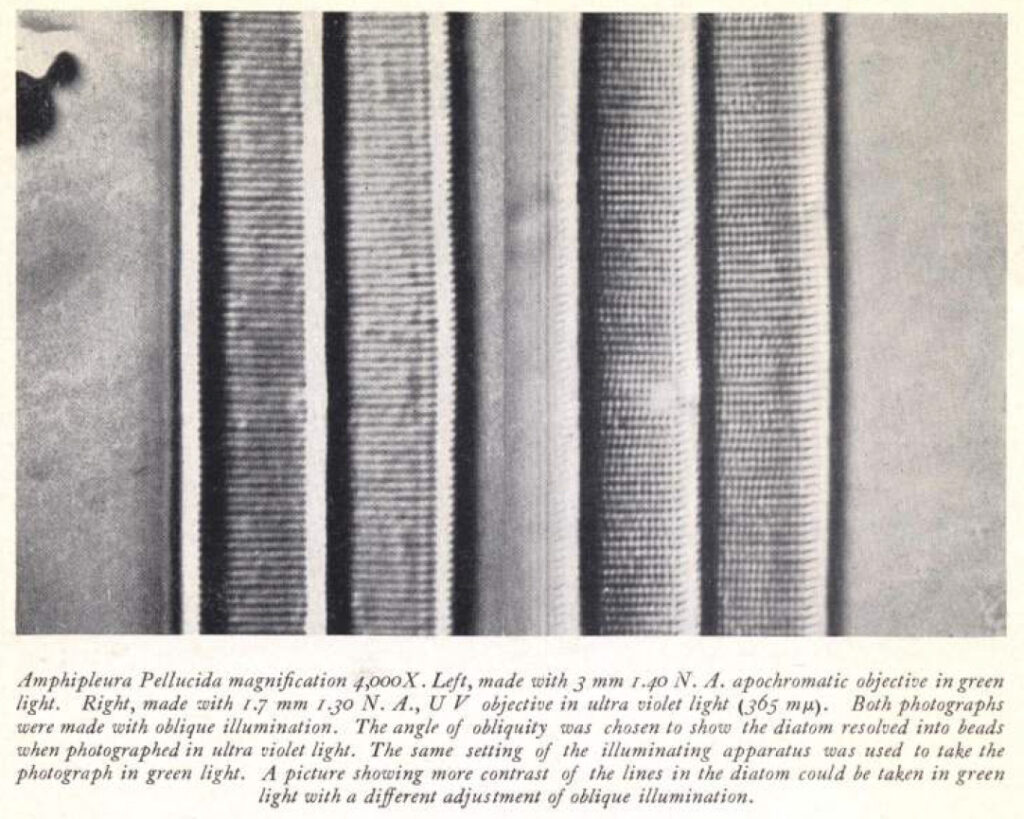
They give an example of the comparison between a 546nm image and a 356nm one of a Amphipleura pellucida diatom, which shows the improvement nicely.

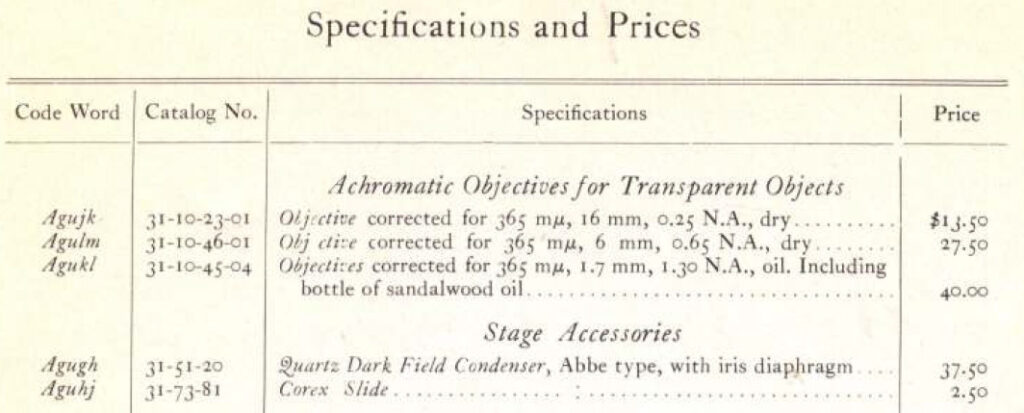
Here’s the information about the objectives.

Thing is, I had not heard of these before, nor have I ever seen any examples of them. If anyone has any, I’d love to see what they look like, and please feel to contact me here.

Latest article on microscopy – aluminium coated slides

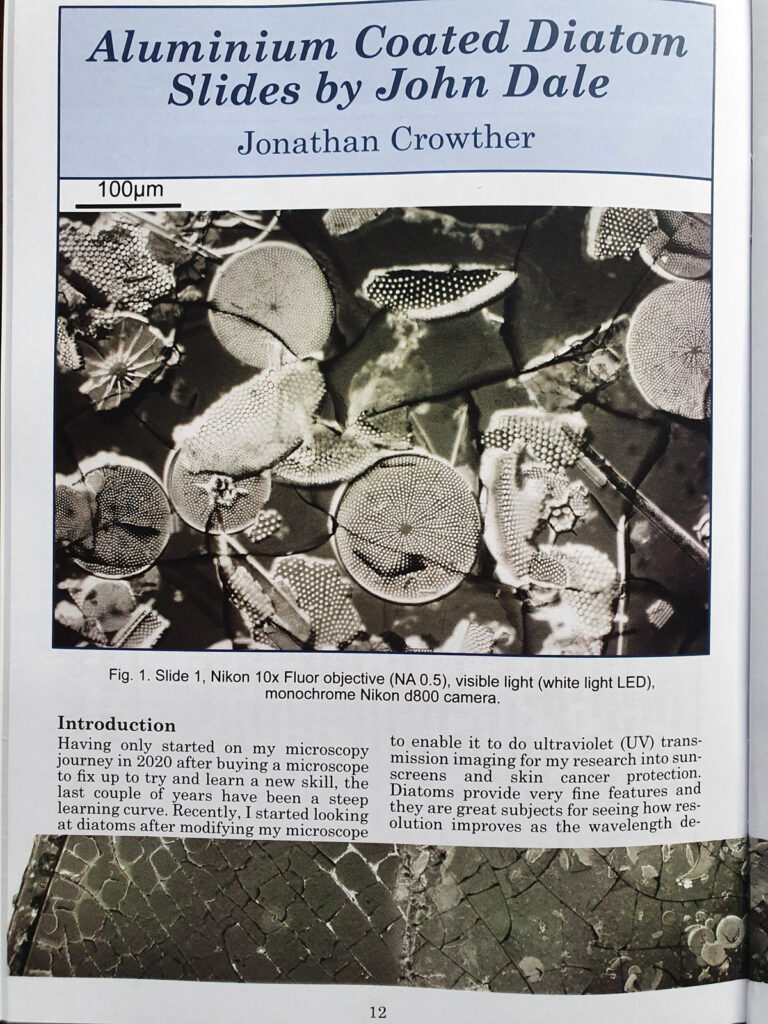
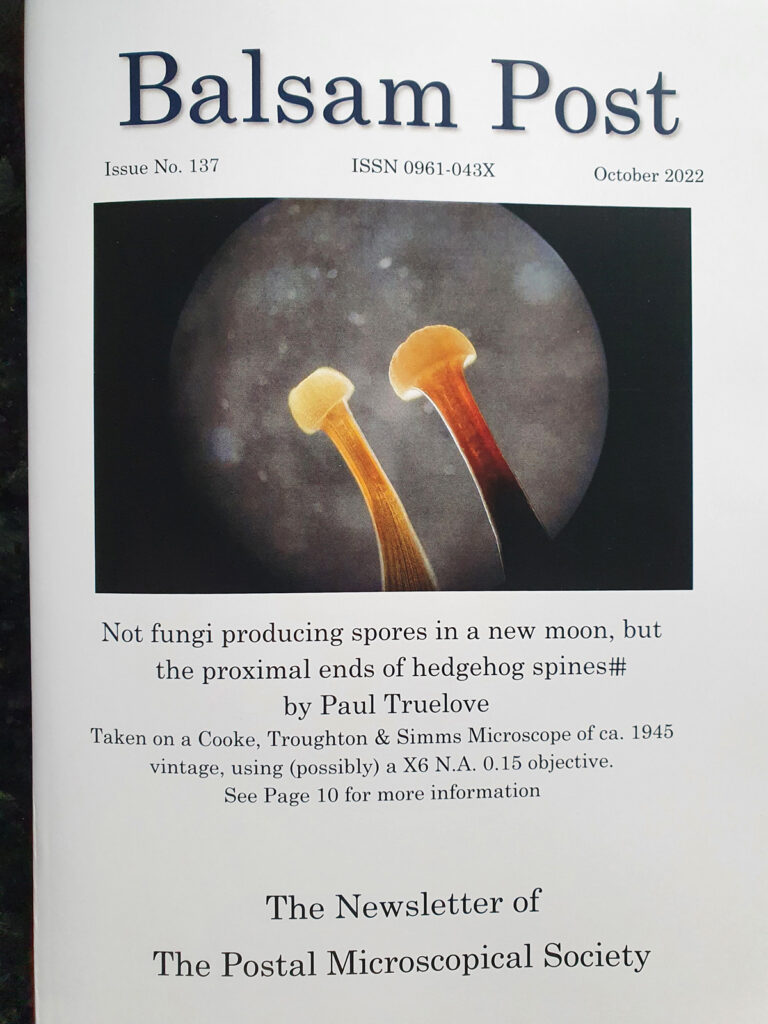
Always nice to see an article getting published. This time a piece in the Balsam Post, which is the newsletter of the Postal Microscopical Society. The article is on a set of aluminium coated diatom slides that the society has, and I looked at them with visible light and with 365nm UV using my UV microscope.

While I spend a lot of time working, it is nice to occasionally take a break and look at other samples using the equipment I’ve built. The quest for improved resolution in microscopy led me to looking and metal and metal oxide coatings for samples, and this resulted in me looking at the work of Horace Dall (who I have also written about before – here) and John Dale. The Postal Microscopical Society had a set of diatom slides by John Dale which had been coated in aluminium, so I requested those and offered to write a short article for their newsletter on what I found.

Organizations such as the Postal Microscopical Society and the Quekett Microscopical Club should not be overlooked when it comes to research. While not all the members will be actively involved in scientific research the collective knowledge of members is enormous, especially when it comes to historical work. I can do nothing but recommend anyone interested in microscopy look to join these groups. Giving something back by writing the occasional article is my way of saying thank you, and provides work which will hopefully be of help to others in the future.

As always, thanks for reading, and if you’d like to know more about my work, please feel free to contact me.

UV Microscopy – making your own objectives

Short update today, as this is a work in progress. With UV microscopy, conventional glass lenses absorb the short wavelength UV, and become opaque. This means using quartz, fused silica, calcium fluoride, etc for lenses especially when going below 300nm. I have some commercially made UV objectives, but nothing with a low magnification – the lowest magnification I have is a 10x one (which equates to a 16mm focal length on my setup). Having a wider field of view is nicer for looking at big samples, but there is of course a trade off in resolution. This got me wondering if I could make my own objective using a simple fused silica single lens, which is the topic of this post.

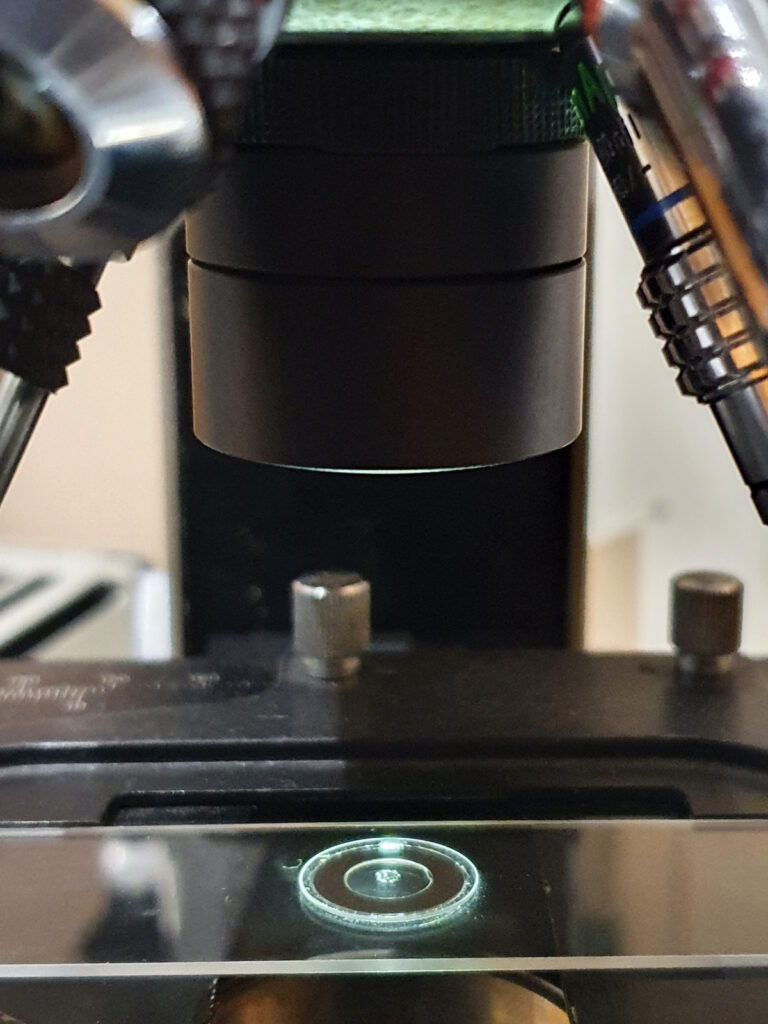
To make it I went back to my old friends – Thorlabs – for the components. For those of you who don’t know, Thorlabs is an excellent optics supplier, a sort of Lego for optics geeks, and offer a huge range of components. I’ve written about them before here. For the initial attempt I decided to use a 40mm focal length, 25mm diameter, plano convex fused silica lens, as I had one already. This was mounted in a Thorlabs SM1 tube, and then a RMS to SM1 adapter so it could be screwed into a normal microscope objective port on the microscope. I also fitted another SM1 tube to act as a light baffle to help remove stray light. Here it is on the microscope, pointing at the sample.

Home made 40mm microscope objective pointing at the sample.

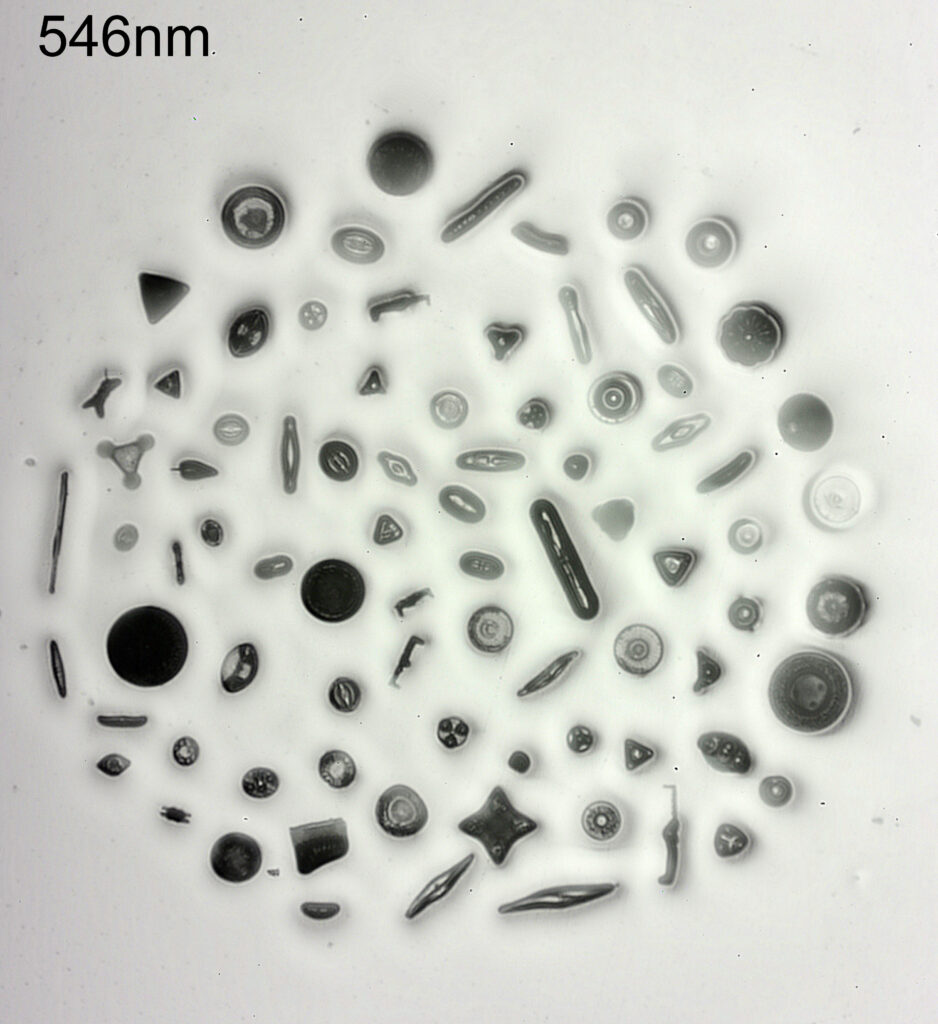
The sample is my fused silica diatom slide for UV work. The diatom arrangement is about 2mm across, and is far too big even for a 10x objective.

Here’s how it looks using visible light (546nm).

Diatom slide in visible light.

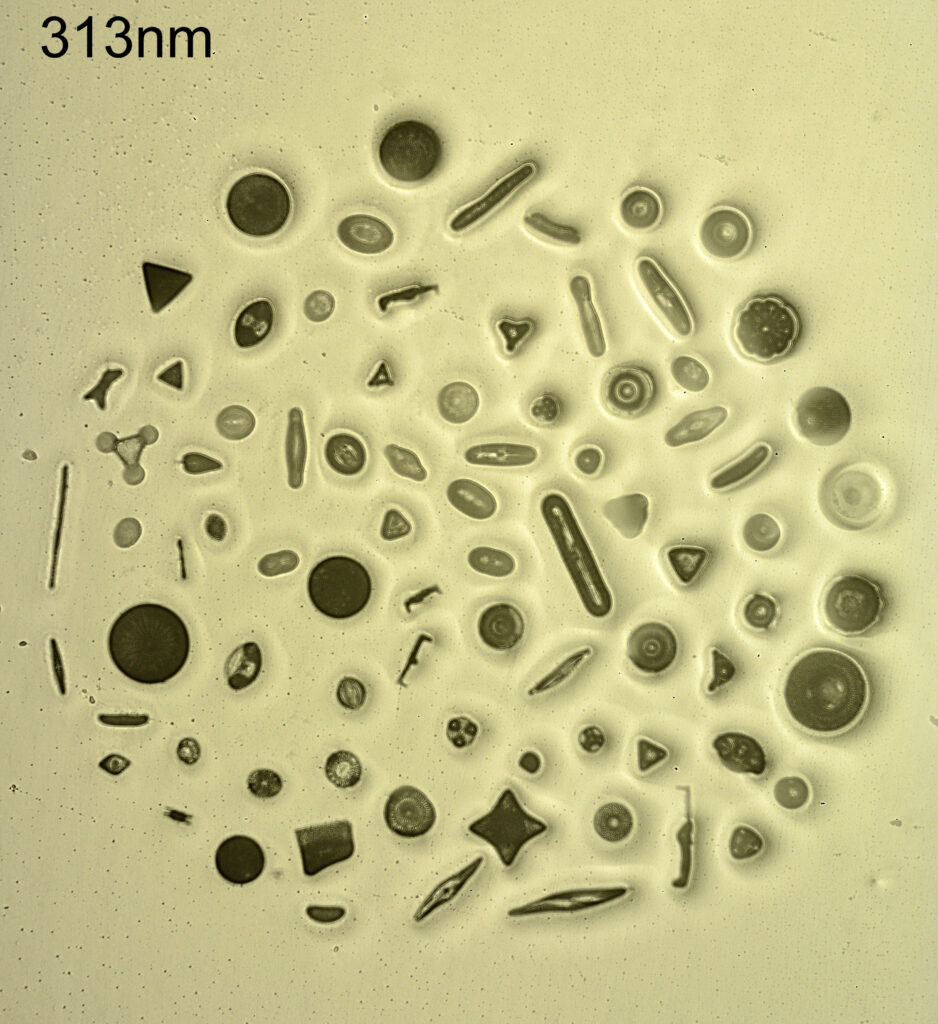
And now with 313nm light.

Diatom slide using 313nm light.

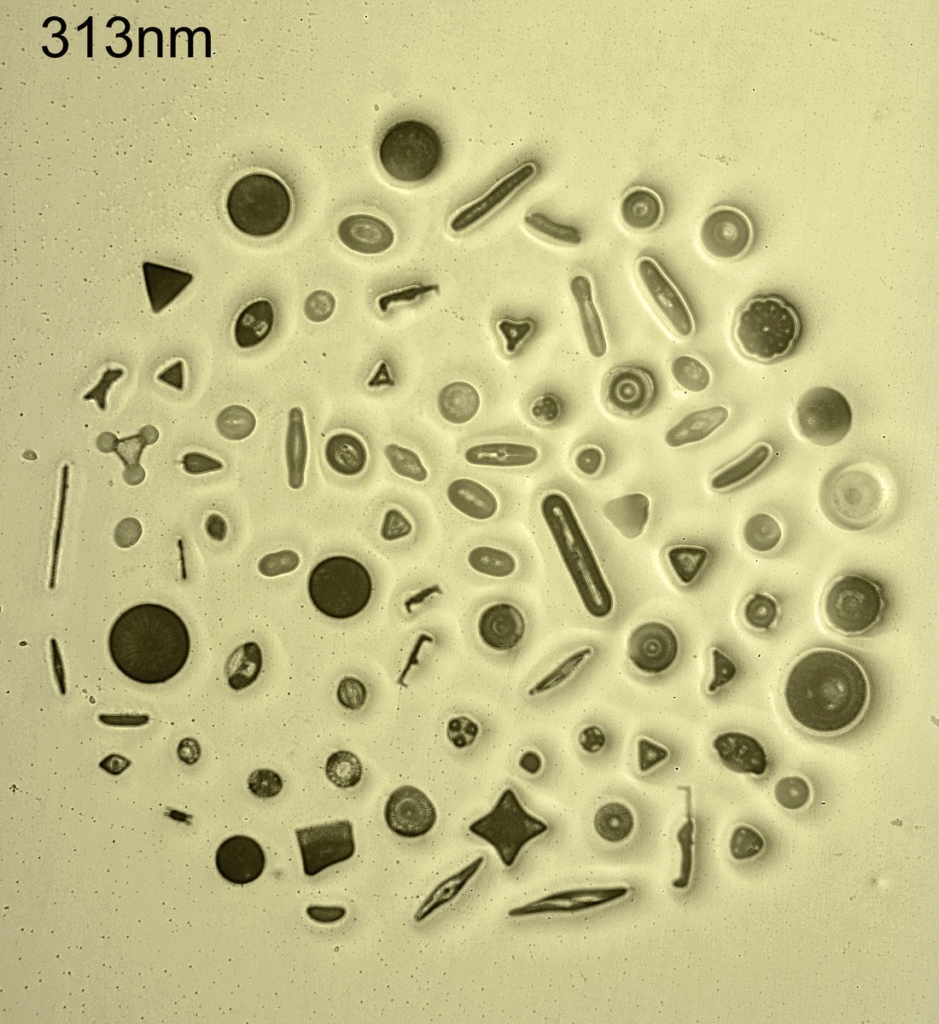
The good thing is it does image the whole of the arrangement, but they are very soft images. Not a huge surprise, this was a single 40mm focal length plano convex lens after all. This was more a proof of concept than anything else. The dirt in the mount it more obvious at 313nm. Again not a massive shock as the shorter wavelength light shows more dust and dirt. Some (but not all) of the diatoms look darker at 313nm than at 546nm, and this is what I have seen with my imaging. There is also a slight change in size of the field of view when changing wavelengths – 546nm and 313nm focus at different places with this lens, so the sample needs moving as the wavelength changes. This is easier to see if I flip between the two images (click on the image for this to work).

546nm and 313nm images combined.

Can I make my own objectives using stock components? Yes. Would I want to use a simple plano convex lens for my microscopy? No. Too soft and too low a contrast. I have got a couple of aspheric lenses on order from Thorlabs (one is fused silica the other in glass) to see how they work better – being aspheric I am hoping for a slightly sharper image from them.

As always, thanks for reading, and if you’d like to know more about my work, I can be reached here.