
As part of life’s journey sometimes it is useful to look back to see where you’ve come from, so today, please excuse my self indulgence as that is just what I’m going to do with regards to my experiences with ultraviolet (UV) photography. I’ll put a few links to pieces I’ve written along the way, to provide more background where needed. I’ll also mention a few of the UV equipment related suppliers and contacts I’ve made along the way, although I’d like to make it clear that I am in no way sponsored or funded by them.
Photography has been a part of my life for a long time – even when a boy I would often have a camera in my hand, and I suppose I have one of my brothers to thank for that. He was a film cameraman so was (and still is) a great inspiration to me. My other brother (also an inspiration) while not a photographer was an artist so pictures and picture taking was always around while I was growing up. In 2000 I bought my first proper film camera under supervision of a good friend from University and of course being a scientist looked for things to do with it beyond taking ‘snaps’. This led me to infra-red (IR) photography and the even more mysterious UV photography. UV imaging was one of those mythical areas which used mysterious lenses made of exotic materials such as quartz and calcium fluoride, and needed strange filters which blocked all the visible light, and it was all very intriguing. I even tried doing some with a normal camera lens and some UV sensitive film, and got some ‘less than optimal’ results. So as a technique I filed it away as one of those ‘to be done later’ approaches.
Fast forward a few years and I was working for P&G in their Skin Care group, and again UV imaging appeared as an area of interest from my mentor. Like me he found it a fascinating area and even had some of these mythical UV lenses from his research. However it was still well beyond my means at the time to go into this in any serious way, and I settled for IR photography as a way of getting my geeky fix for non-visible photography.
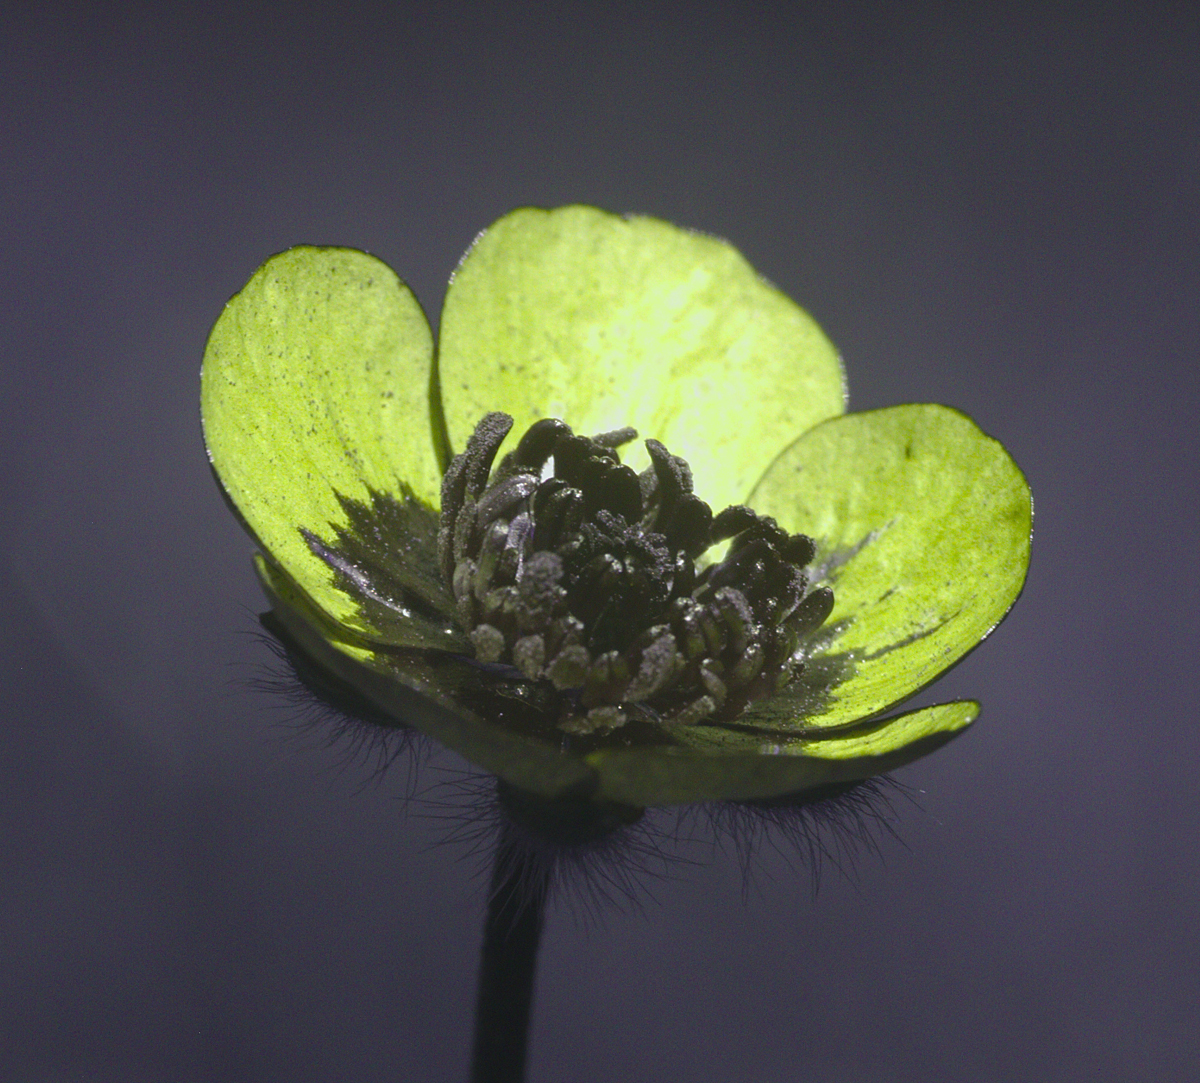
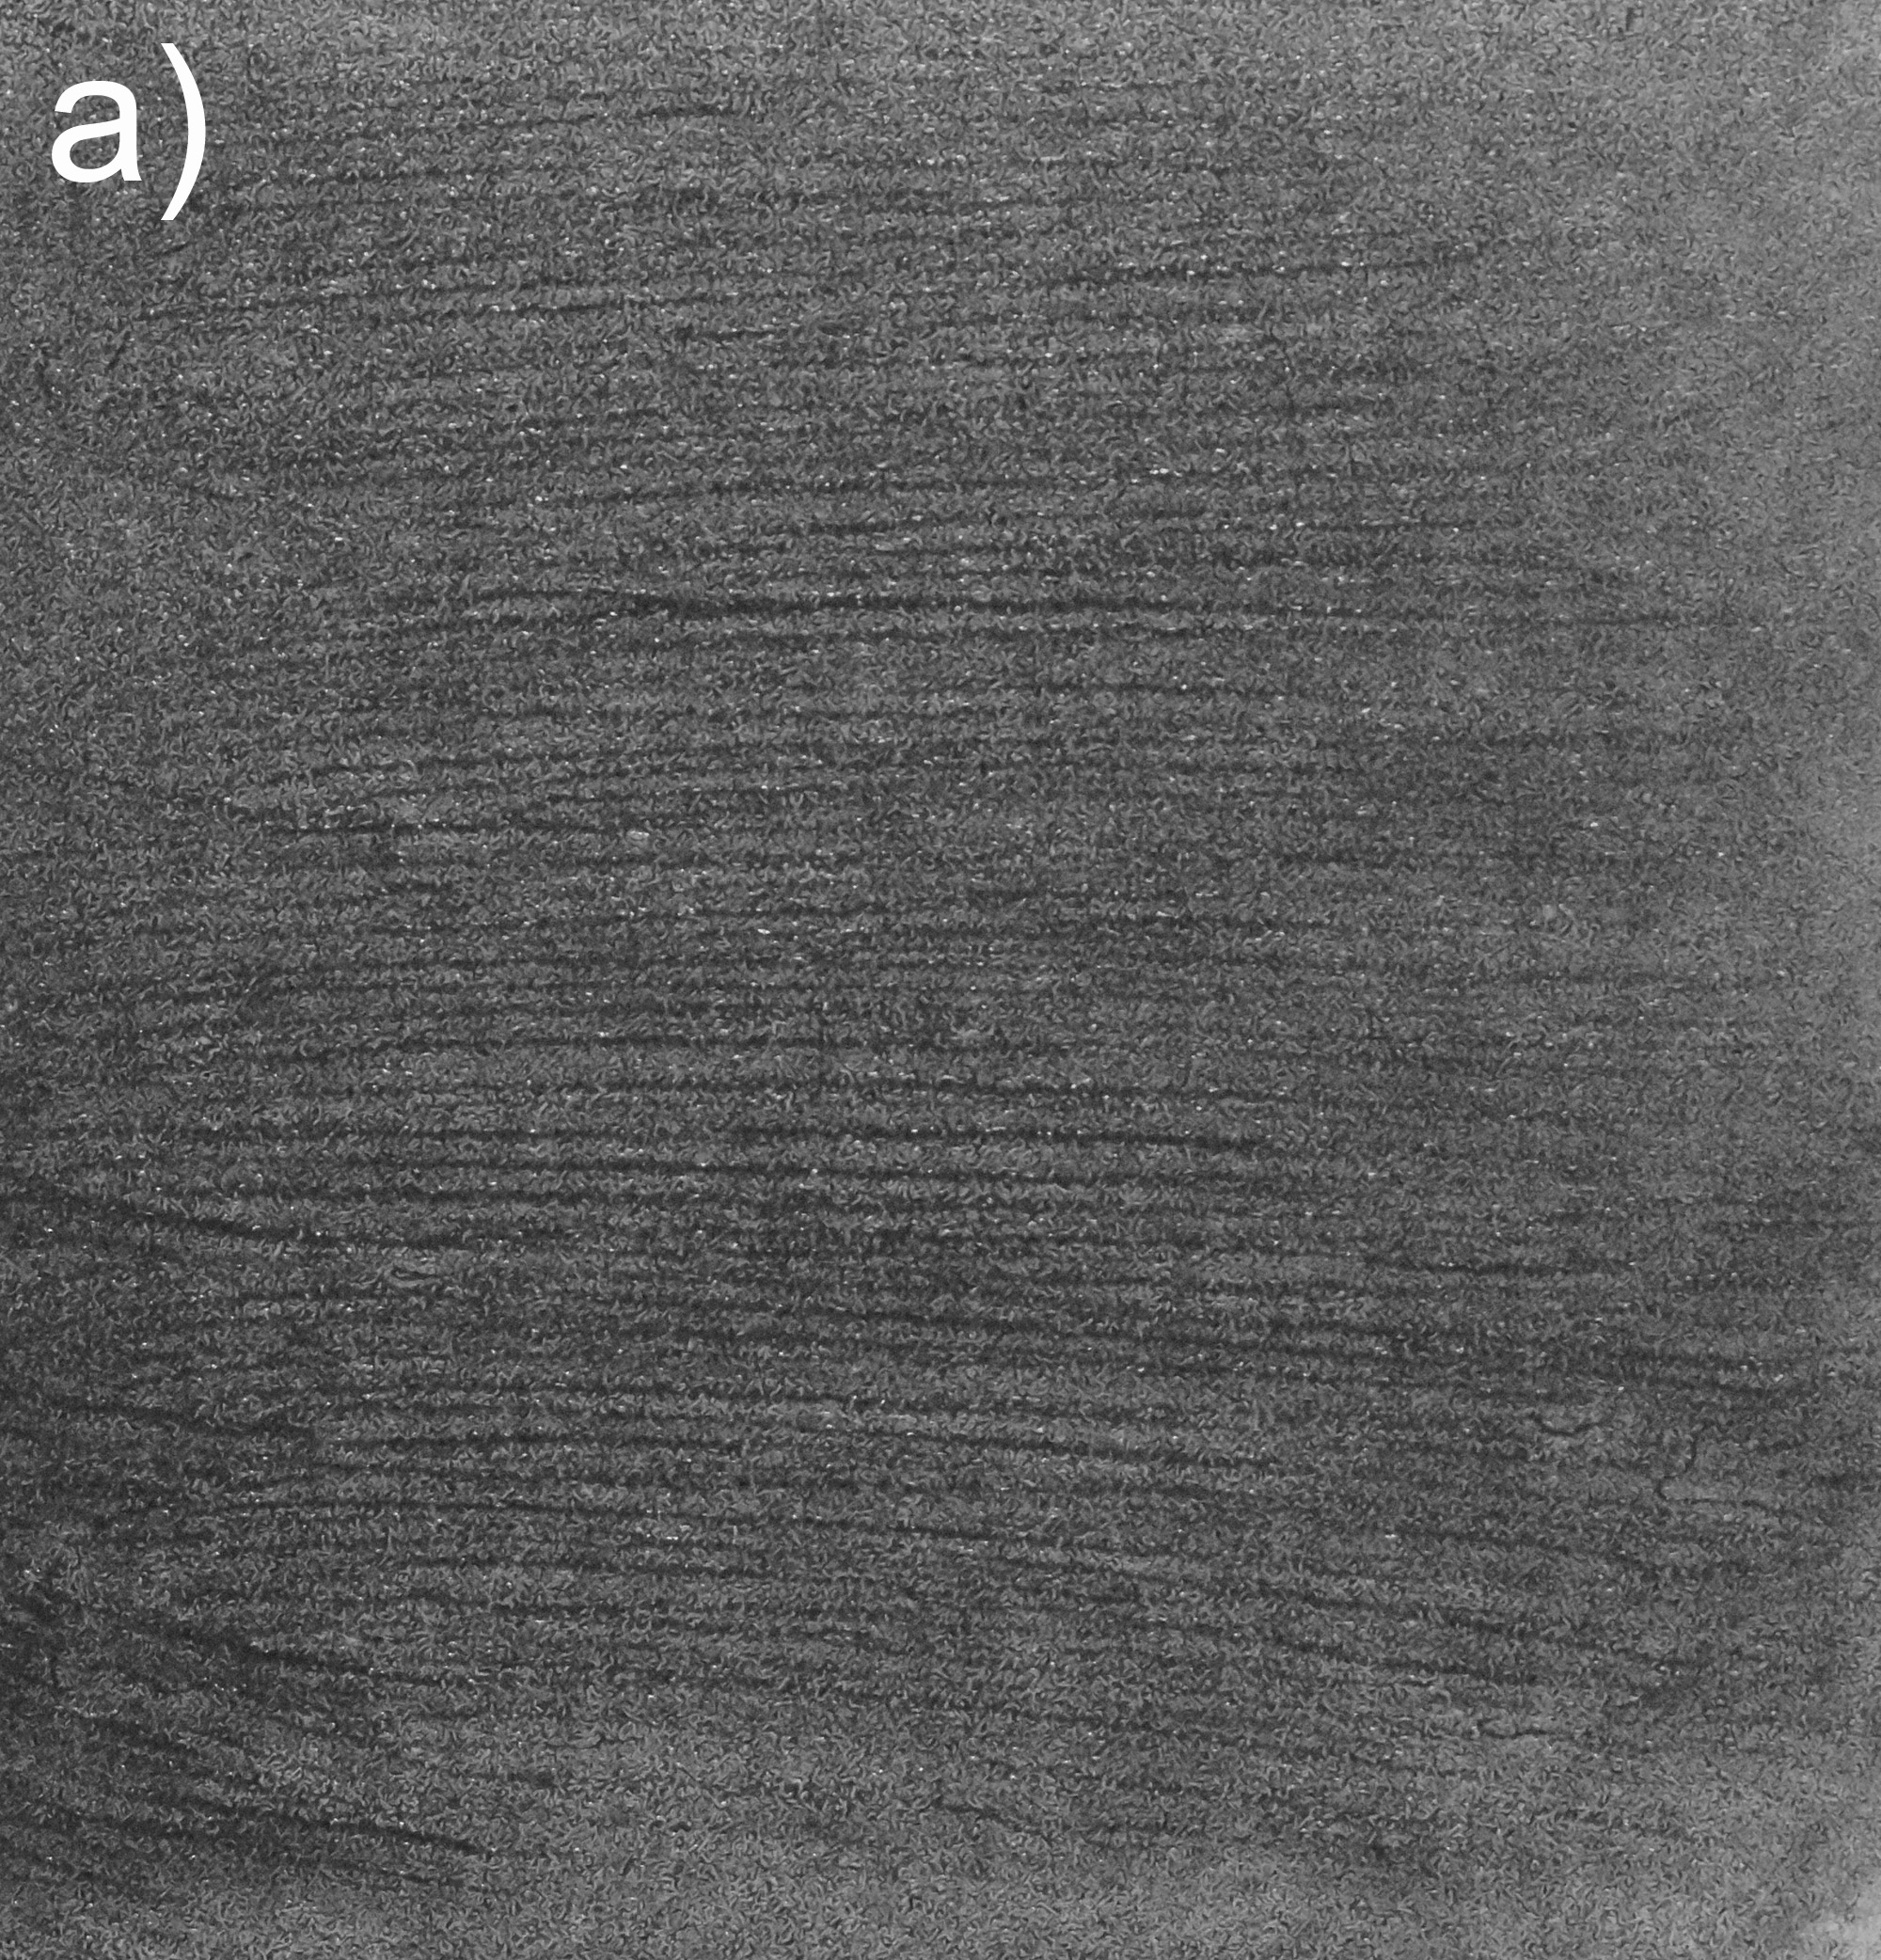
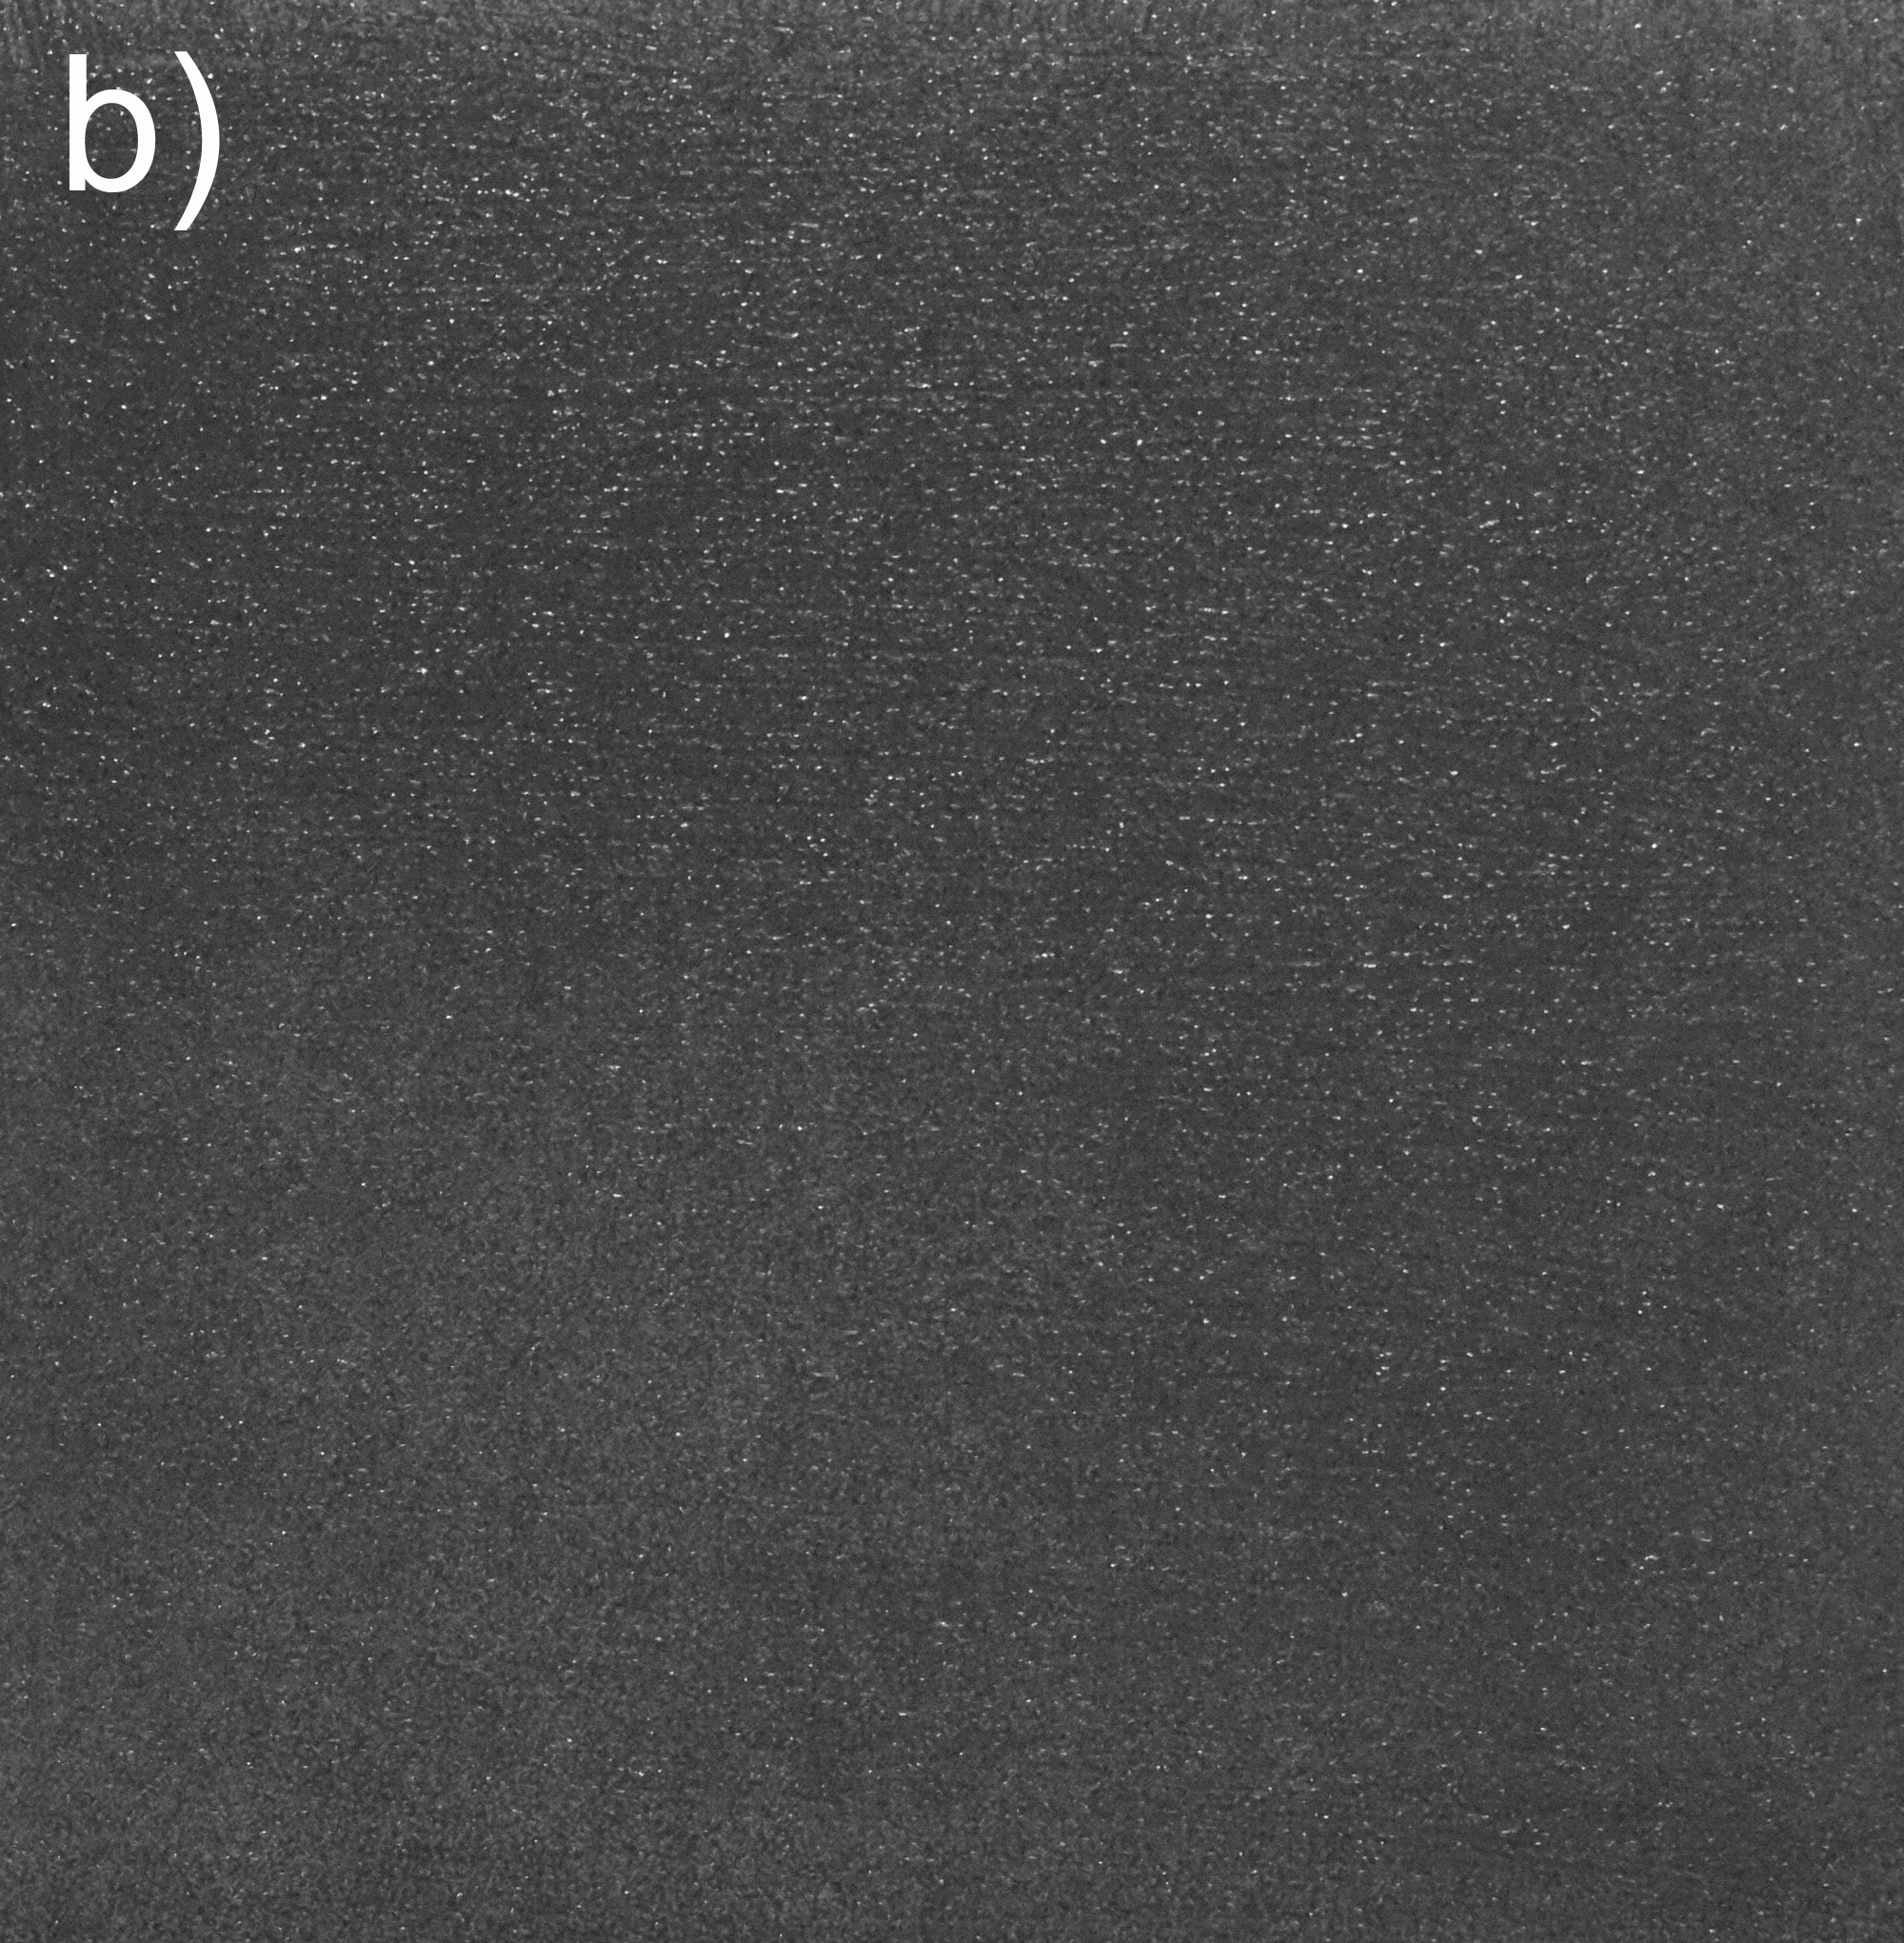
We now jump a few years forward again to the winter of 2017 and someone I was working with asked me if I could come up with a way of visualising sunscreens and how they spread to help with development of new topical sun protection products. Given how sunscreens absorb UV light, it immediately got me wondering whether UV photography could be used for this. But there was a problem – when you hit a film of sunscreen with a bright light, you get a lot of reflection from its surface which hides information on the film morphology. Easy I thought, let’s just cross polarize the light source and camera like I do for visual light photography. Oh, the naivety of youth. As with many things UV related this proved to be a little less straightforward than I originally thought, but it started me down the route of seriously looking at UV photography. This was where I jumped down the rabbit hole…..
After working with a UK supplier (Advanced Camera Services Ltd) to get a UV converted camera, a lens and UV flash, I then designed a cross polarisation setup for it, the result of which was a system which could do cross polarised images of sunscreen films showing the film morphology. This was written up and published in the International Journal of Cosmetic Science, as being able to combine UV absorption of the film with information about the film morphology looked to be giving a more accurate correlation with in-vivo measured SPF values that did not considering the morphology.
It was about this time that I also came across the Ultraviolet Photography forum. This collection of individuals from around the world had a tremendous background knowledge of all things UV photography related, and time spent on the forum was time well spent. I also found Dr Klaus Schmitt who is a UV imaging expert and dealer in unusual lenses. This led me to my first personal UV purchase – an Asahi Ultra Achromatic Takumar 85mm f4.5.
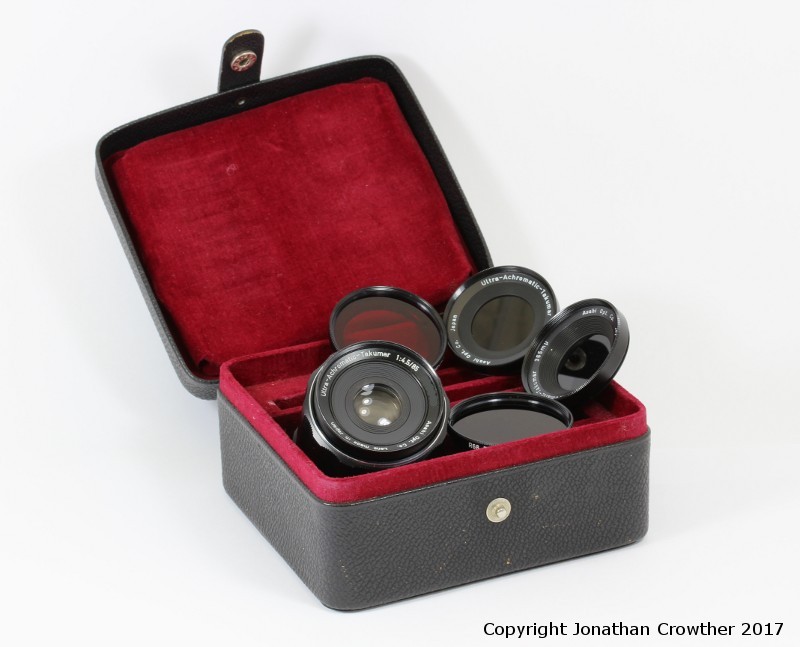
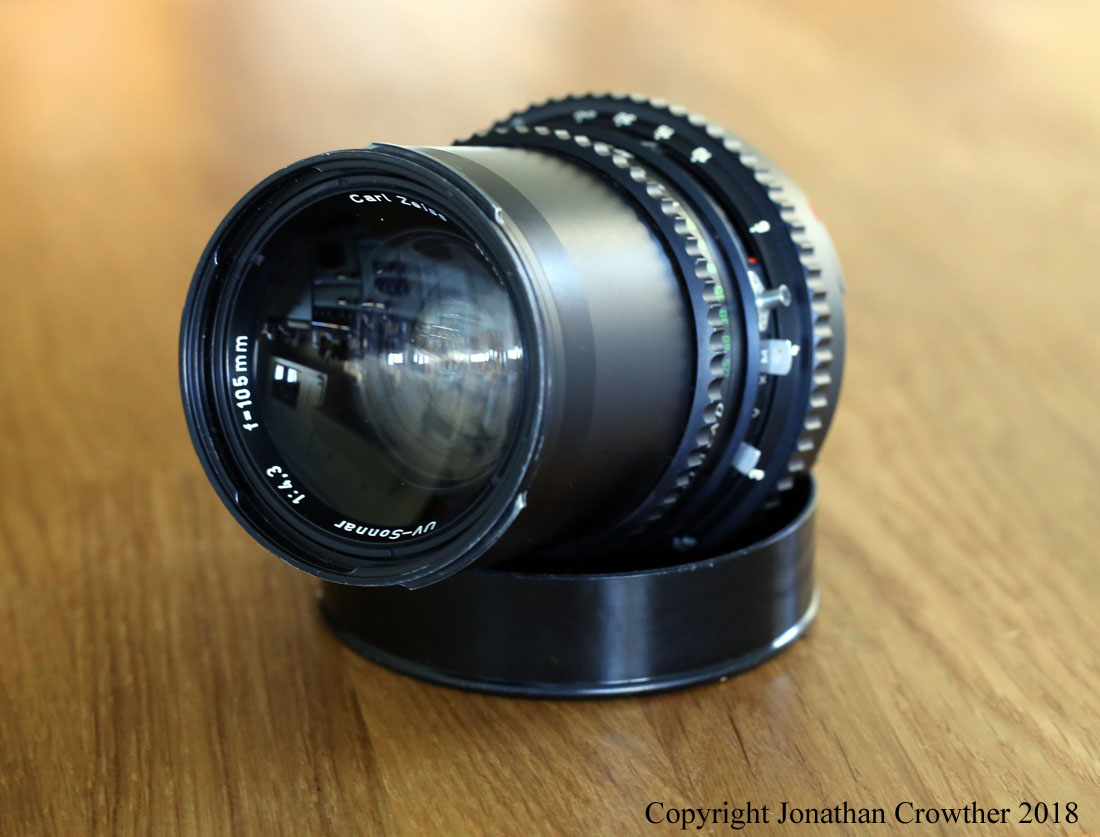
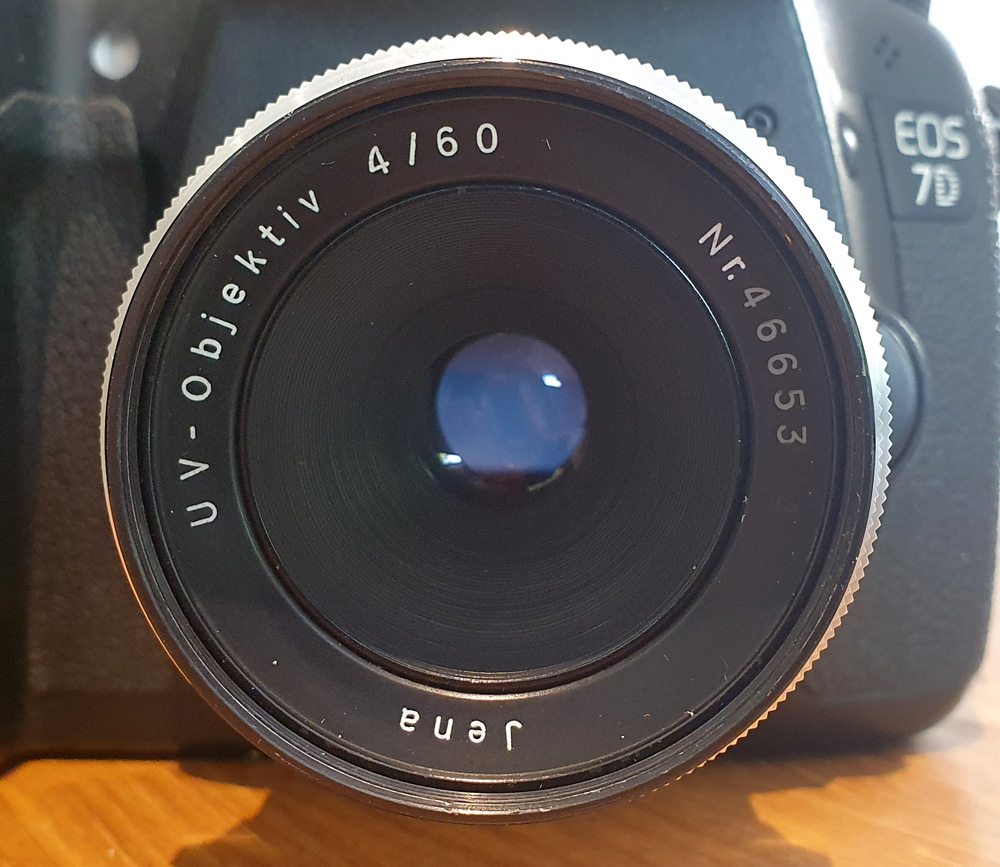
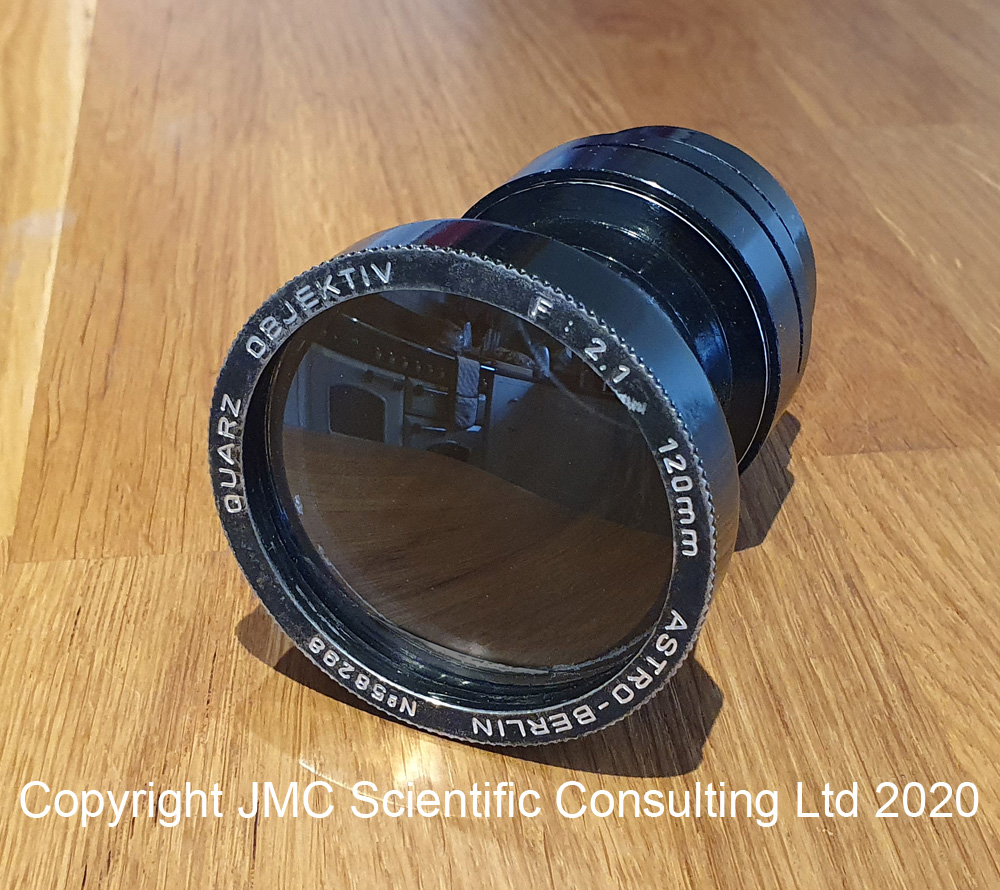
There’s something very special about looking at a camera lens and then realising that those lovely lens elements aren’t actually glass (or plastic as is sometimes the case these days). Of course I was bitten by the bug after getting the Asahi, and I’ve been fortunate enough to get hold of a few other unusual UV lenses since then, including a 105mm f4.3 Zeiss UV Sonnar (designed for medium format 6×6 cameras), a prototype Leitz Elcan 52mm f5.6 which was designed as a UV lens, a Katoptaron LDM-1/s 800mm long distance microscope, a Zeiss 60mm f4 UV Objektiv, a Nye Optical 150mm f1.4 mirror lens and an Astro Berlin Quarz 120mm f2.1 large format lens.
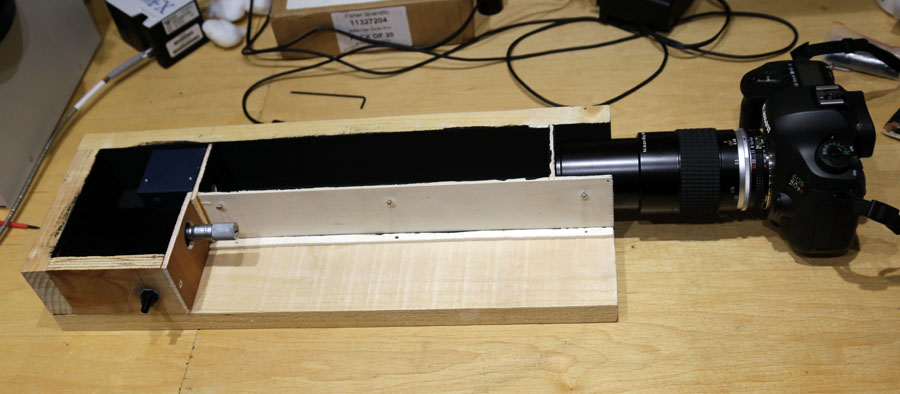
I suppose I’ve become a bit of a collector, but I see it more as the role of a curator. Being made in small numbers most of these are of historical interest, so I look after them and will eventually pass them on to the next generation of photographers. All of these lenses have good (and some bad qualities) when it comes to use in UV but some of them have enough reach to get down well into the UV region below 300nm. The plan is to eventually write up research done on or with all of these lenses at some point. Somehow I get the feeling this will end up being a retirement project…. I also make my own lenses from the range of parts that Thorlabs sells (big boys Lego).
Of course lenses are only part of the story and you need a camera to capture the image. For my initial sunscreen work I bought a UV converted camera from Advanced Camera Services Ltd in the UK, which I still use for day to day UV imaging. Having a built in UV filter over the sensor is great for an SLR camera as you can still use the eyepiece (although focus point will likely be different in the UV depending on the lens). One of the big issues with modern camera sensors with regards to UV imaging is the presence of the Bayer filter – the transparent coloured layer which creates the red, green and blue image on most sensors. While this is great for the visible region, the dyes used absorb loads of UV, especially at the shorter wavelengths, so has a big impact on camera sensitivity. Fairly early on I came across a company in the US – MaxMax (Llewellyn Data Processing LLC) – who were offering monochrome conversions of cameras, where they were removing this Bayer filter layer in a very controlled way, so I got one of my cameras converted. In fact I was so impressed with his work, that I’ve ended up getting various cameras worked on by him, including two Canon EOS 5DS R’s (one to monochrome and one just for multispectral imaging with the Bayer filter still intact). It was these Canon cameras which were the basis for my publication in the Royal Photographic Society Imaging Science Journal in which I used a device I’d built for measuring camera sensor sensitivity to look at how thee conversions impacted UV imaging ability. I actually have another paper looking in more depth at monochrome camera conversions and spectral sensitivity in the UV, visible and IR which will hopefully be published later this year.
Next we come to filters. Blimey, filters for UV imaging. This can be a bit of tricky area as of course a filter for UV imaging needs to be able to effectively block anything which isn’t UV. For a typical camera sensor this mean blocking from 400nm up to around 1200nm and because camera sensors tend to be more sensitive to visible and IR than to UV, the blocking of these wavelengths needs to be good. Very good. A lot of people use the Baader U filter from Baader Planetarium for their work. This is a filter designed for telescopes, so typically needs a bit of modification for using on a camera lens, and is dichroic which can lead to some odd colour fringing on wide angle lenses. I’ve also found the filters made by UVIRoptics to be very good, and he offers non-dichroic ones which don’t have the colour fringing issue with wide angle lenses. Also Invisible Vision here in the UK offer a good 308nm UVB filter with a mount suitable for normal camera lenses. I must admit, I’m a bit of a filter junkie and have far too many of them, but the set of 10nm band pass filters which go from 310nm to 390nm from Edmund Optics and Thorlabs have been very very useful, although they are only 1″ diameter, they are fine with the 105mm UV Rayfact macro lens (and other small element lenses).
Actually, while working in the UV I’ve found that a lot of stuff needs to be built as it cannot be bought (or if it can be bought, you need very, very deep pockets). This has led me to building my own setups for measuring camera sensor sensitivity and lens transmission, both of which have led to publications in peer reviewed journals. The paper containing the lens transmission work was awarded the Paper of the Year for 2020 in the International Journal of Cosmetic Science which was a great honour to receive.

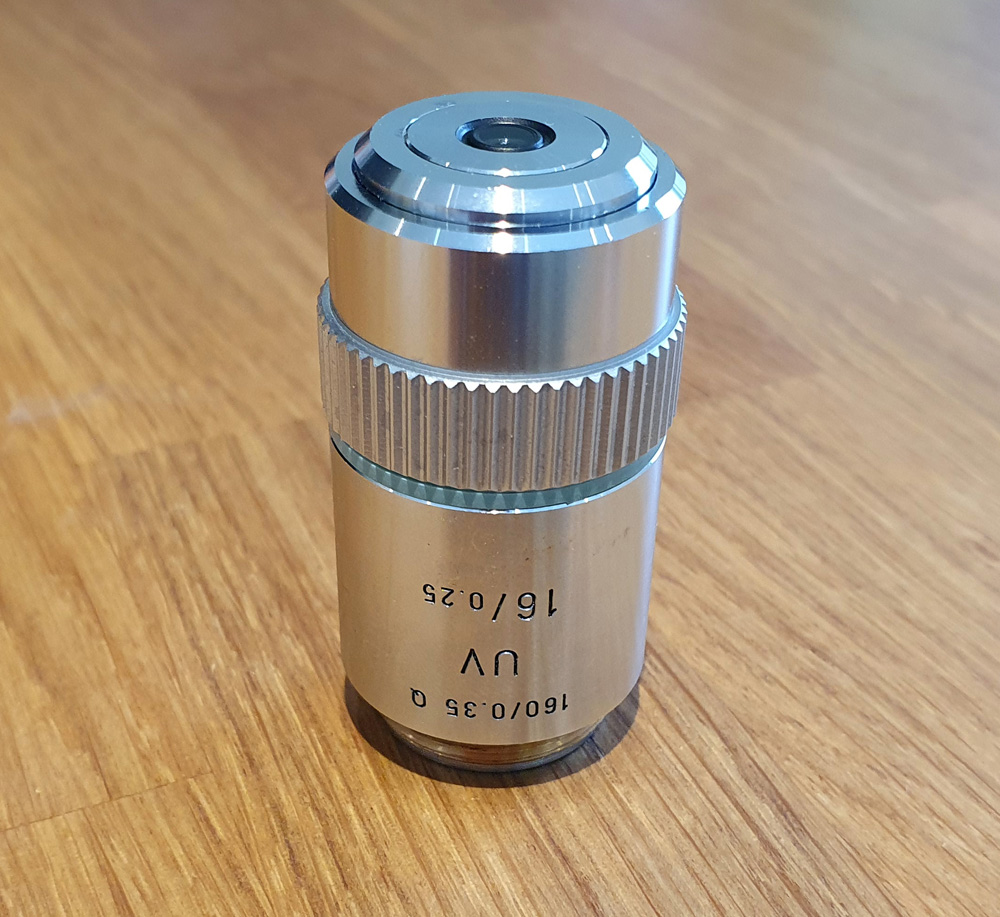
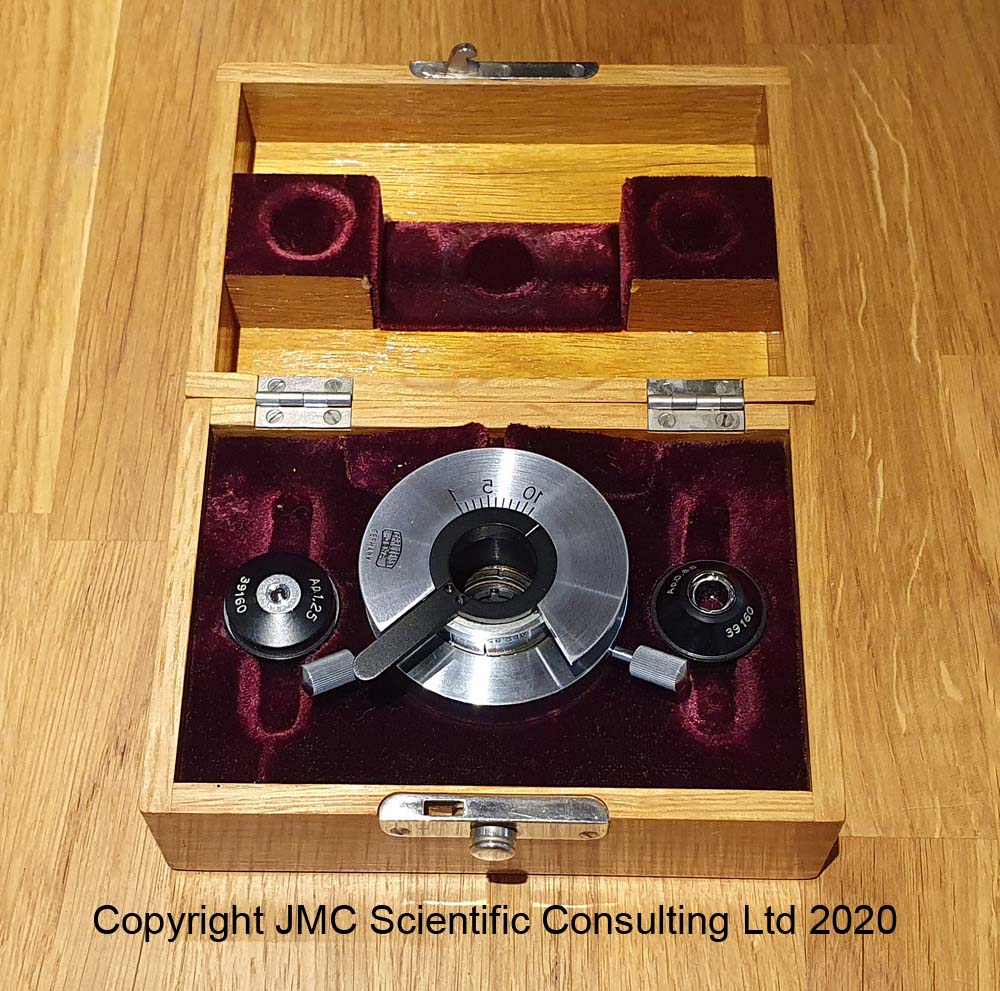
The last year has of course been hugely difficult for many people. When the first lock down came around I found myself in need of a new project to keep busy. As I had relatively little experience with microscopy, and given its very visual nature, I thought it would be a good skill to learn to compliment my other imaging work. I decided to buy an older microscope in need of fixing up, so settled on an Olympus BHB from the 1980’s. This poor thing looked like it has been stored in a field for a while, but could be taken apart and cleaned with relatively simple tools. Like many projects it became somewhat obsessional for me, and I soon got to wondering whether it could be transformed into a UV transmission microscope. This would be no simple task as there is a lot of glass in a microscope. So I set about learning about UV microscopy and kept an eye out for second hand equipment such as objectives and condensers. I had a couple of lucky purchases relatively early on and managed to find a Leitz 16x UV objective with good UV transmission down to and below 300nm, and an vintage Zeiss quartz condenser (although I did also make my own condenser at one point using a UV fused silica half ball lens).
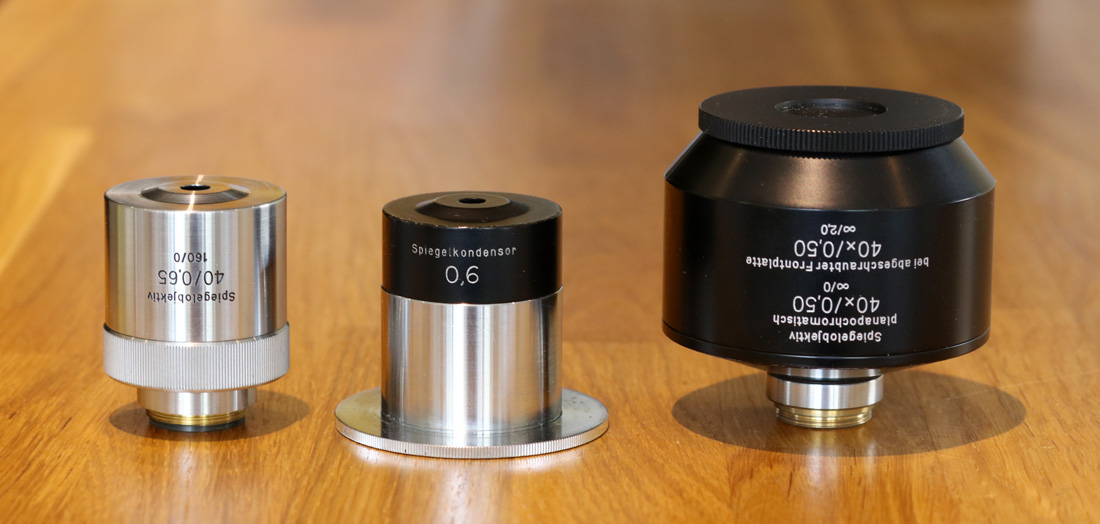
I also came across the Quekett Microscopical Club which was founded in 1865 and even has its own peer reviewed journal. What better place to learn about old microscopy equipment I thought and applied to join. As with the photography I’ve found myself no collecting anything related to UV that I can find and use so have a wide range of UV lenses, both refractive (such as the Zeiss Ultrafluars), and reflecting (mirror lenses). All of these have been bought second hand as new they would have had eye-wateringly high prices.
The UV microscope is now complete, although as a tinkerer it will be improved upon, and I am starting to do research into sunscreens using it.
Scientifically, my UV journey has been challenging, fascinating, frustrating at times, but ultimately very rewarding and is an area I shall be continuing to work with in the future. In addition to the obvious areas of interest such as sunscreens and skin imaging, my plan is to explore different areas such as forensics, geology and even anthropology to see what looking at things in a different way can bring to research in those fields. Microscopy has proved to be a fascinating research area for me and I’ve already written a couple of UV related articles on it with more to come in the future.
Thank you for reading and if you’d like to know more about my work you can reach me here. I’ve included a small publication list at the end of the article which includes some of the key articles I’ve written on this area along with the talks I’ve given to date.
UV related publications and talks
“Yooperlite – Imaging the fire within using UV”, JM Crowther, Quekett Bulletin, 2021, 80, 53-56.
“Chapter 28 – Dermatological imaging – A survey of techniques“, A Davies, JM Crowther, in Photography in Clinical Medicine, Ed. P Pasquali, 2020. ISBN 978-3-030-24543-6. https://doi.org/10.1007/978-3-030-24544-3_28
“Chapter 29 – Beyond the visible: UV, IR and fluorescence imaging of the skin“, JM Crowther, A Davies, in Photography in Clinical Medicine, Ed. P Pasquali, 2020. ISBN 978-3-030-24543-6. https://doi.org/10.1007/978-3-030-24544-3_29
“UV reflectance photography – what are you imaging?“, JM Crowther, International Journal of Cosmetic Science, 2020, 42(2), 136-145. https://doi.org/10.1111/ics.12591
“Visualising Sunscreens Using UV Photography”, presented at the Sun Protection Conference, London, UK, 2019.
“Imaging of the skin – UV, visible, IR”, presented at the Royal Photographic Society Imaging Science Group meeting, London, 2019.
“The big reveal: UV imaging uncovers sun protection, skin dryness and microbiome“, JM Crowther, Cosmetics and Toiletries, Sept 2019, p.32-45.
“Understanding colour reproduction in multispectral imaging: measuring camera sensor response in the ultraviolet, visible and infrared“, JM Crowther, The Imaging Science Journal, 2019, 67(5), 268-276. https://doi.org/10.1080/13682199.2019.1638664
“Calibrating UVA reflectance photographs – standardisation using a low-cost method“, JM Crowther, Journal of Visual Communication in Medicine, 2018, 41(3), 109-117. doi: 10.1080/17453054.2018.1476819.
“UV Photographic Imaging – Sunscreens and Skin“, The Cosmetic Chemist, 2018, 15th October.
“Understanding sunscreen SPF performance using cross polarised UVA reflectance photography”, JM Crowther, International Journal of Cosmetic Science, 2018, 40(2), 127-133.