
2021 is well under way now, and of course that means that here in the UK we are in another lockdown. On the plus point with the nights being long and the weather cold, I have time to share something with you on one of the recent lenses to arrive here – the Astro Berlin 120mm f2.1 Quarz Objektiv. For those of you who haven’t heard of Astro Berlin they were optical company based Berlin, and were founded in the early 1920’s (I’ve seen 1921 and 1922 mentioned for this). While originally they produced astronomical optics, they soon changed to camera and cinecamera lenses. Remaining active in East Berlin after WWII the company finally went into liquidation in 1991. They have gained a bit of a legendary reputation amongst photographers and cinematographers, due in part to their combination of long focal lengths and fast apertures with the optical characteristics of older designs of lenses. As such they tend to demand high prices from those wanting to use them as well as the usual array of historical optics collectors.
During my historical research, I’ve come across a couple of Astro Berlin lenses which were designed for UV imaging – the 44mm f2.5 Quarz-Tachar, and 135mm f4.5 Quarz-Anastigmat – and as you can imagine, if the normal glass Astro Berlin lenses are rare, these are almost mythical. However a few months ago I saw an advert for an Astro Berlin 120mm f2.1 Quarz Objektiv, which was a new one to me. This looked to have been designed for large format photography and the seller mentioned it fitted a Compur II shutter, and that they believed it was a quartz lens as they had used it to capture images in UV light (I’ll come back to these points later). After a bit of discussion, I made my offer for it which was accepted, and it arrived just before Christmas. Here’s a picture of the lens (along with a nice reflection of my kitchen in the front element).
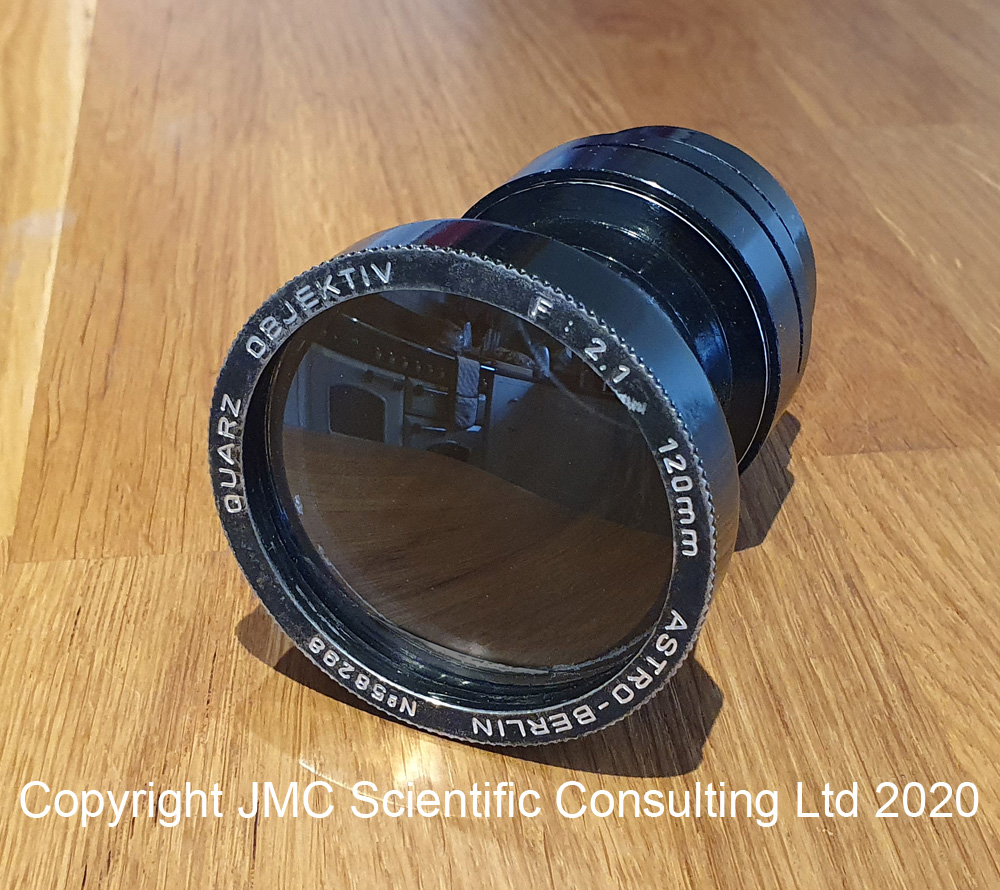
The specifications of this lens were quite impressive – 120mm focal length and f2.1 aperture. Compare this with the UV Nikkor (105mm f4.5), UV Sonnar (105mm f4.3), Asahi Ultra Achromatic Takumar (85mm f4.5), and even the Zeiss UV Objektiv (60mm f4), and as you can see this Astro Berlin lens has an extremely large aperture. Image size was mentioned as 6x6cm or even 6x9cm for macro work. As you can imagine, I was rather excited when this arrived, and the first thing to do was test it for UV transmission. The lens itself easily dismantles to produce a single front element, a central section for Waterhouse stops, and then a rear section which is actually a cemented doublet (which started to get me a bit nervous as cemented elements for a UV lens, especially an old one, would be unusual). What did the transmission measurement show? Let’s take a look.
Hmmm, what is going on here? The front element is not glass and it’s safe to assume this is quartz based on the transmission spectrum which is still looking good down at 280nm. However the rear group does not look to be quartz as it is showing a drop in transmission from 400nm down to being essentially opaque by 320nm. Don’t get me wrong, this is pretty impressive transmission for a glass lens, but obviously when the 2 parts of the lens are used together, this limits the overall transmission to wavelengths longer than 320nm.
What about this doublet at the rear of the lens? This rear element can be seen in the image below.
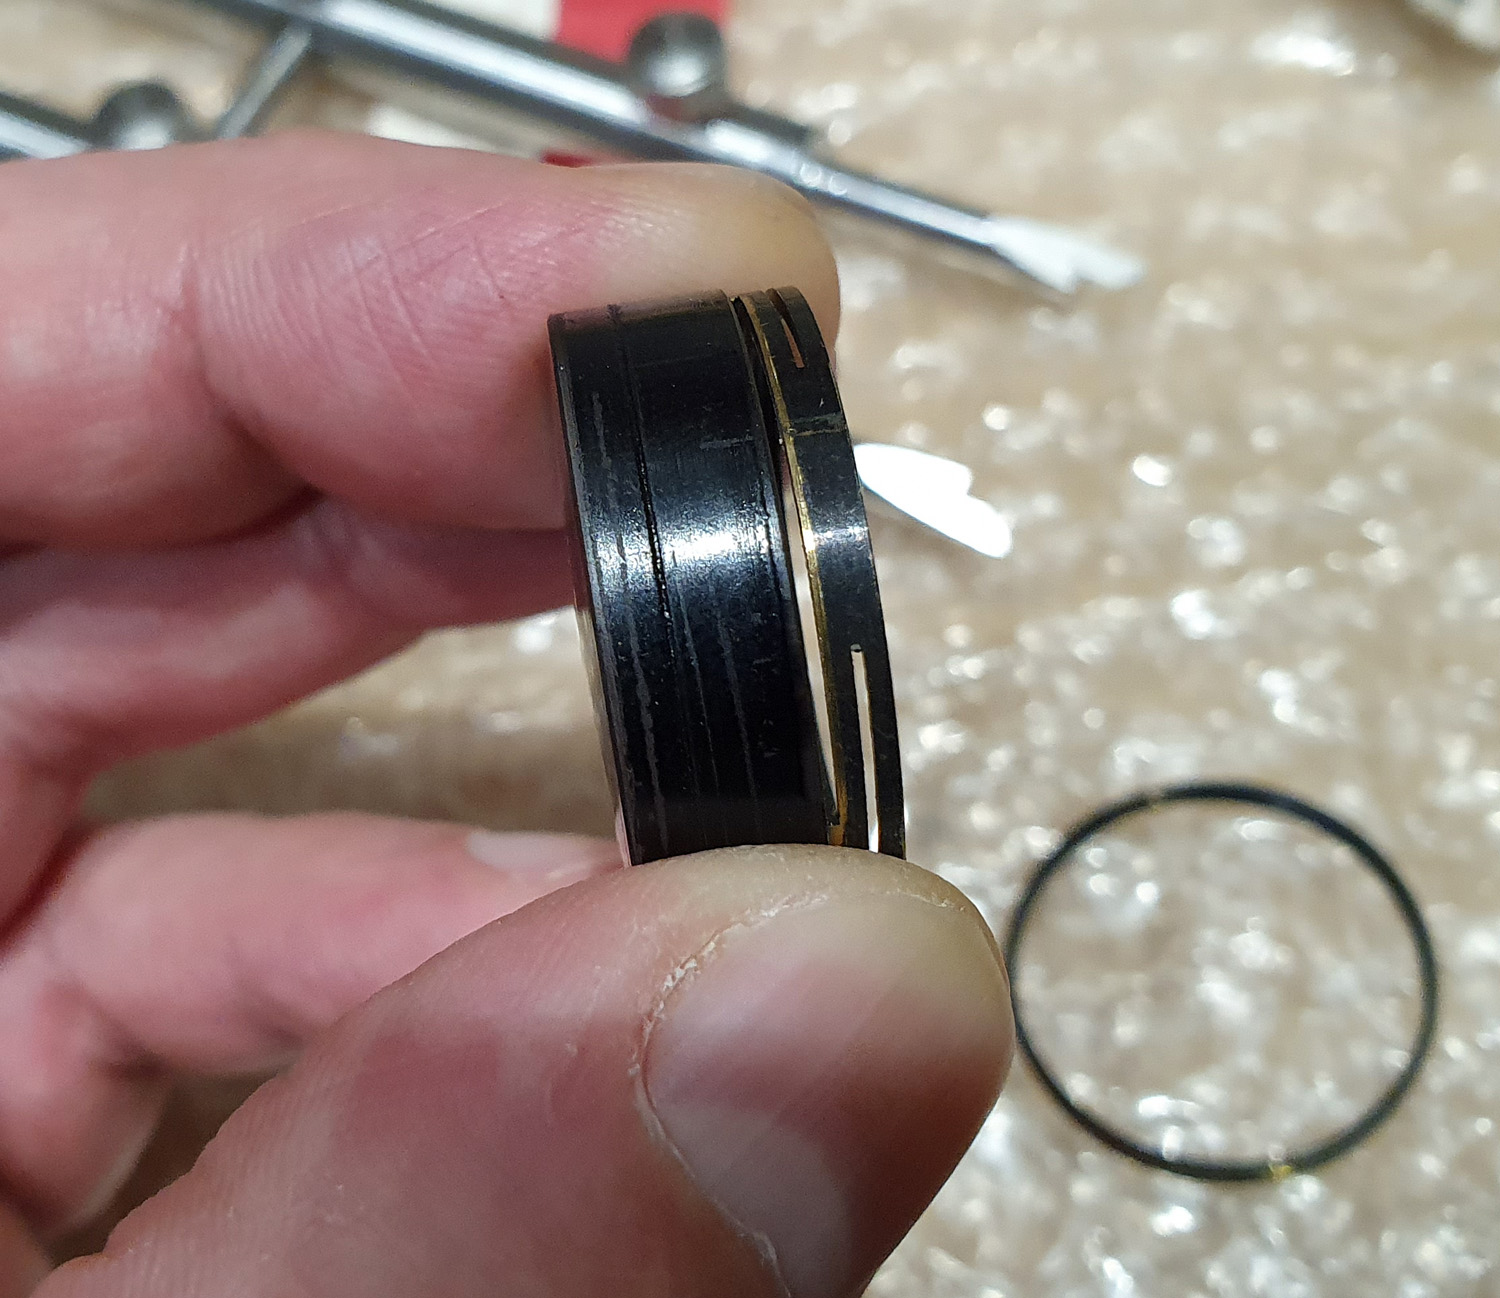
The image above shows the side view of the rear cemented doublet on the left, and the lens retaining ring on the right. You can see it is a doublet, due to the depression in the black coating about a third of the way in from the left hand side. Whether one (or both, but that would be odd) of the two parts of this doublet are quartz will have to remain a mystery for now, as I don’t want to scratch off the black coating from around the edge to check. It could also be that the adhesive holding the lens elements together (most likely Canada Balsam) is blocking some of the UV, so that is something I’ll be testing in the future as I haven’t been able to find anything definitive on that.
The lens does not have an aperture at the moment, and is built for Waterhouse stops, so that is next on the list of things to make, which will enable me to stop down the lens.
How to capture images with this lens? The lens mount was apparently that of a Compur II shutter. Problem with that is that the Compur II shutter design parameters (thread diameter and pitch) were never actually standardised. Measuring thread diameter is fairly easy, and this was 50mm. Thread pitch is a little harder to measure (well it is for me anyway), and as far as I could tell this was a 1mm, or close to 1mm. To adapt this to a camera, I took the following approach – a M50x1 to M65 adapter from RafCamera, a M65 helicoid, a M65 to Hasselblad bayonet adapter (also from RafCamera), and then a Noveflex adapter to go from Hasselblad to Canon or Nikon. Most of these parts I had already from other projects, but the M50x1 to M65 needed to be ordered. Putting all these together and mounting the lens on a camera looks as shown below.

The length of the helicoid I have limits this to macro work only at the moment (need to get a shorter M65 helicoid at some point). Also the M50x1 adapter seems to have a very slightly different thread pitch to the lens. I mentioned above the thread pitch is hard to measure accurately and I now suspect the lens is threaded with something slightly different to M50x1. It is close enough to mount it well, but just doesn’t screw all the way on. Despite that this setup at least allows me to capture some photos with it. The sun came out today, so I got a few shots in the garden, just using visible light with a normal colour camera, which are shown below.
As can be seen above the lens is quite ‘glowy’, which is not surprising as I am using this wide open without any stops, and my finger covering the hole in the barrel of the lens, where the stops would go. Below is a shot showing the entire 35mm frame (reduced in resolution from the whole 50Mp for sharing).

Cropping this and showing the central part of the image at the original resolution it was captured at gives the following.
There certainly is plenty of glow there, but that thin thread is a strand of spider silk, showing the lens is certainly capable of capturing plenty of detail.
The nice thing about this lens is that the rear doublet can be removed, and the lens still fits the same M50x1 adapter. This allows imaging using just the quartz singlet at the front of the lens, and an example image is given below.

Funnily enough the image with just the quartz singlet gives quite a similar image to the one taken with the complete lens shown earlier in the post, at least on my 35mm full frame digital camera. The good thing about this is that being quartz it can be used for imaging in the UVB region below 320nm.
The lens does not have an adjustable aperture, but a slot for taking Waterhouse stops. While these are normally made from brass, I thought I would make a set from 1mm thick black plastic sheet.
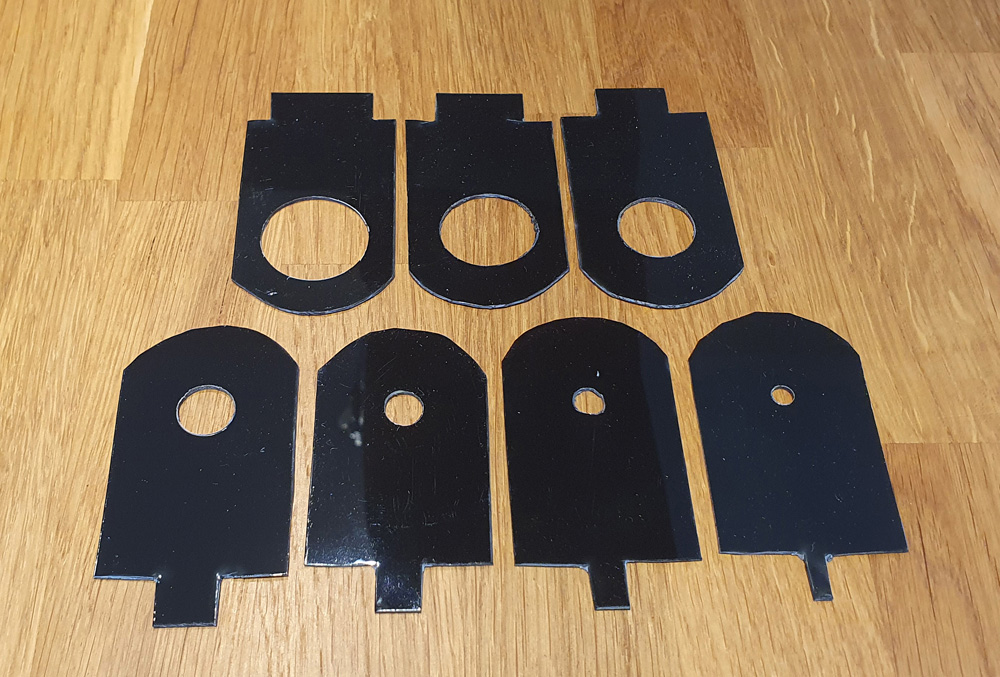
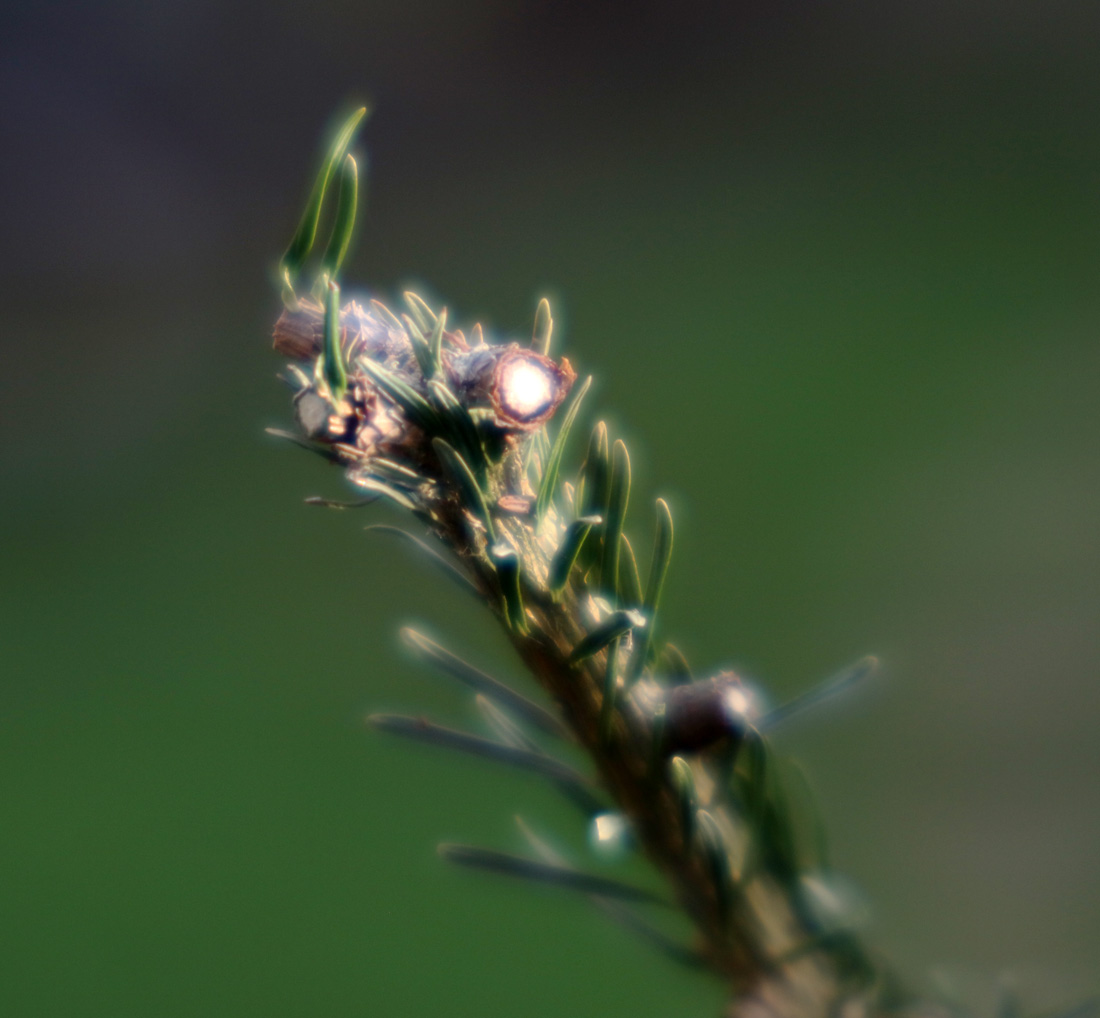
I made a set which should in theory go from wide open to about f11, although this is just approximate, and the hole sizes were determined by what size drills I had as much as any maths. How do they work? To try this out I got a set of shots of a pine tree in the garden, firstly without any stops in place and then from largest to smallest.


Going from ‘no stop’ to the largest stop, produced only a very slight increase in depth of field, and I suspect this due to the metalwork on the inside of the lens. After that, as the hole of the Waterhouse stop decreases in size the depth of field increases, just as it would when you make the aperture smaller on a more modern lens. Also the images become much less ‘glowy’. Success. As they are at the moment, they are a bit loose in lens when slotted in the lens, so I may add a layer of black tape to one side to just increase the thickness slightly and make them more snug in the slot.
How does it work in the UV? Here are some shots of flowers in the garden taken using a UV modified Nikon d810 (UV conversion done by Advanced Camera Service Ltd, UK). The lens was adapted to the camera using a range of components including a Novoflex Nikon to Hasselblad adapter, Raf Camera Hasselblad to M65 adapter, M65 helicoids, and an M65 to the lens adapter (again from Raf Camera). Images taken at f4 or f5.6 using one of the Waterhouse stops.

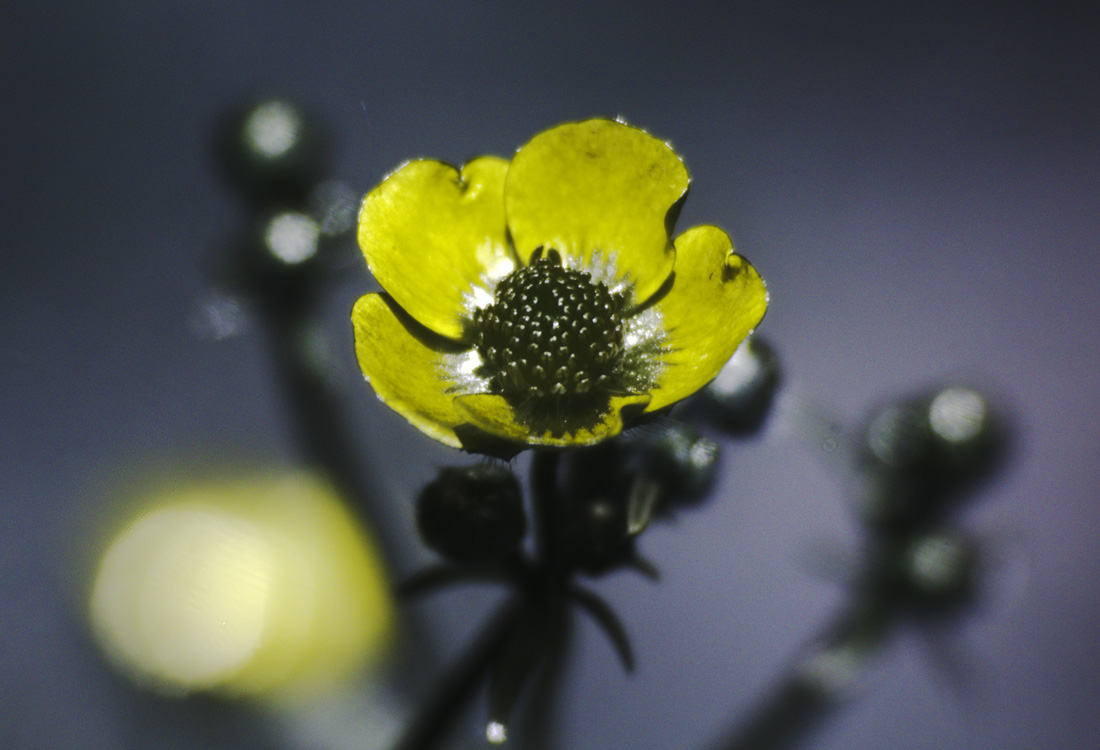
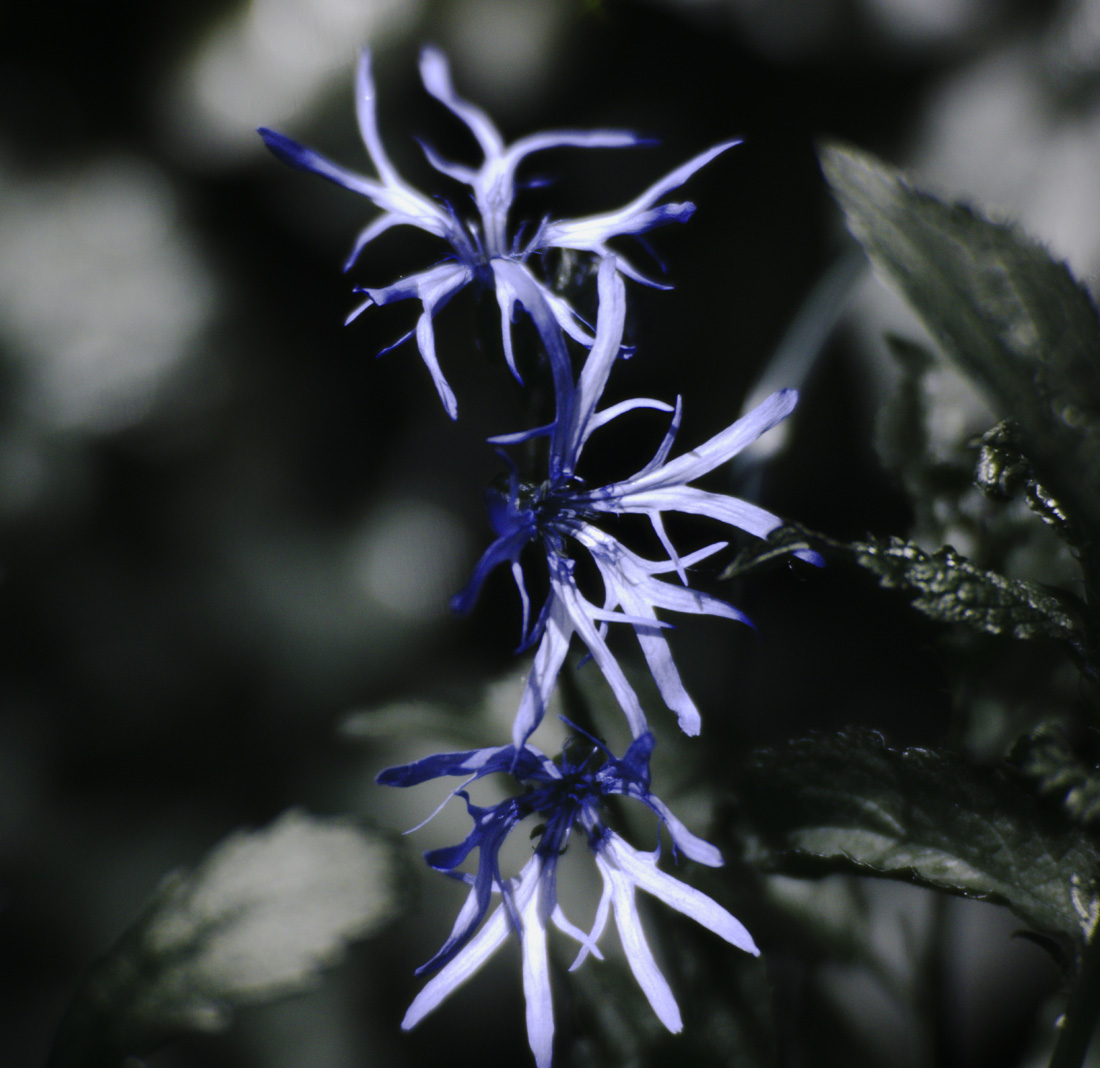

It certainly performs well enough in the UV. It does have quite a focal shift from visible light, but this is easily dealt with using live view. It is softer than my 105mm UV Rayfact but that is not a surprise as that is clinically sharp.
After all this, where have we got to with the Astro Berlin lens? While seemingly not an all quartz lens, this certainly has good UV transmission, and has a quartz element at the front. Using some off the shelf adapters, it can be mounted to a range of different cameras including 35mm SLR, and medium format – it’d be lovely to try this on a UV sensitive Hasselblad at some point as the image circle it produces is large. It also can be dismantled and even when using just the front quartz singlet, and still produces a usable image which would enable it to be used for UVB imaging.
Thanks for reading, and if you’d like to know more about this or any other aspect of my work, I can be reached here.