
‘Life is not an exact science, it is an art’. A quote by Samuel Butler, and much as though the scientist in me would like to control every aspect of my life and my work, it does not always work out like that. Sometimes we cannot rely on science alone and must resort to gut feelings based on experience and understanding of the problem. In building my UV microscope there have been many challenges – the optics can’t be made of glass, the camera sensitivity needs to be increased, and what to do about the lighting? Having dealt with the optics and the camera, the lighting has been an issue for me lately. At 313nm and 365nm, a mercury xenon lamp is a good option. Nice strong emission lines and focussable. Below 300nm things get tricky. I did build a 254nm source using a low pressure mercury lamp, and that did enable me to get some images with the microscope, but it has it’s challenges. While it has a nice sharp line at 254nm, it does still require filtering to remove other emission lines, and while the efficiency is high for producing UV the overall power is low. Also it emits light 360 degrees, so I can only harness a fraction of what it produces. What I needed was a better light, and this is something that has kept me awake at night for quite a while. In the end I settled on a deuterium light source. Plenty of UV, especially in the 200-300nm range, which was just what I needed, along with relatively little visible and IR light. However what I couldn’t find was a direct comparison with the little 3W low pressure mercury lamp I had. In the end I just had to jump in based on a best estimate and a gut feeling.
The light source I went for was a Thorlabs SLS204 deuterium lamp. The main reason for this being that the fiber port could be removed, and there was a SM1 thread present to allow me to easily attach things like condenser lenses and other optics to focus the beam. Here’s the light source.
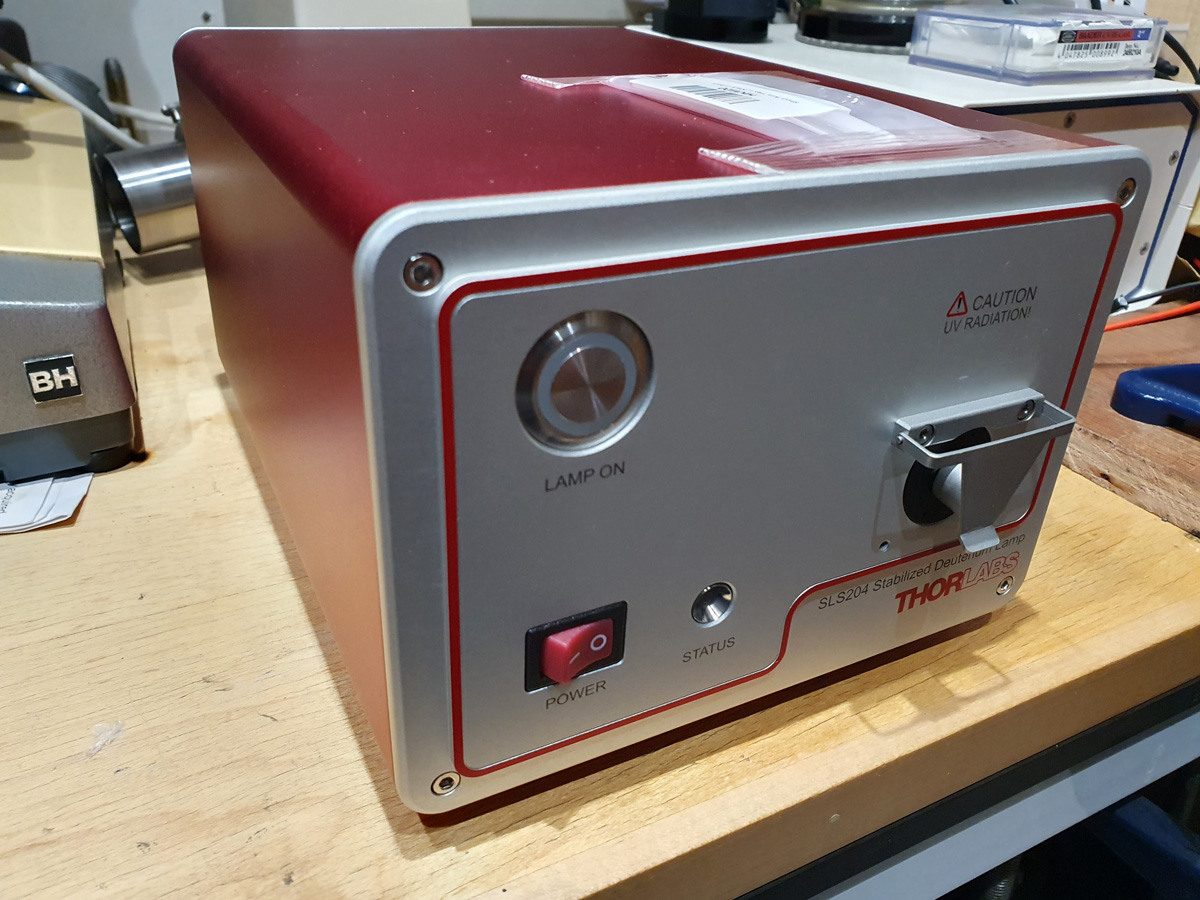
The fiber port where the light comes out is underneath the protective cover on the right hand side. The cover, and the black circular part which holds the fiber port underneath can be removed to reveal the deuterium lamp and that is where condenser lenses and other optics can be attached. That is a big tick Thorlabs. Couple of things are not big ticks though. The tool to remove that black circular piece is not included with the light, so I’ll need to order that separately (and pay for more postage, grrrr). Also there is no internal shutter for the light, unlike on my Ocean Insight one. As such when the deuterium lamp is on and with the safety cover removed, there is nothing to block light coming from the lamp housing. This could be a safety issue for my application, and as such I’ll need some form of manual shutter or at least an iris to reduce the output. Not ideal.
Enough of my moaning. How does the output spectrum look? As a first look I just put the fiber (with a cosine corrector) from the Ocean Insight FX spectrometer up against the output port of the light. I then also put a Semrock 260nm brightline filter in place, as this blocks most of the visible and even some of the IR to get an idea of how effective it would be. These were the spectra produced.
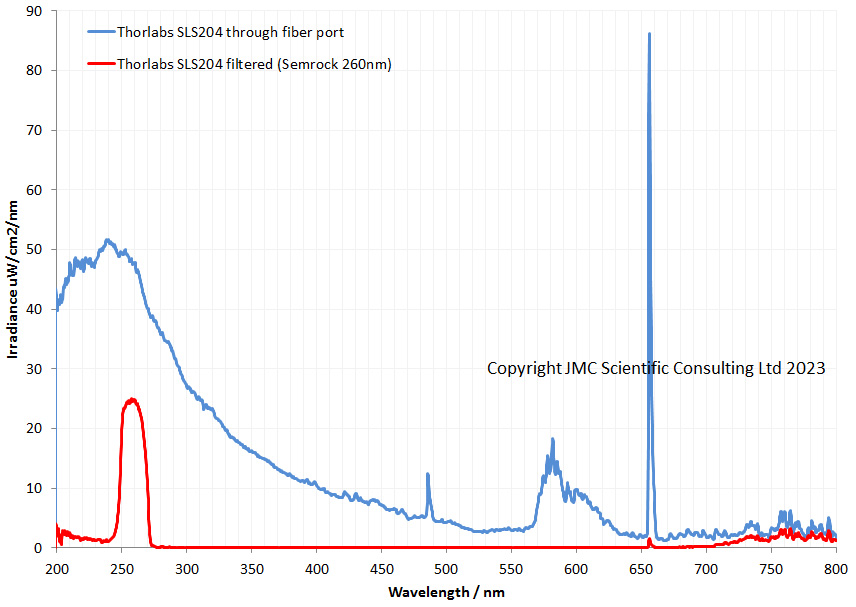
The light produces the as expected profile for a deuterium lamp. Lost of UV and a strong line in the visible at about 655nm. The Semrock filter does a good job of removing the long wavelength UV and a lot of the visible up to about 700nm but after that doesn’t offer any additional blocking. Will this be good enough on it’s own? I am not sure about that, and that remains to be seen. The good thing is that it lets plenty of light through in the 250-270nm region, and is not a line spectrum like the low pressure mercury lamp. This should help with its use as a source for microscopy.
Is the deuterium lamp the perfect solution? Well, no, unfortunately not. It still requires filtering, and it is not as intense as a low pressure mercury light. However it offers a continuous spectrum with plenty of light in the 250-300nm region and as such is worth exploring, despite the hefty price tag. The next step is to get a condenser lens in there and build an adapter to fit my microscope. The light also might be useful for UV photography in the 200-300nm region, so that is something else to think about in the future.
Science doesn’t always go to plan, and at some point many of us are faced with making decisions based on our best estimates. While this is scary, it is part of science, and is something which needs to be dealt with if you want to make new discoveries. If we knew all the answers there would be no new discoveries. Thanks as always for reading, and if you’d like to know more about this or any other aspect of my work, I can be reached here.