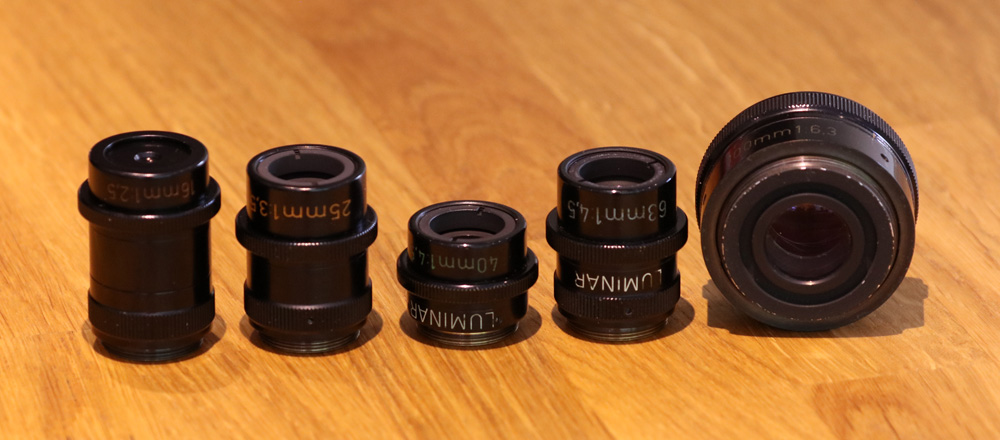
In the world photomacrography the Zeiss Luminar lenses have an almost mythical status. Originally intended for use in their Ultraphot range of microscopes, they have the ability to form a very large image circle – enough to cover a 4″ x 5″ plate – when used at their specified magnification range, and to do that without additional eyepiece optics. Available in the range of focal lengths (16mm, 25mm, 40mm, 63mm and 100mm) and with a number of different versions depending on when they were made, they offer extremely high sharpness and resolution, even compared to modern lenses.
A few months ago I bought one of these lenses – the 25mm one – and was really impressed by it (see here). In addition to being a really sharp lens, it also had great UV transmission. This got me wondering whether the other Luminars could also be used for UV imaging work. The 100m one I got was a great macro lens, but did not work that well for UV, as it had poor transmission (you can read about that here). The other Luminars do come up for sale on eBay reasonably, and they command high prices (often too high, as some of them stay ‘for sale’ for a long time). However a few days ago a friend of mine contacted me to say he had three of them in 16mm, 40mm and 63mm for sale. The price was right and they arrived here yesterday. Along with the other 2 I already had, these completed the set. And here they are….
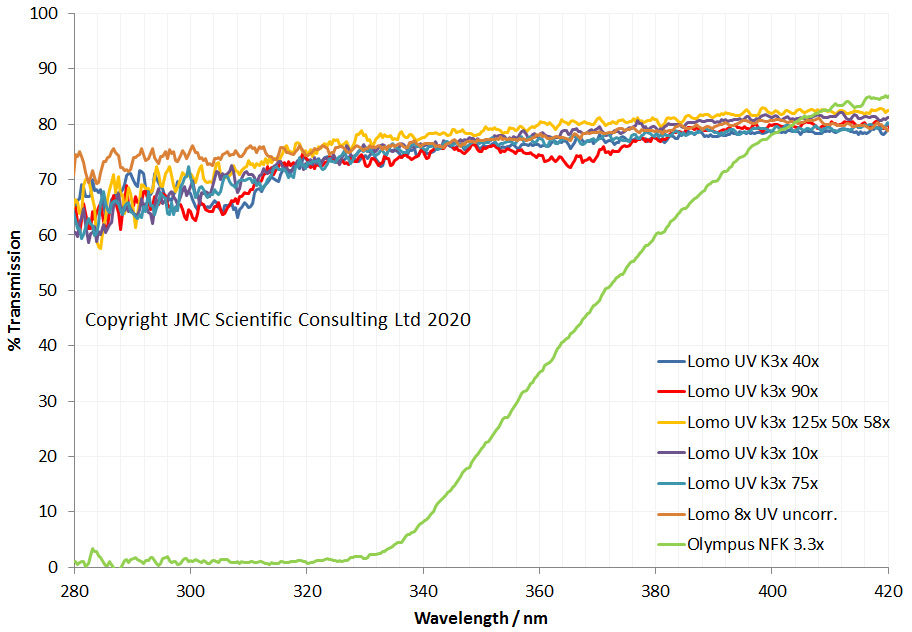
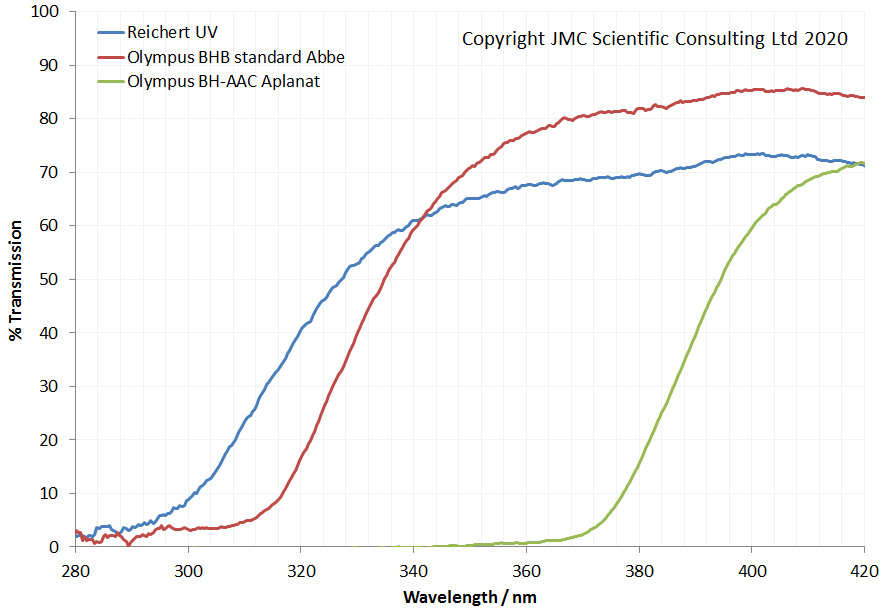
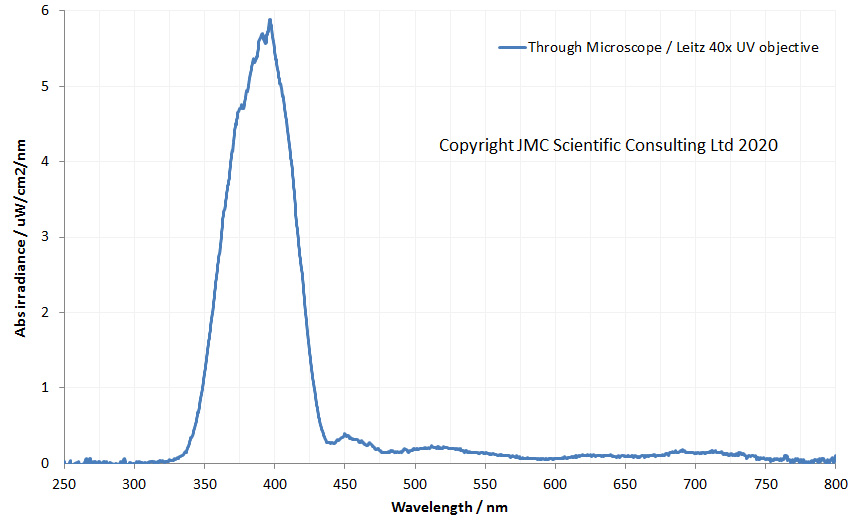
While there is some anecdotal information on their UV capabilities, I had not seen any actual data comparing all five of them for transmission. So, that was my first job, using my own lens transmission rig.
This revealed some interesting findings. The 25mm reached the farthest into the UV, and the 100mm showed the least UV transmission. The 16mm one is the 2nd worst. This one has a relatively complex lens design so its behaviour makes sense (5 elements, 4 groups). I had expected the 40mm and 63mm ones to be better than the 25mm one, as they have fewer elements (3 elements, 3 groups, vs 4 elements, 3 groups) but this was not the case. These are minor points though – the 16mm, 25mm, 40mm and 63mm ones all give good UV transmission for the majority of photographic purposes where it is mainly UVA that is being imaged.
Note, the 16mm and 25mm ones are marked with an * in the graph as the apertures for those are very small, and I suspect might be clipping the light beam slightly during the measurement. Therefore the absolute transmission for those are likely slightly higher than in the graph, bringing them in line with the other three. This does not impact how far into the UV they transmit though.
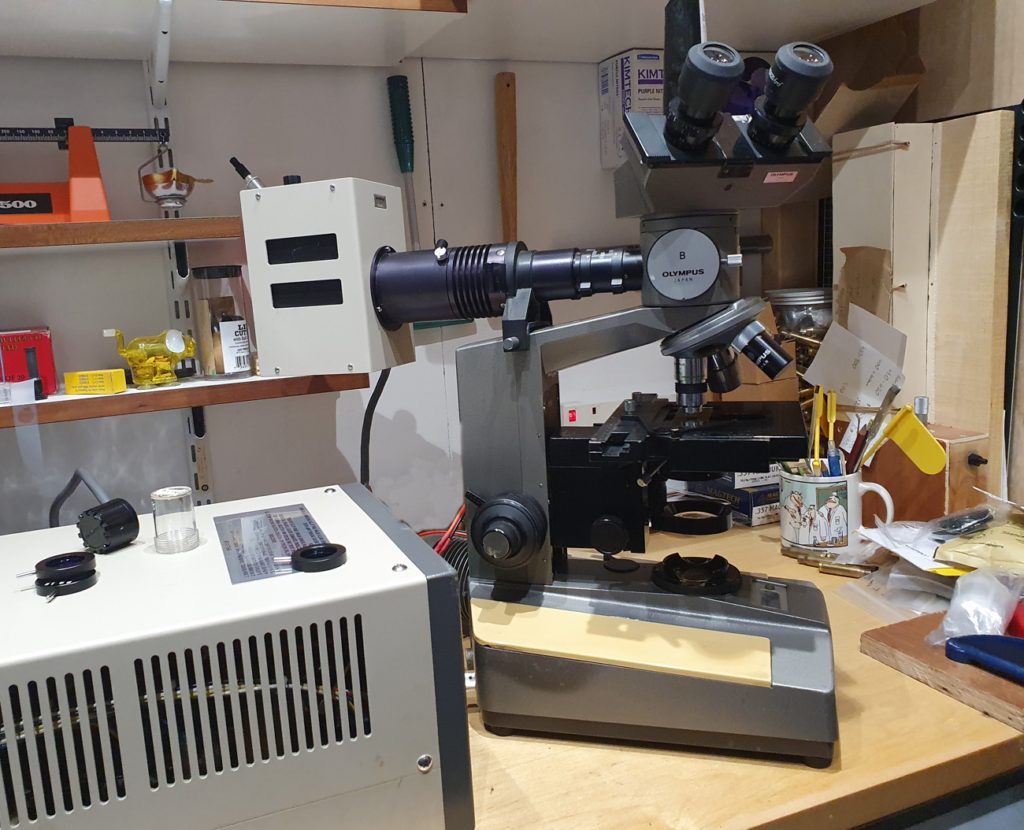
Overall, the 16mm to 63mm ones all look to offer a good to degree of UV transmission especially for UVA imaging, so I’ll definitely be using these in future for macro and UV work. They also have RMS threads and fit my Olympus microscope, so I will use them for some microscopy too.
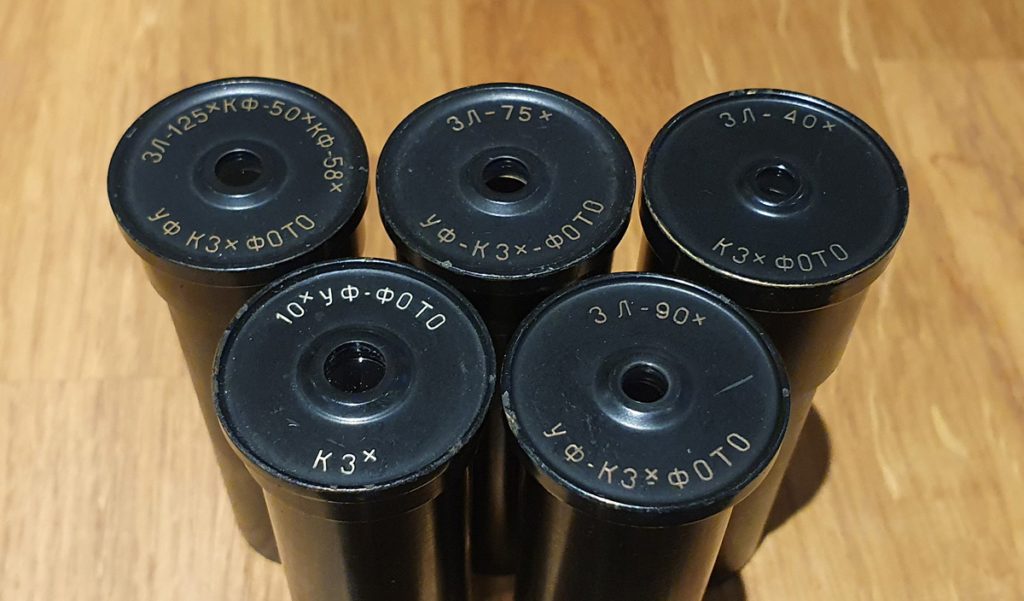
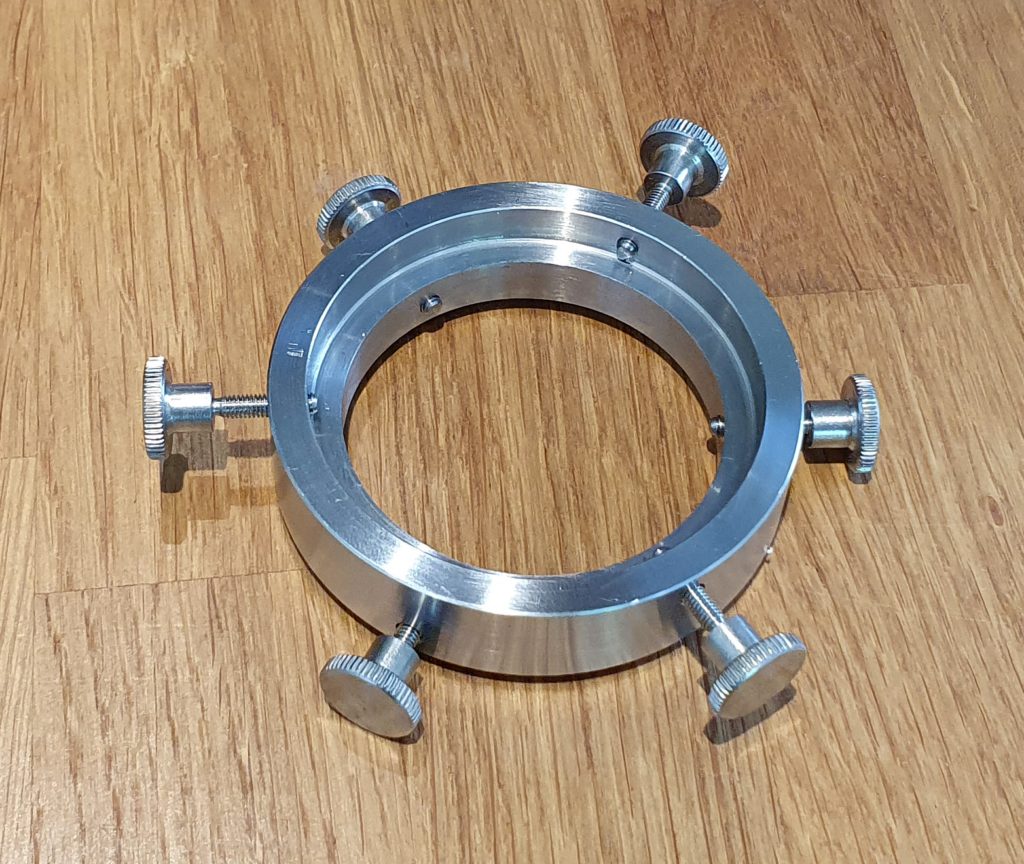
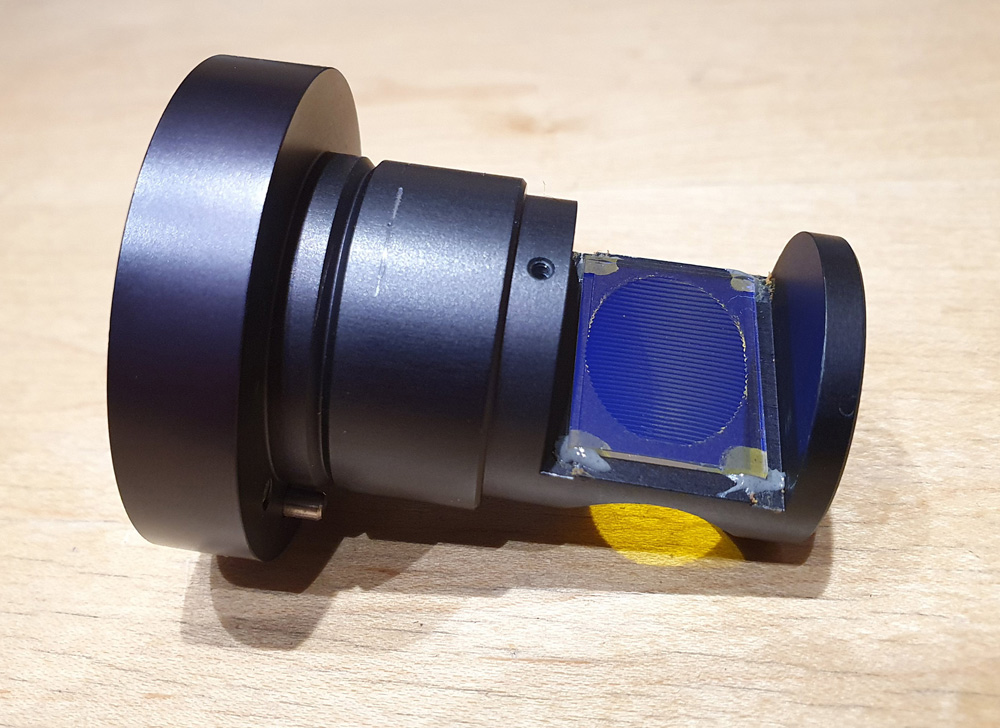
The story doesn’t quite stop there though. When the Luminars were in use on the Ultraphot microscopes, they also had a set of spectacle lens condensers that went along with them – one for each Luminar lens. The same day I was offered the 16mm, 40mm, and 63mm lenses, I came across an advert on eBay for a set of the 5 condensers which I had never seen before. Here they are.
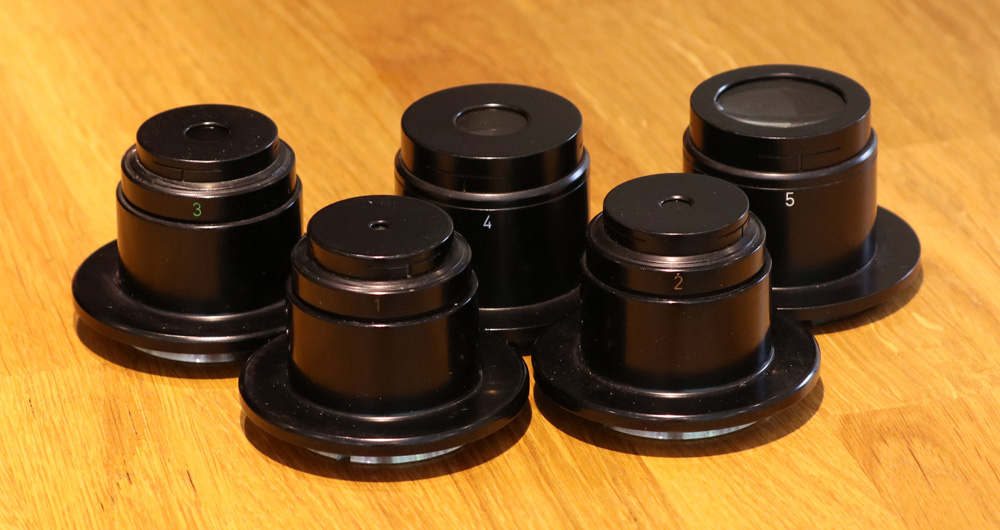
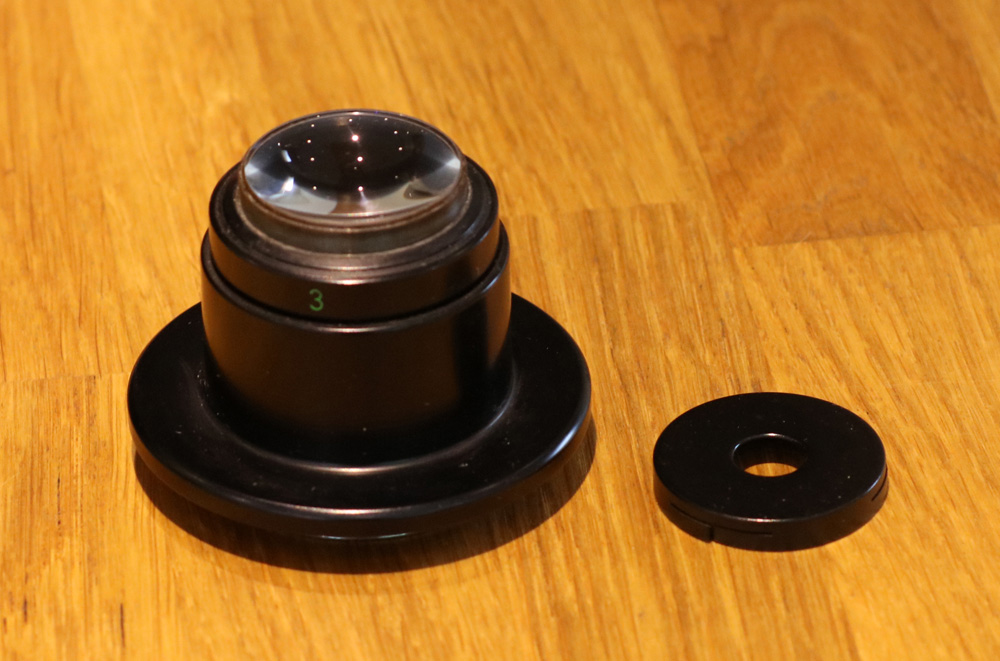
Each one of these has a removable clip on diaphragm.
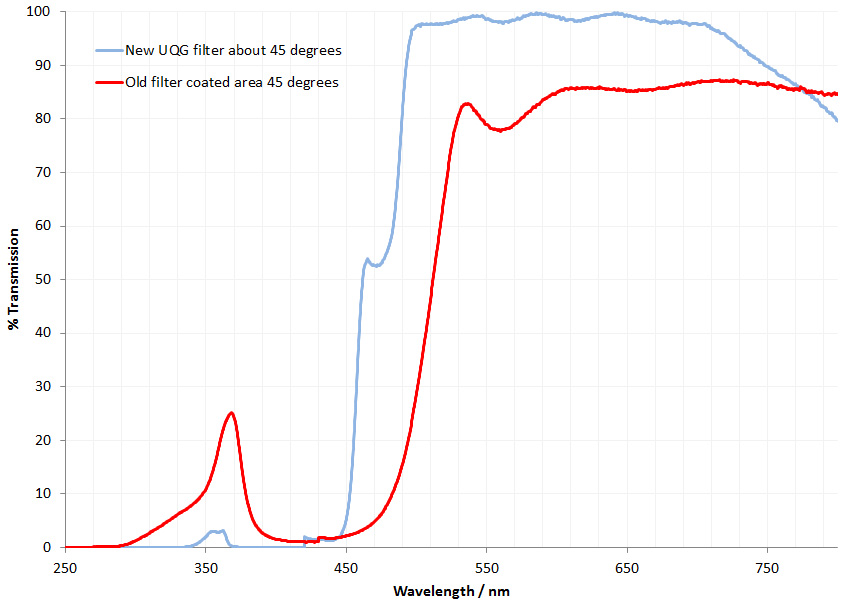
When it came to UV transmission for them I expected them to all be about the same, perhaps with slight variations as a function of glass thickness. Turns out they are not though.
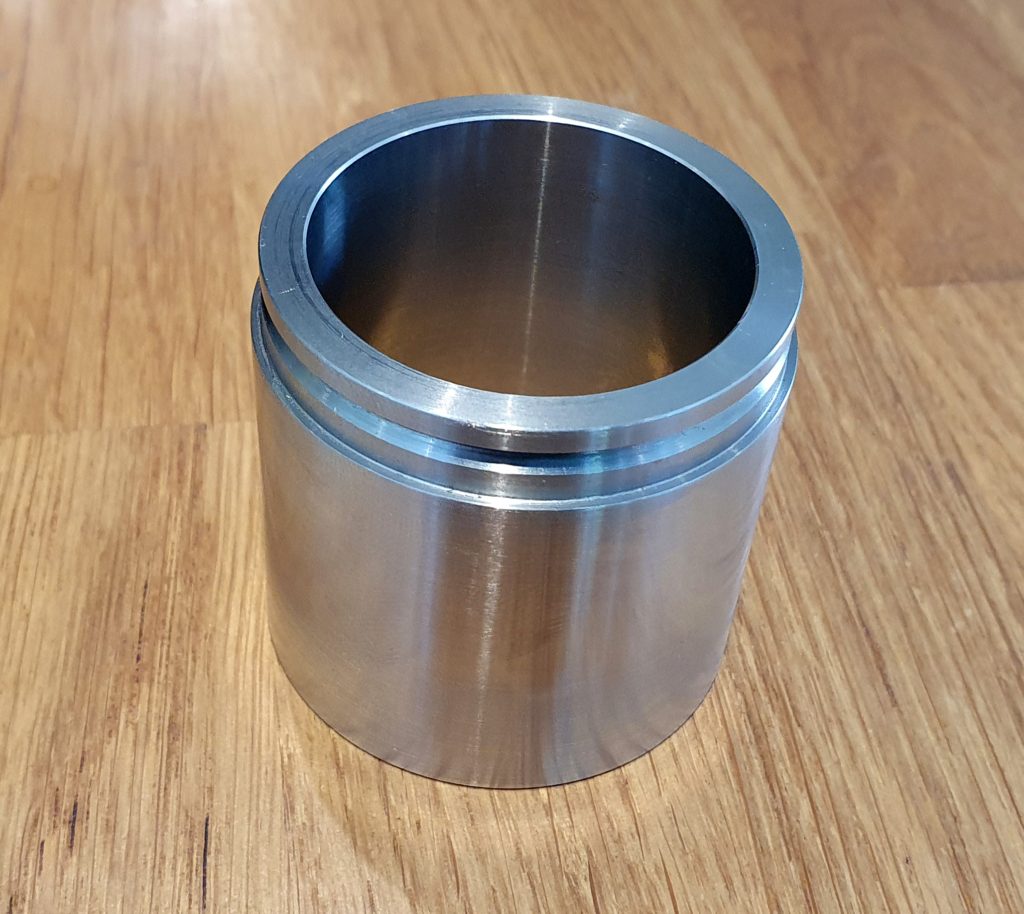
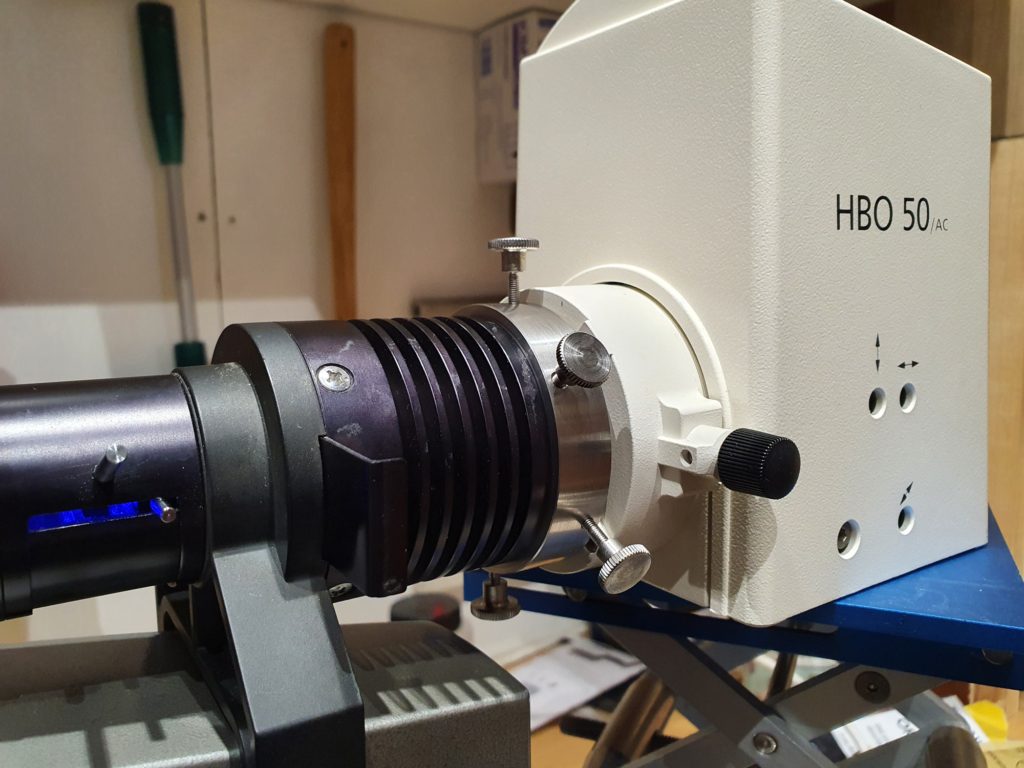
The condenser for the 16mm Luminar reaches much further into the UV than the others, and the one for the 25mm Luminar has the highest cutoff. The others are about the same. As I’m currently building a UV microscope, the Condenser for the 16mm Luminar has about the best reach into the UV that I have seen so far and I’ll try that one out. However these are a different diameter to my Olympus microscope condenser mount, so I’ll need a little adapter to be made up to use them.
I went into this assuming the 40mm and 63mm Luminar lenses would have better UV transmission than the 25mm given their simpler optical designs. I also assumed that that the condenser lenses would all be about the same. As we all know though ‘assume’ makes an ass out u and me. Just goes to show that it’s hard to predict lens behaviour in the UV, and that testing is the only real answer. If you’d like to know more about this or any other aspect of my work, you can reach me here.