
A few weeks ago I received a 41mm f2.5 UFAR lens which was developed for the Soviet Mars programme (you can see my initial work on it here). As it was, fitting a filter to the front wasn’t really feasible. A good friend of mine, Dr Klaus Schmitt, who has one of these lenses, showed me the filter ring he’d had made. I thought I could make one based on a step up filter ring, so I have gone ahead and done that. I now have something I can attach filters to, so today I am sharing my first UV photograph with this historically very interesting lens.
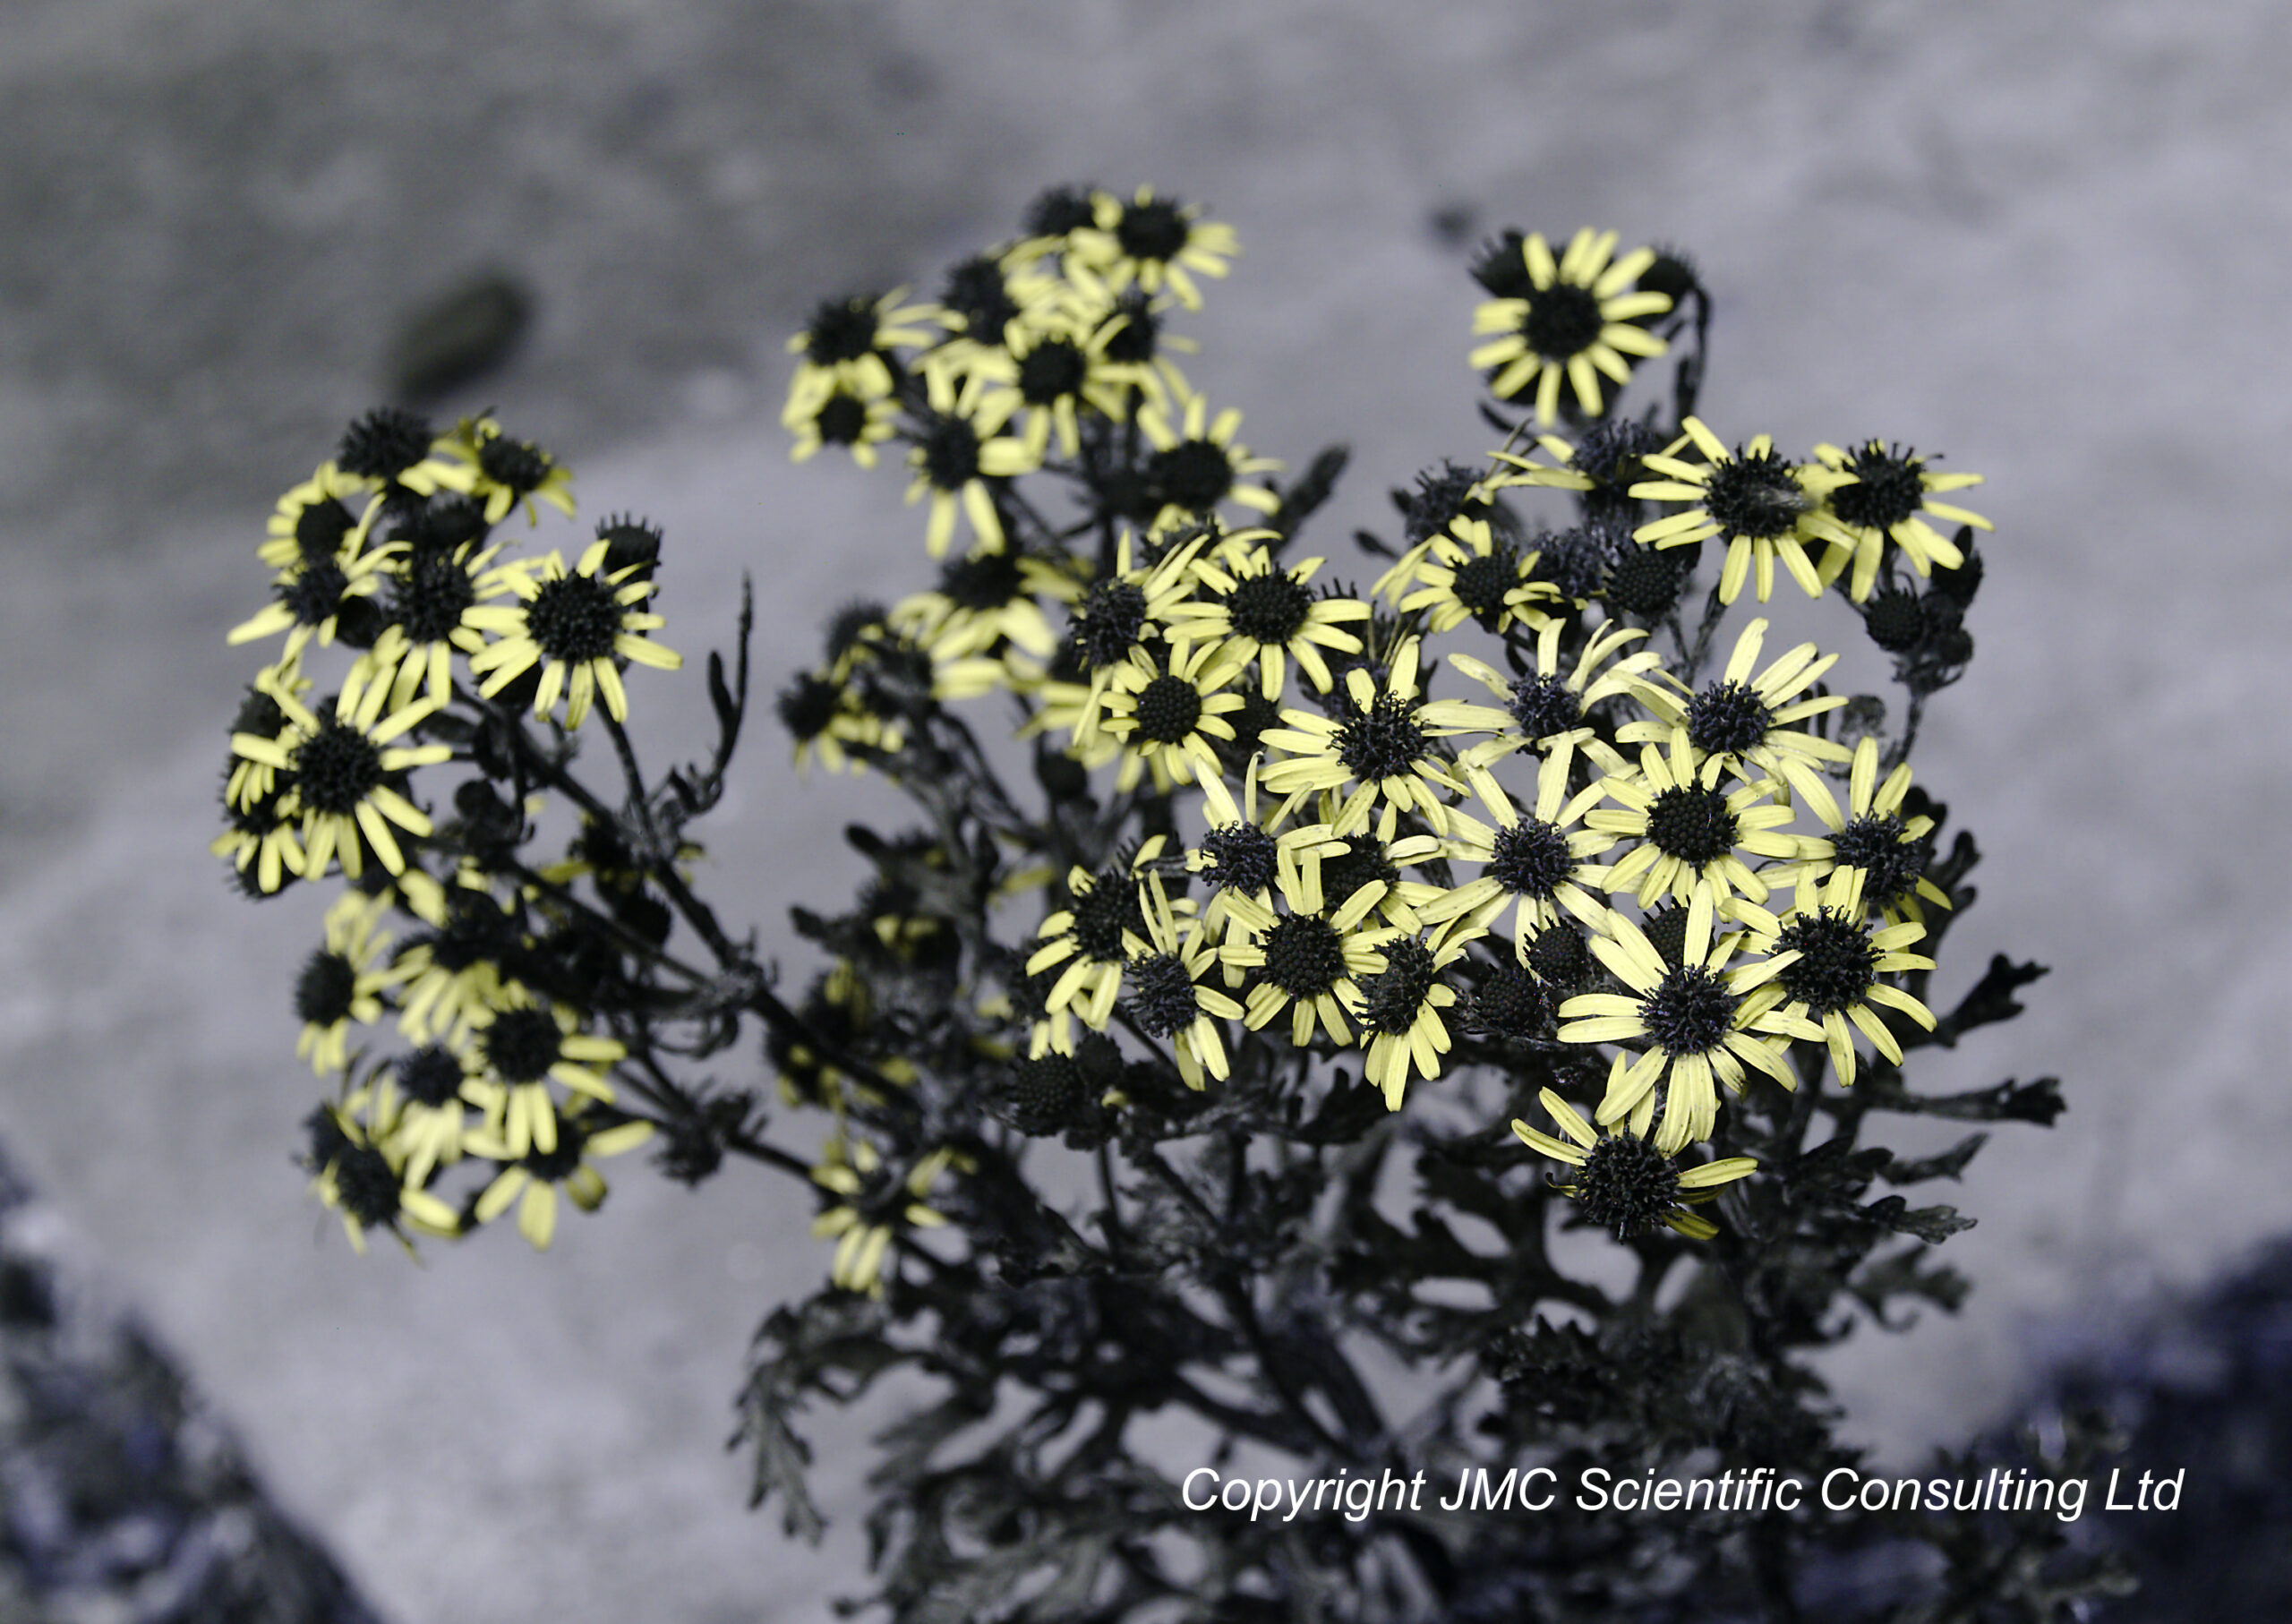
Here’s a UV photograph taken of a Ragwort plant in my garden.
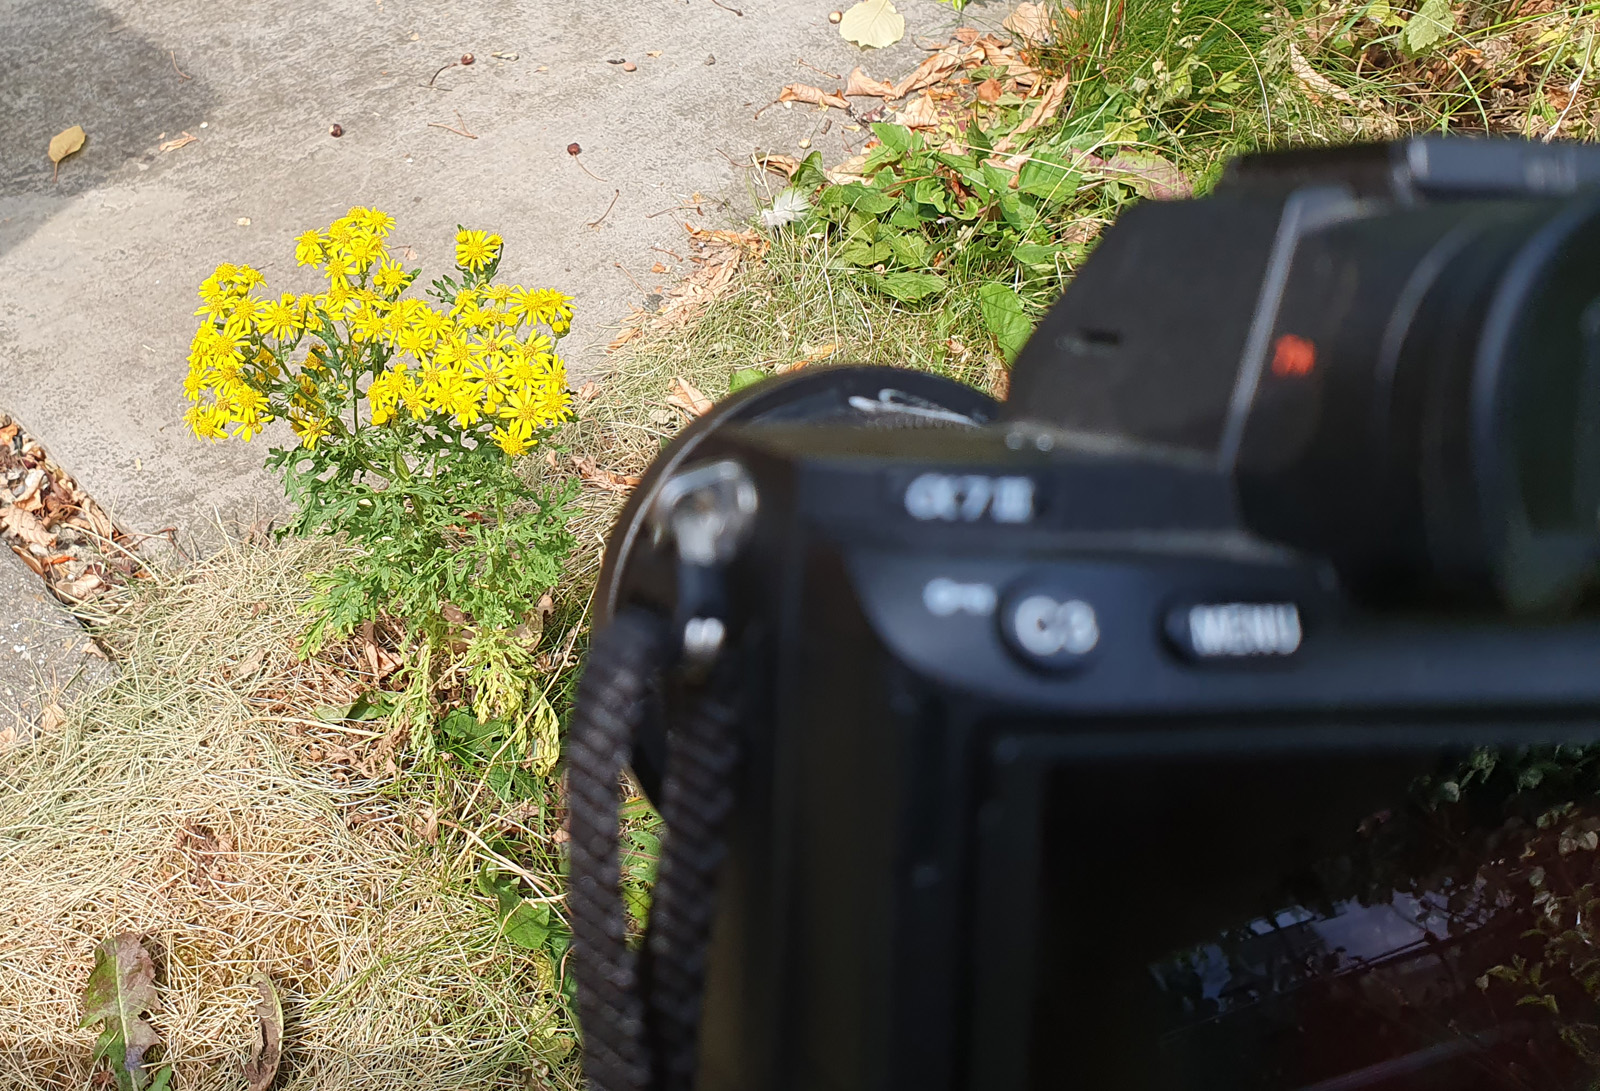
Ragwort flowers are yellow in normal visible light as shown in the camera phone picture below.
In UV the middle of the Ragwort flowers are strongly UV absorbing, and they show up as black. Some details about how the image was captured. The camera is a multispectral converted Sony A7III (this can be used for UV, visible and IR imaging depending on how the light is filtered). A Sony to M42 thin adapter was used, with a 12-19mm helicoid. The lens was screwed in to the helicoid (at 12mm on the helicoid the lens can just focus to infinity). My filter ring adapter is on the front of the lens, more on this in a minute. Then a Baader Venus U filter in a 49mm filter mount, to remove the visible and IR light and give a UV image. ISO 400, f8 on the lens, and 1.6s exposure in natural daylight. I was amazed to get 1.6s without a breeze to move the flowers. Whitebalance was done in Darktable, using a PTFE disc standard. The image is cropped from the full frame (more on that in a minute). The lens performed very well, especially when stopped down to f8, and it is certainly a UV capable lens. I’ll add a lens hood in future, but for now I just shaded the front of the filter to reduce the chance of flare.
Some details on the filter adapter. I bought a 52mm to 67mm step up ring and removed the central portion, so that it fit on the front of the lens. Four holes were drilled and M2, 0.40 pitch, 4mm long screws were used to attach the adapter using the existing holes that are present on the lens. Then a 67mm step down ring was used to be able to mount the filter.
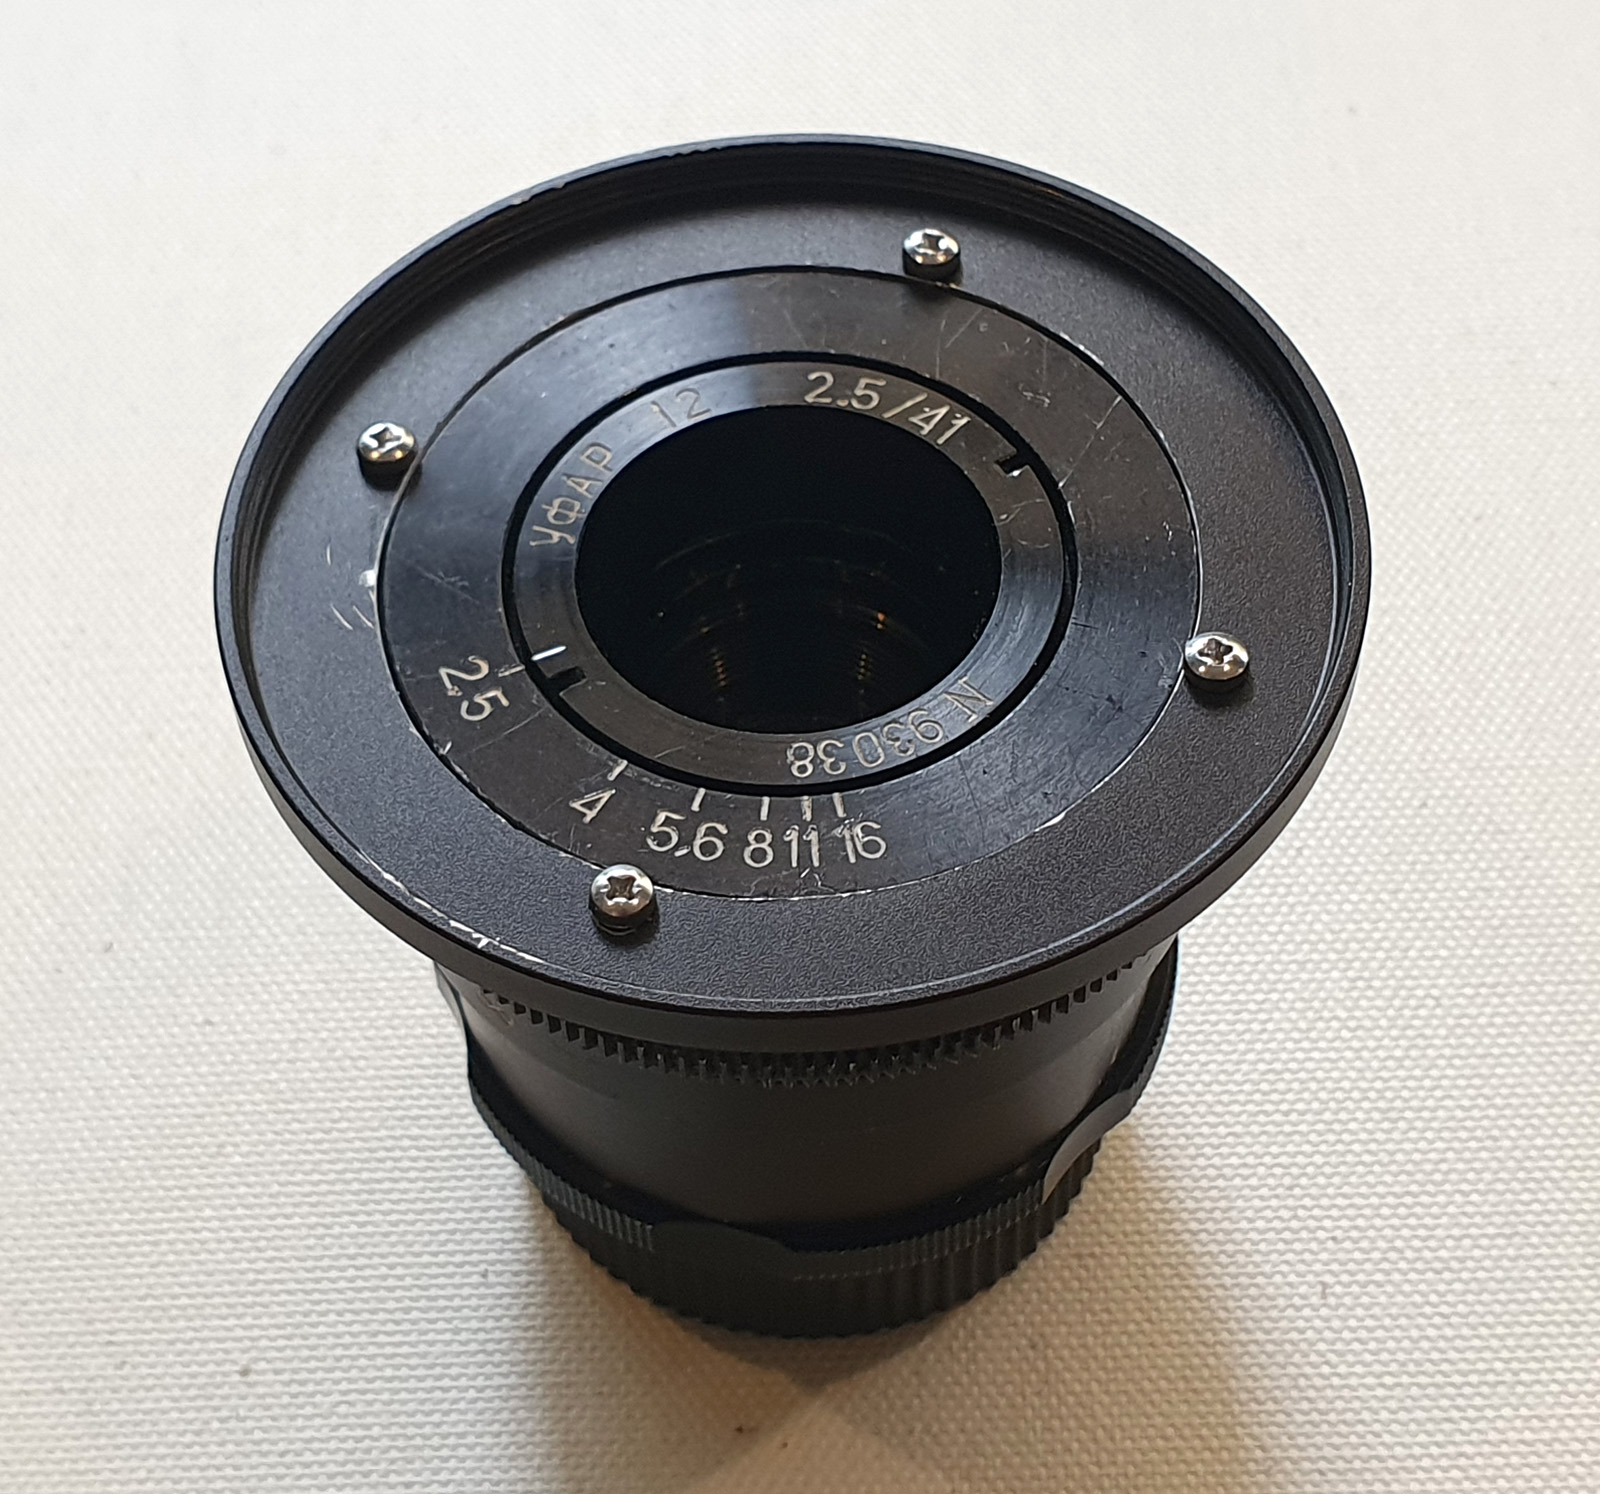
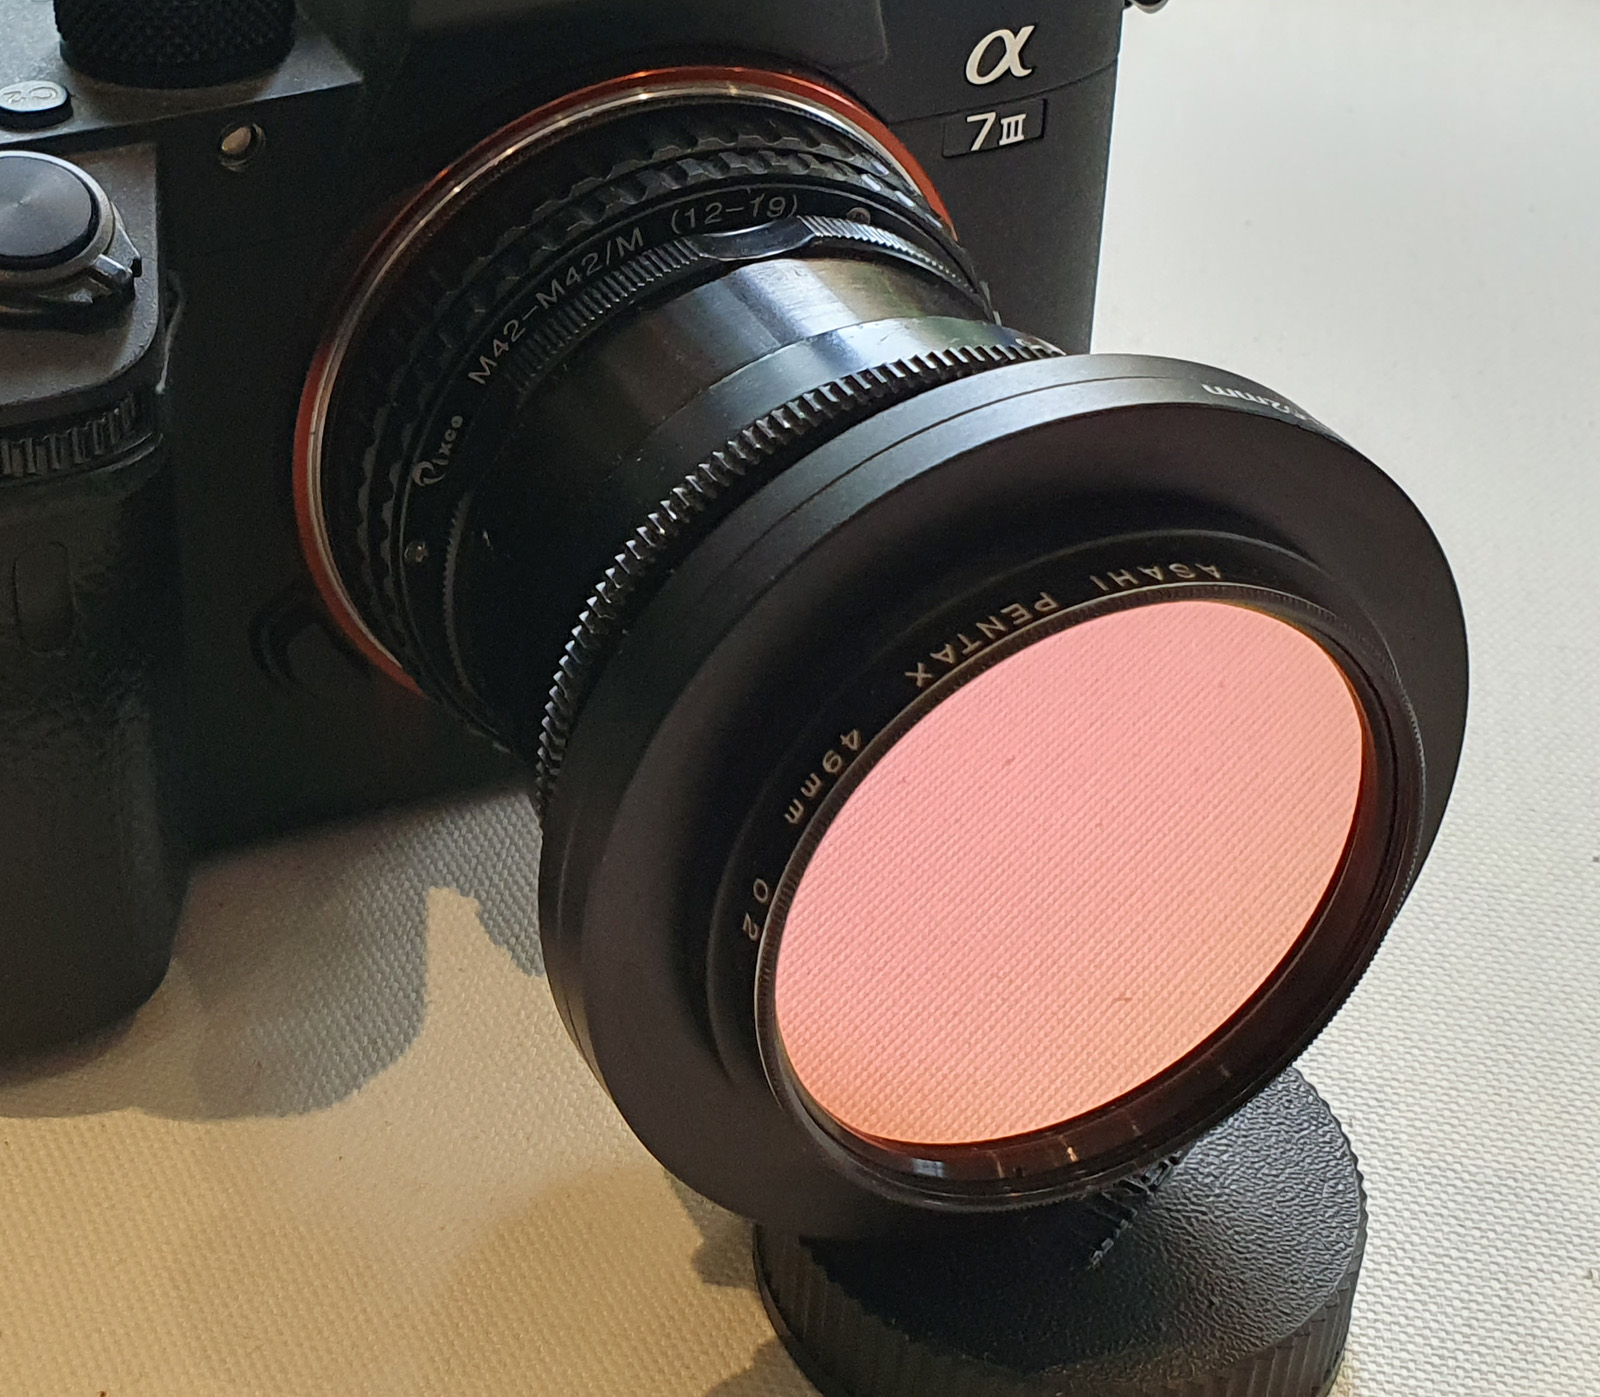
I’ll leave the filter ring adapter on the front of the lens as it is a convenient place to put a lens cap. The only downside is that the f stops can’t be seen when a filter is installed, so I need to set the aperture and then install the filter.
Some more about the lens. The lens does not give full coverage on a 36x24mm sensor as can be seen below. This was focused to about 10m, and done without a filter so is a ‘full spectrum’ image which is dominated by the IR, and has been converted to monochrome.
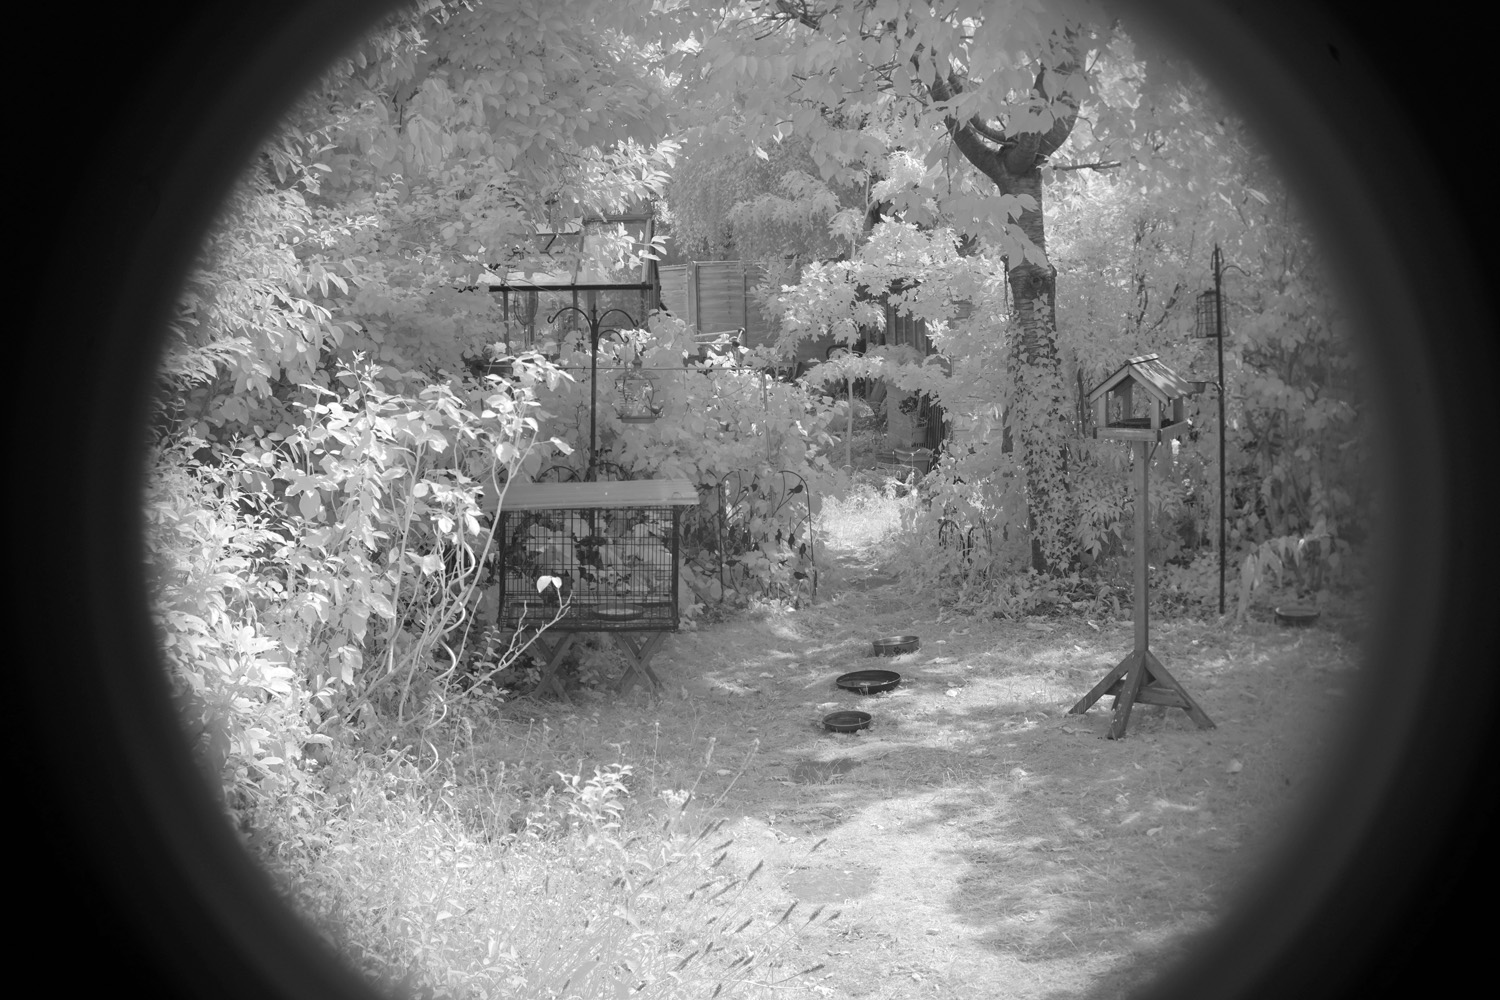
Obviously when using in more of a macro mode, the coverage is a bit wider, but nowhere near 36x24mm. Certainly a very usable lens though, especially on a cropped sensor camera.
I hope you enjoyed this little journey into a bit of optical history. My work allows me to use and test some really interesting and unusual equipment, and as a geeky scientist I enjoy sharing these findings with you. If you’d like to know more about my work I can be reached here.