Using shorter wavelength UV light for microscopy can (and does) improve resolution, allowing smaller features to be resolved than with longer wavelength light. There are however times when using UV is impractical, or impossible, and in those circumstances, other approaches to improve the image are required. Today I’ll cover some basics about one of those approaches – the use of oblique lighting to illuminate the subject. With oblique lighting, we get to emphasize certain features on a subject, and this approach was used to capture the image shown below using my custom modified Olympus BHB microscope.
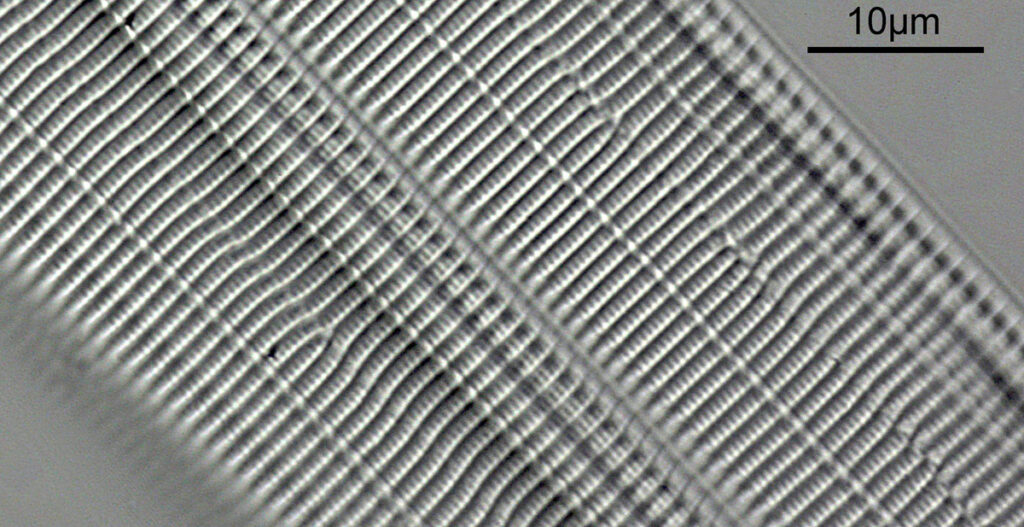
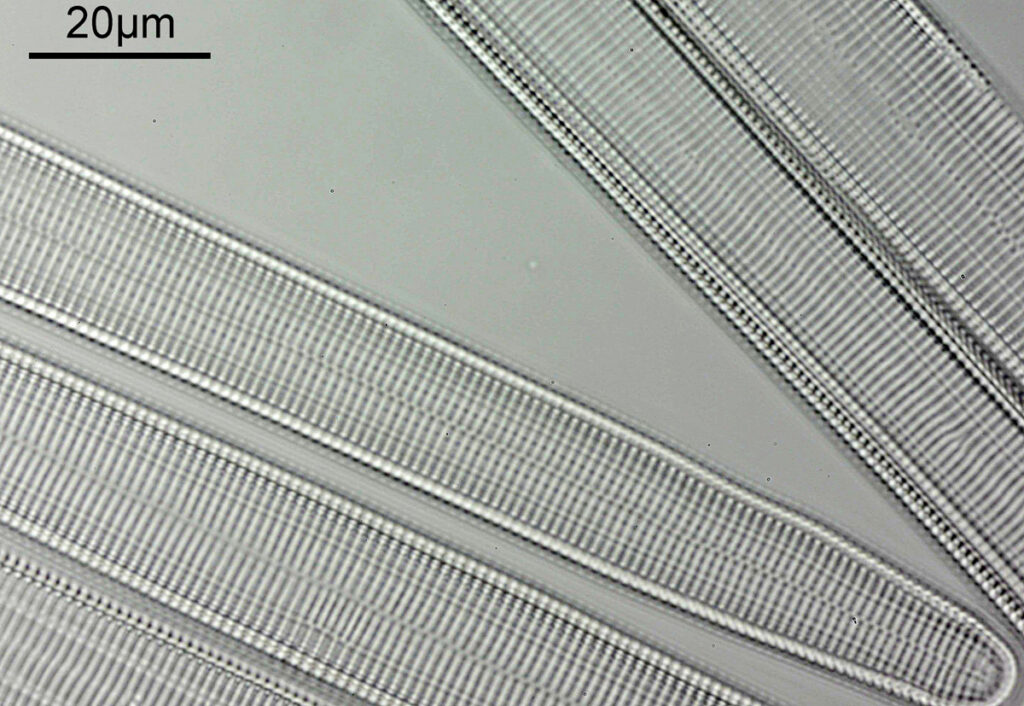
So what is oblique illumination? Basically, it is offsetting the direction of the incoming light to the subject compared with normal bright field microscopy. Changing the angle of light emphasizes some features within a subject, and the direction of the incoming light can be altered to highlight specific features depending on their orientation. As an example let’s take a look at three images of a Synedra superba diatom, captured using an Olympus 40x Dplan Apo UV objective, using 405nm light, on my Olympus BHB. Firstly, normal bright field, with the light coming from directly below.
And now, two images using oblique illumination, one at 90 degrees to the other.
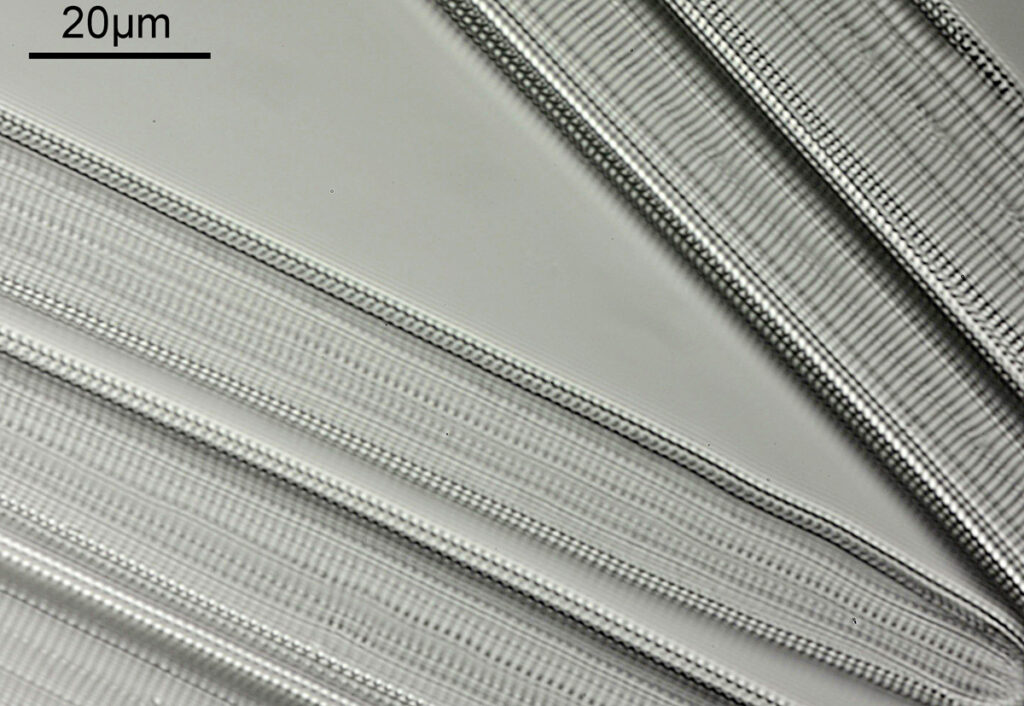
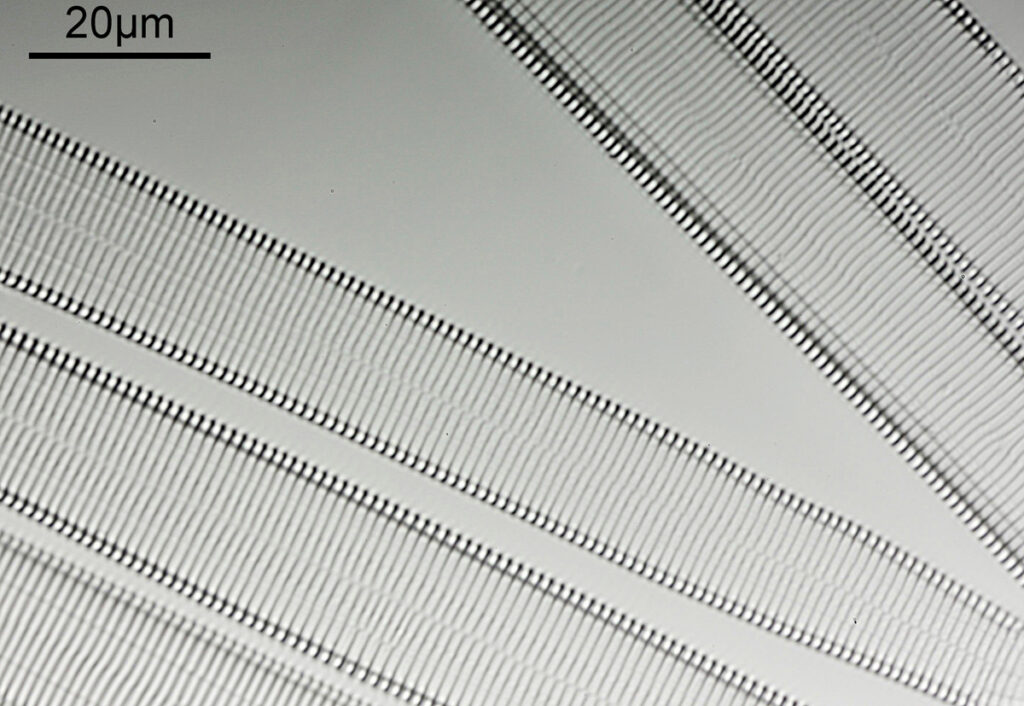
As can be seen from the images, using oblique illumination highlights certain features, and by changing the direction the light comes in from different features can be emphasized.
The images above have been cropped from the original and have not been cleaned up (they still show all the imperfections from the camera sensor – microscopy will show everything on the sensor, even when you think you have cleaned it). Below is a cleaned up image of the Synedra superba diatom slide using 405nm oblique illumination with the Olympus 40x Dplan Apo UV objective.
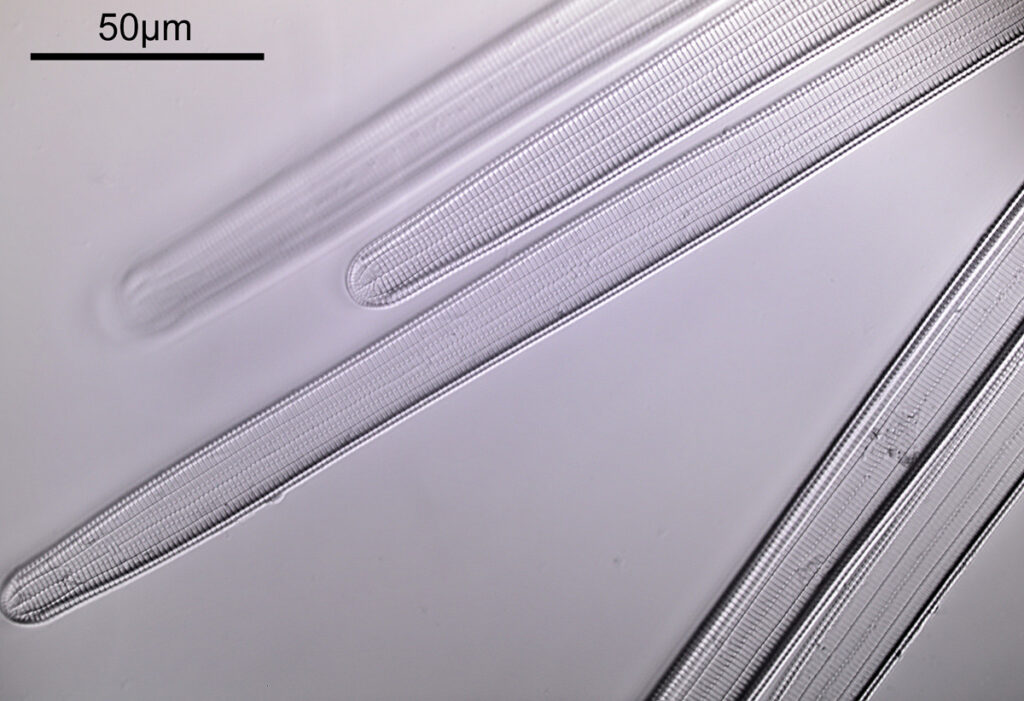
The oblique illumination gives an almost 3D appearance to the image which I really like, and there is certainly plenty of resolution given the NA of the objective (NA 0.85). Note, I have flipped this horizontally, as I like the composition better this way round. However I still wanted to go further, so I broke out the 60x Olympus SPlan Apo (NA 1.4) oil immersion objective. The objective and condenser were oiled to the slide and this is what an image from that looks like using 405nm oblique illumination.
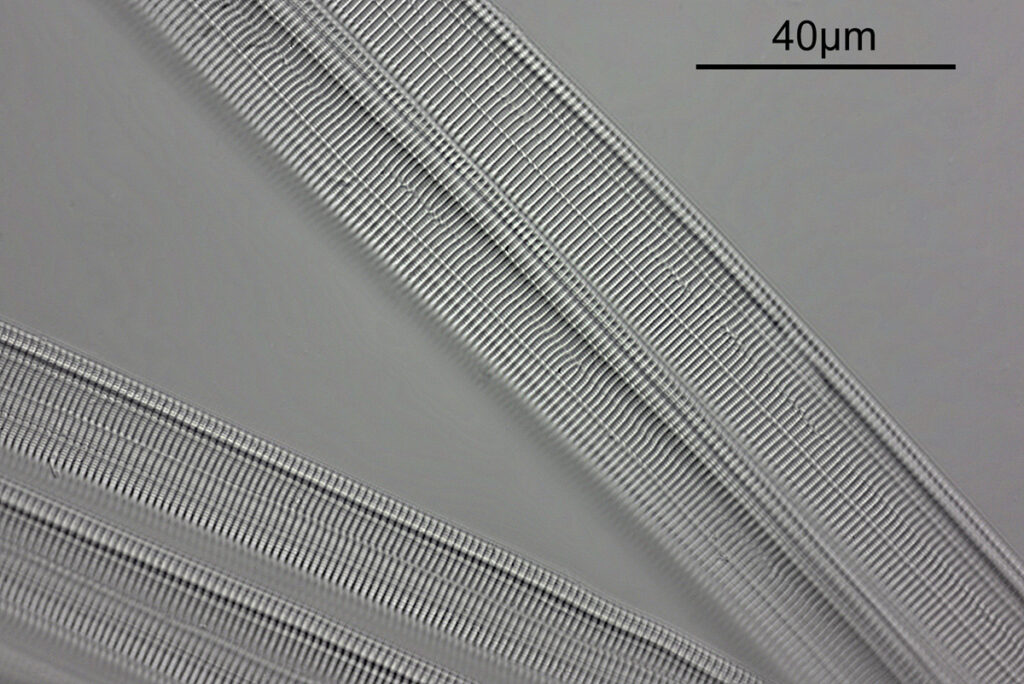
There is a big step up in resolution with this objective, as expected given its much higher NA. However showing the images at this size online doesn’t really show that, as they have to be reduced in resolution for the website. Below is a crop from the image above, which has also had to be shrunk in resolution).
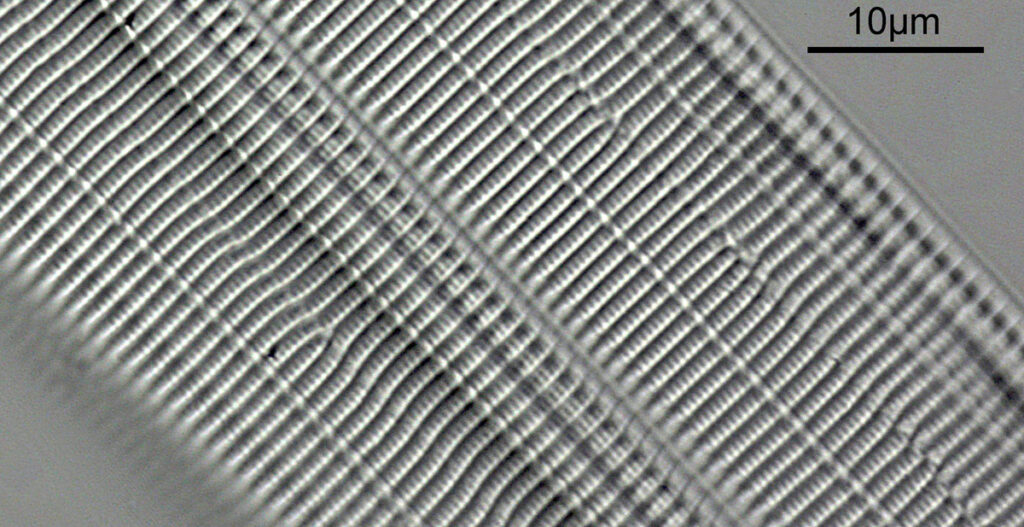
It is interesting to note in this image the ‘imperfections’ in the ‘perfect’ structure. However as mentioned, even this was reduced in resolution for sharing. Below we go in even tighter, and keeping the original image resolution.
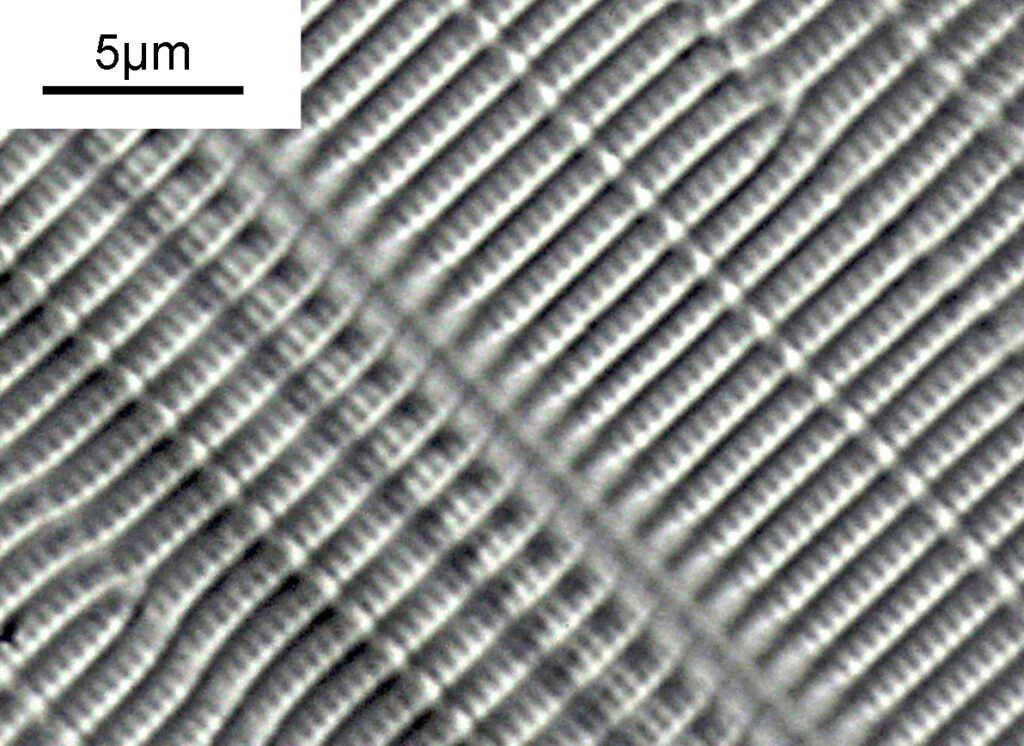
This tight crop shows some really impressive detail, with the small features being about 200nm across.
I’m a bit of an imaging geek, so at this stage I’ll show the objectives and condenser that were used for this work, and the slide itself (which cost me about £30 on eBay).
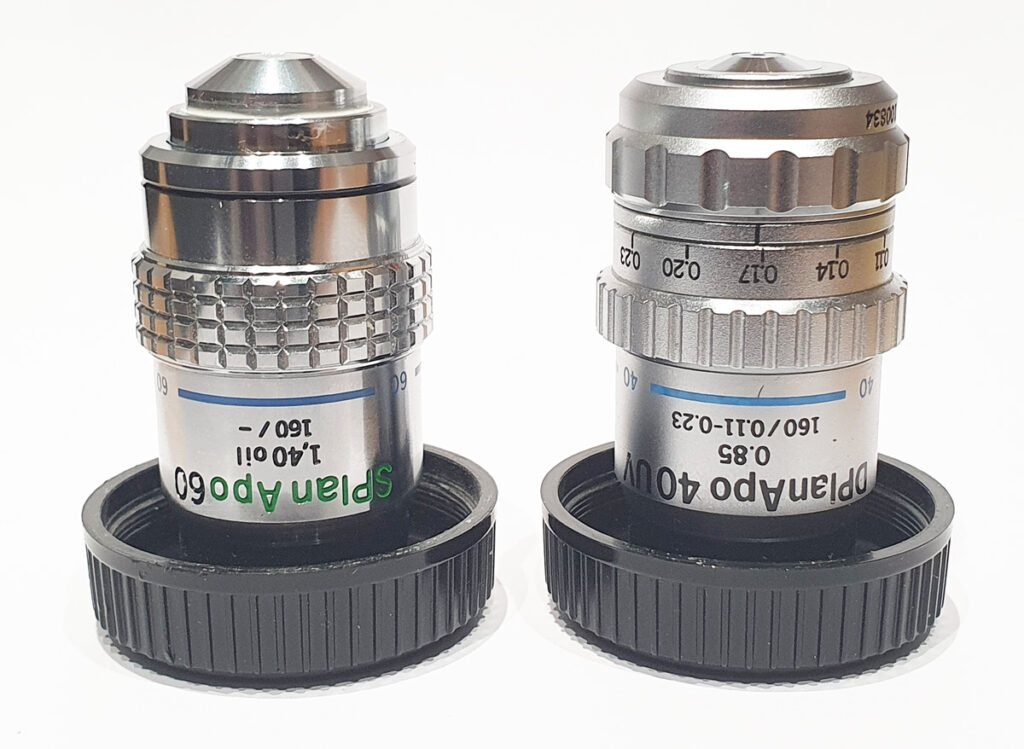
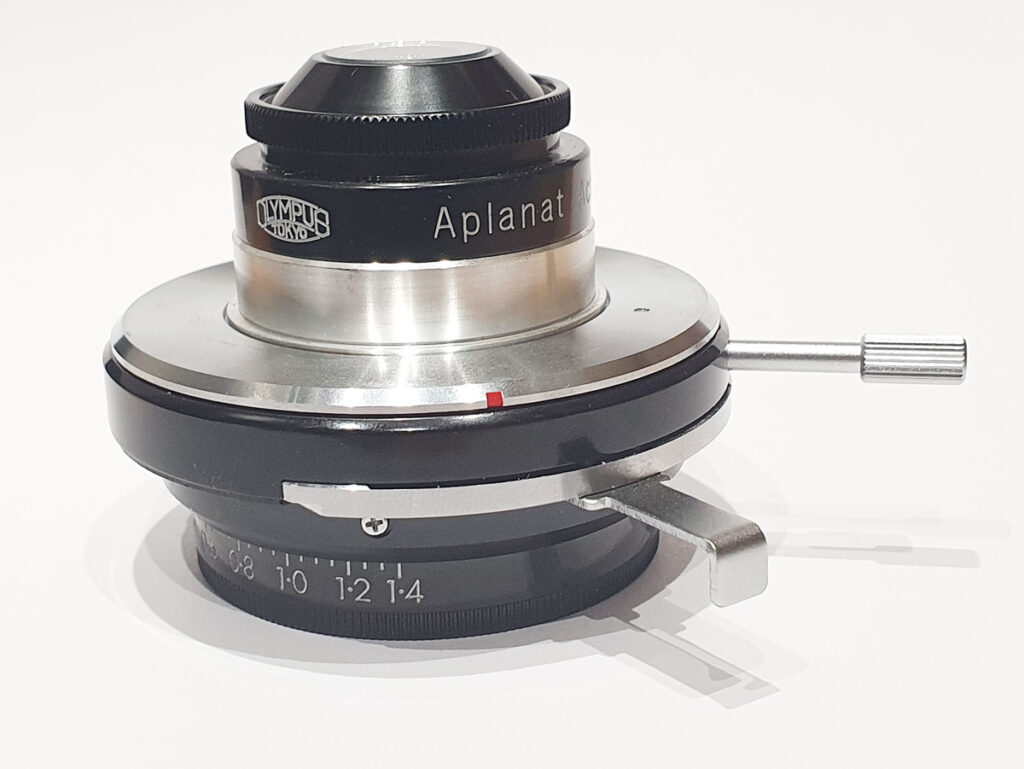
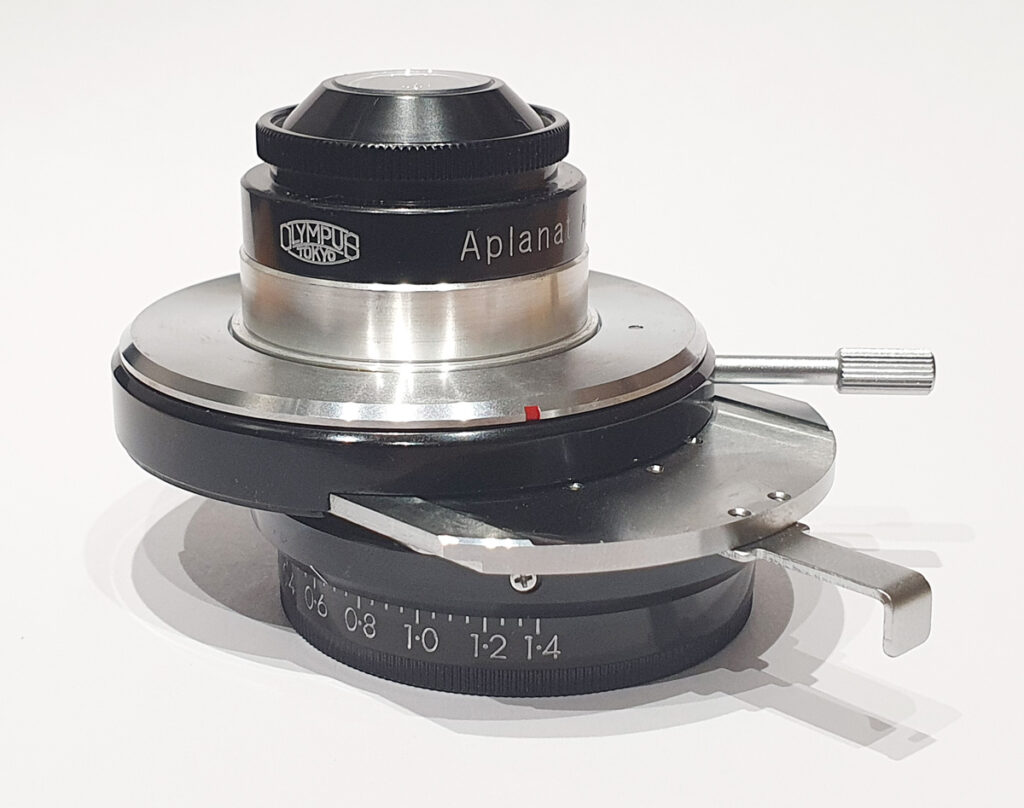
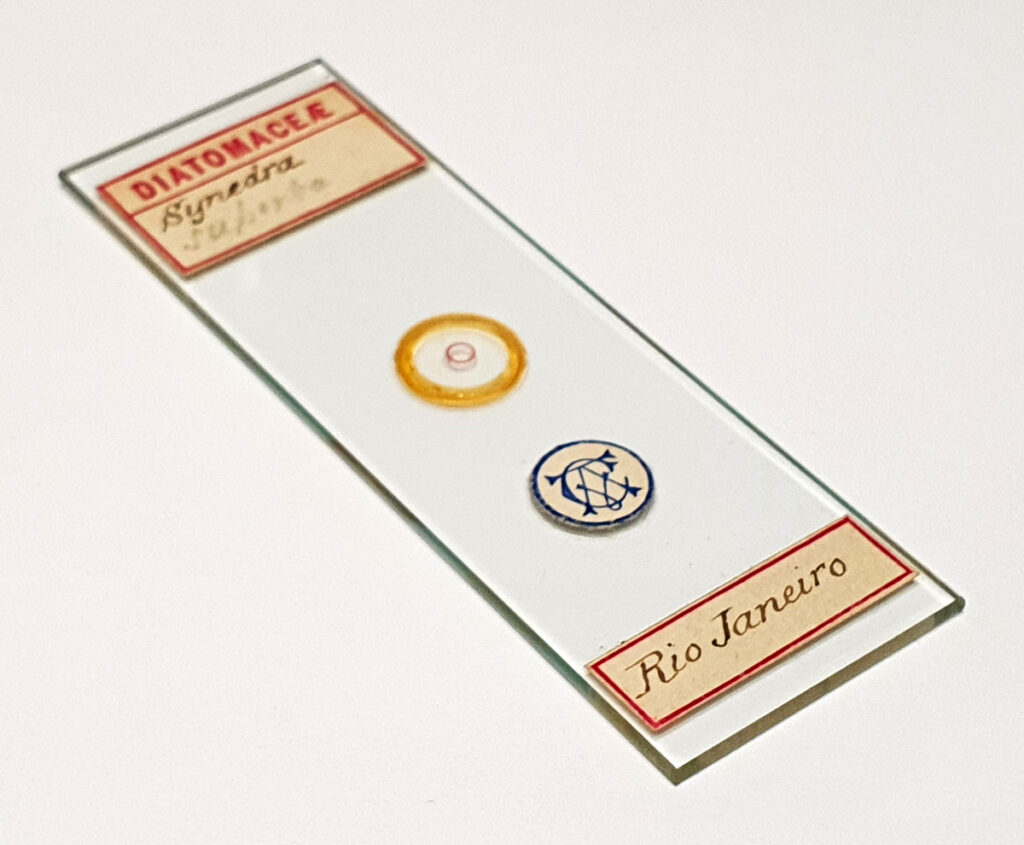
The slide was made by Arthur Cottam and is over 100 years old (more information can be found out about him here).
I’d also like to give a bit of a ‘shout out’ to a company – J.B Microscopes Ltd. When I bought the 40x Dplan Apo UV objective on eBay, the coverslip thickness correction collar was stuck and wouldn’t move (as far as I know the objective was bought new and then kept in a cupboard for 40 years, so presumably the grease had set). J.B Microscopes were able to fix this for a very good price and send it back to me within a few days of sending it to them, so I would definitely consider using them again in the future.
I hope that has been interesting for you to see. Microscopy continues to amaze me, as do the details I am able to see with my little custom made Olympus BHB UV microscope. Thanks for reading, and if you’d like to know more about this or any other aspect of my work, you can reach me here.
