Yesterday I wrote about the use of a Reichert Neo dark ground condenser which I had had a mount made for so it could be used on my Olympus BHB microscope (see here). Today’s post also used the Reichert Neo condenser, but this time in combination with a 100x Leitz Pl Apo NA 0.60-1.32 objective. Kept wide open (or nearly wide open) as this objective has such a high NA, the result is that instead of dark ground, I get a circular oblique illumination.
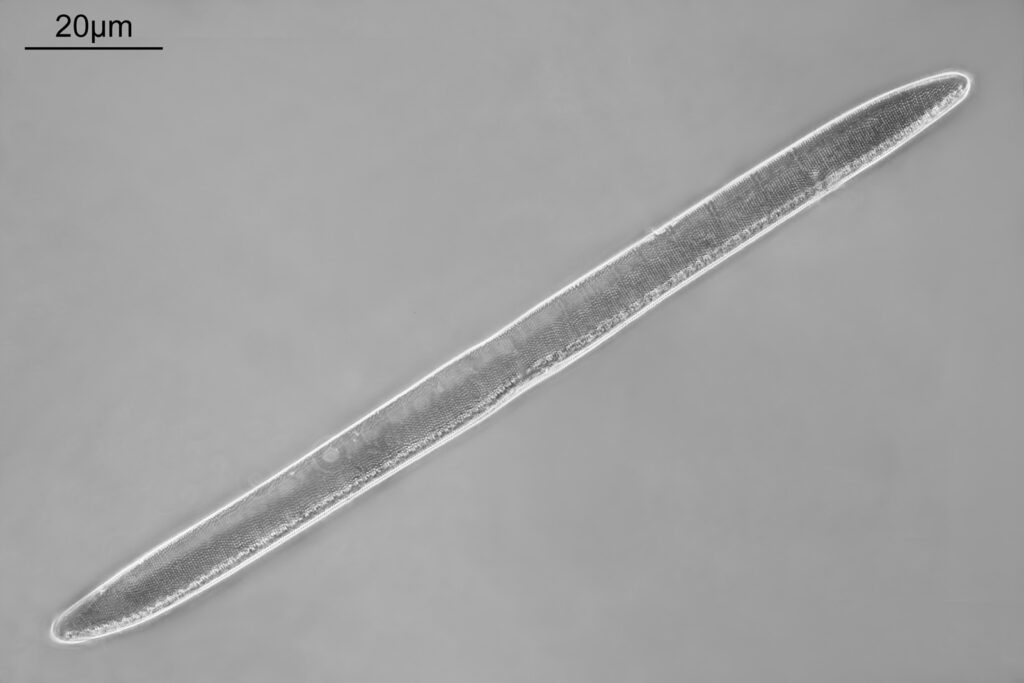
First slide is an N.B.S. strew test slide of Nitzschia obtusa. It is a stack of 10 images in Zerene and used 450nm light. This is the full image frame, but has been reduced in resolution for sharing here.
Below is a crop of the top end of the diatom, shown at original pixel resolution to allow the details to be more easily seen.
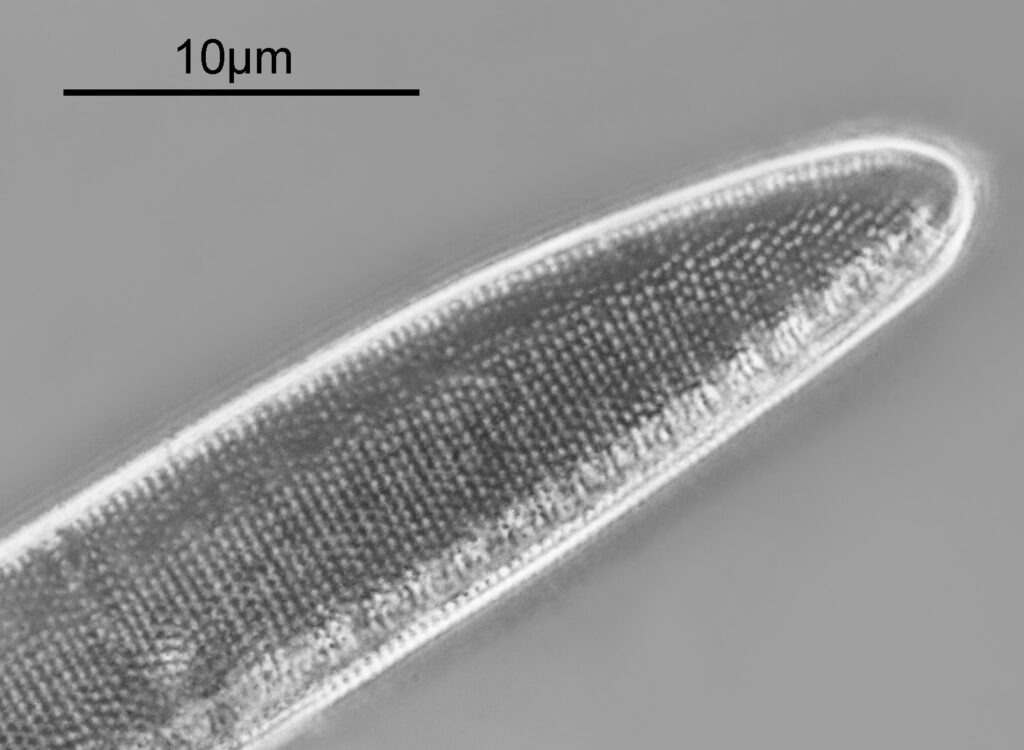
Measuring the striae distance in Image J gave me 3 in 1.058µm, which equates to 28.4 per 10µm. A little below the information on the slide (30 per 10µm), but not too far away. Here’s the slide.
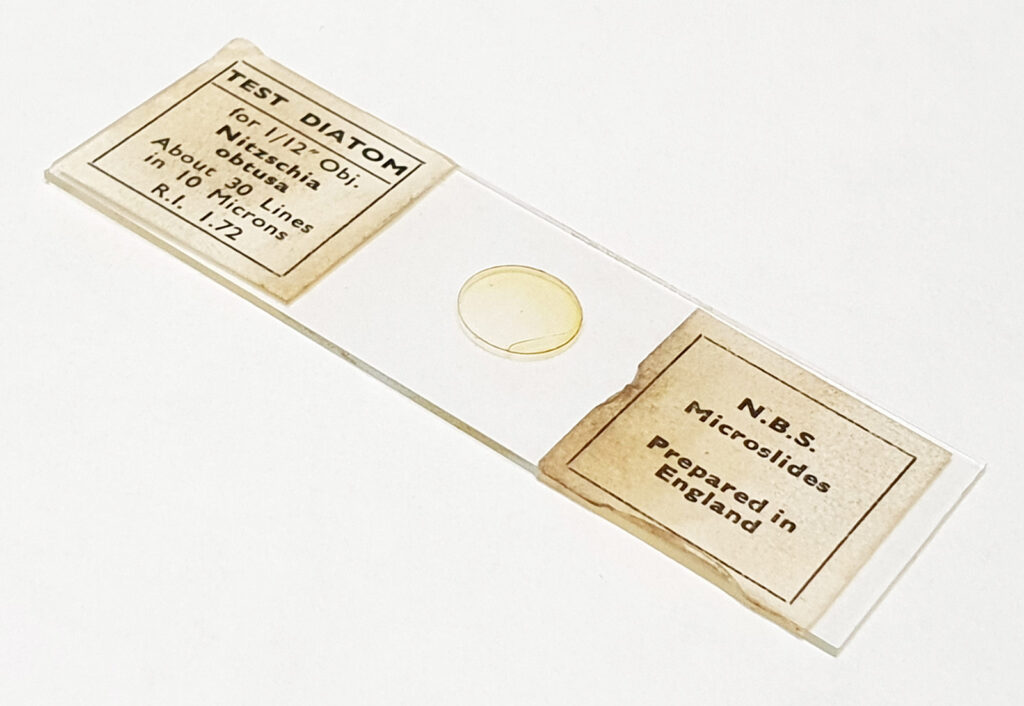
Note the refractive index of the mount is high – 1.72 – and that has helped here with the imaging.
After the success with the Nitzscia slide, I had a look at my collection, and found another N.B.S. one with a more challenging diatom – Frustulia rhomboides var. Saxonica – which the slide claimed to be 35 lines per 10µm. Setup was the same as above (other than I left the iris on the objective fully open), but this time it was just 2 images stacked, and the frame has been cropped slightly before resizing for sharing, as the individual diatoms were smaller than the Nitzschia.
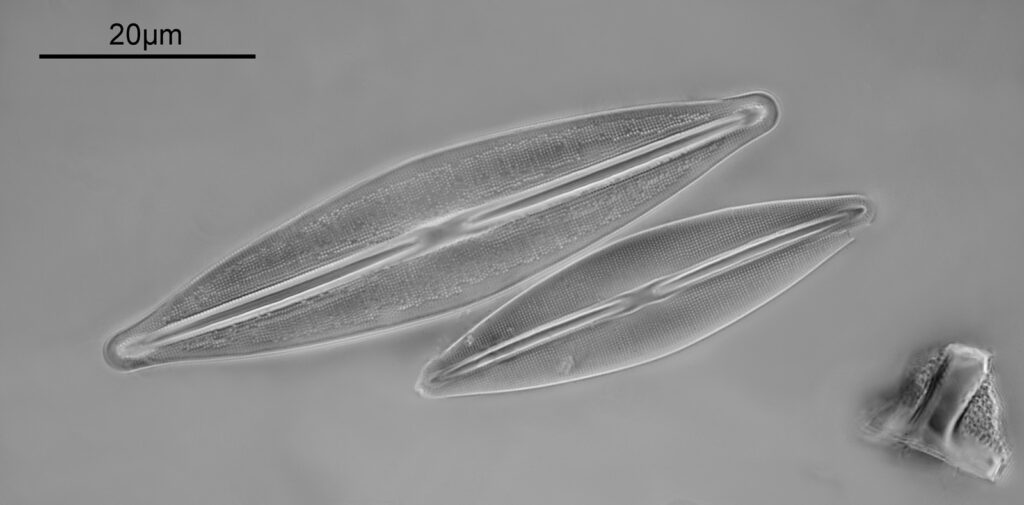
Again, there is lots of detail in the image, and here is a crop showing part of the lower diatom at original resolution.
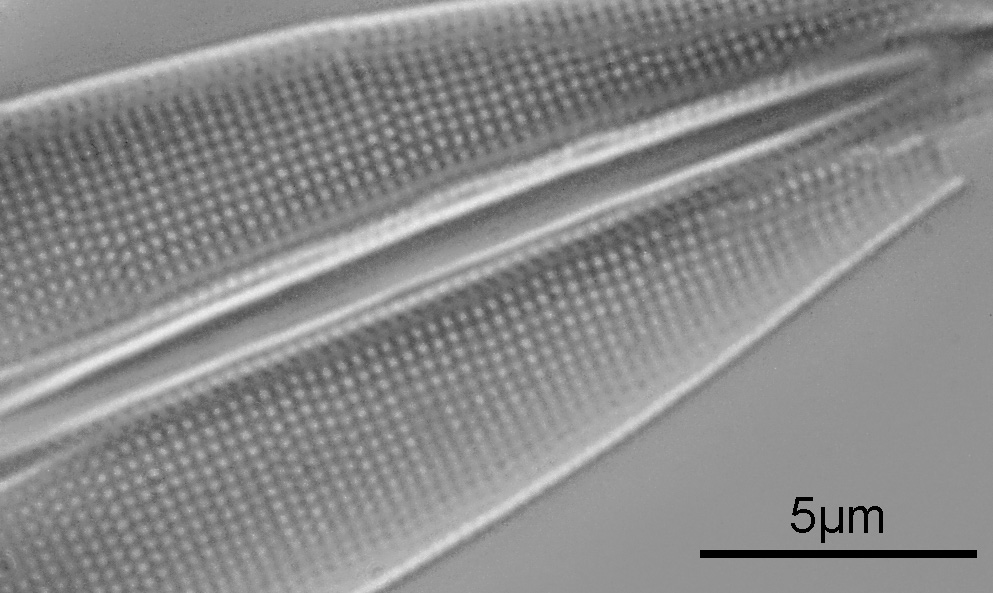
Putting this into ImageJ, I got a measurement of 2.87µm for 10 striae, which equates to 34.8 striae (lines) per 10µm. The slide said 35 lines per 10µm, so I am happy with that.
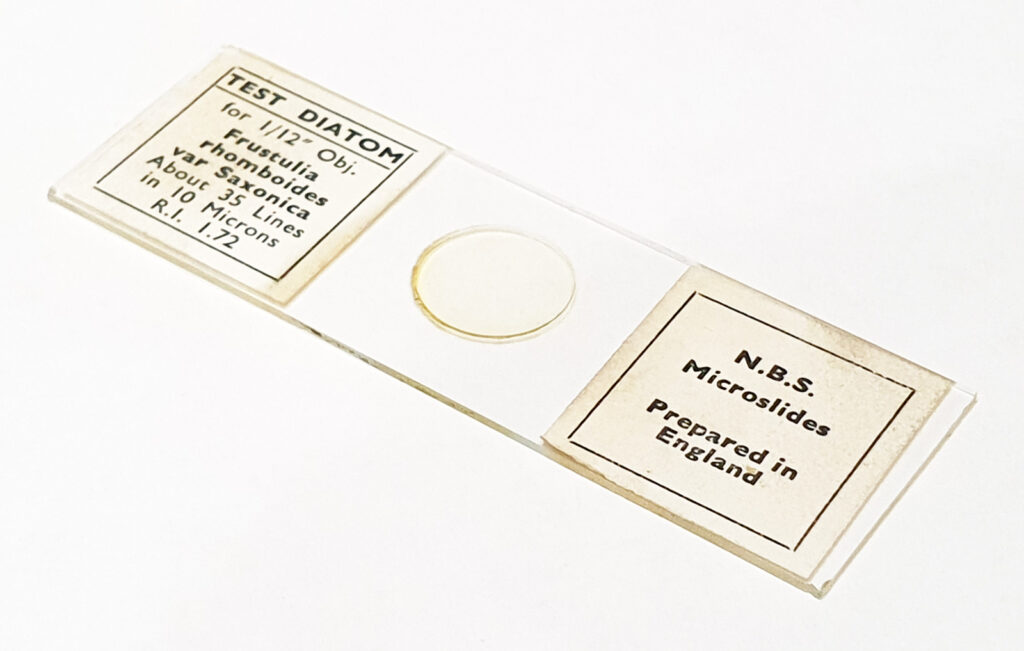
Overall, I really like this setup for imaging diatoms with small features at high resolution. The circular oblique lighting is a little lower contrast than I would prefer, but certainly shows up the features, and it shows what can be done with relatively straightforward visible light microscopy (instead of my usual UV work). As always, thanks for reading, and if you’d like to know more about my work I can be reached here.
