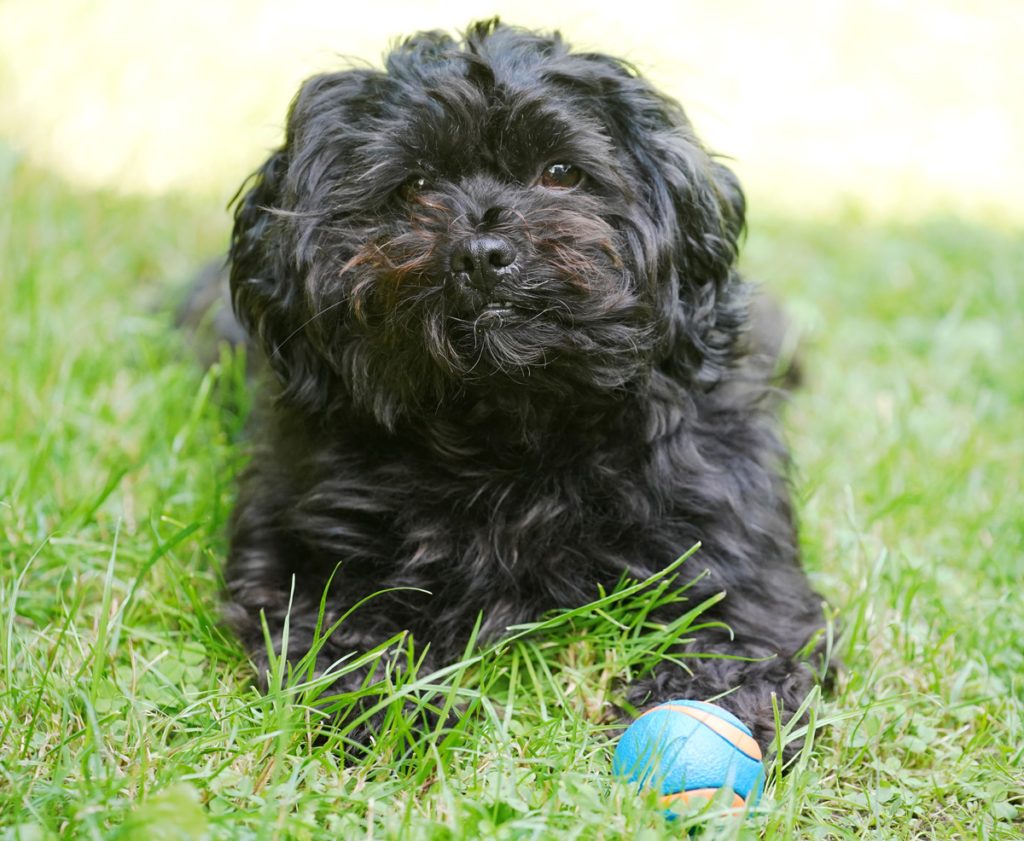
Always start a new story with something cute to let you, the reader, go ‘ahhhh’. This is Rosie, a little Shih Tzu/Poodle cross, who we look after occasionally.

As you can imagine, having dark fur, she is quite hard to take pictures of without making her look like a little black hole. As such she is quite a good test for a cameras ability to record dark tones. I recently found myself thinking about how to improve my UV imaging, specifically how to improve the image capture process. UV imaging with standard cameras is pretty difficult – the Bayer filter absorbs loads of UV, and normal style camera sensors aren’t very UV sensitive due to their design. I’ve also been using some lenses which aren’t ideal for use on a normal SLR style camera, due to their construction which means they hit the pentaprism on an SLR.
As a result of these issues, I found myself looking for a mirrorless camera, rather than my usual SLRs. The Sony A7III is a relatively new camera which is proving very popular amongst amateur snappers and professional photographers alike due to its capabilities and relatively low cost. Also for my work on UV imaging it has something very useful – a Back Side Illuminated (BSI) sensor. BSI sensors are a very different design to traditional camera sensors, and have their light collecting part on the surface nearest the lens where the light doesn’t have to travel through a maze of wires. This makes them much more sensitive to UV. Other cameras do have this BSI sensor, but normally at higher cost, and also the A7III can be modified to reduce internal IR fogging which can occur when cameras are converted to multispectral imaging (for more details on someone offering that work, look here).
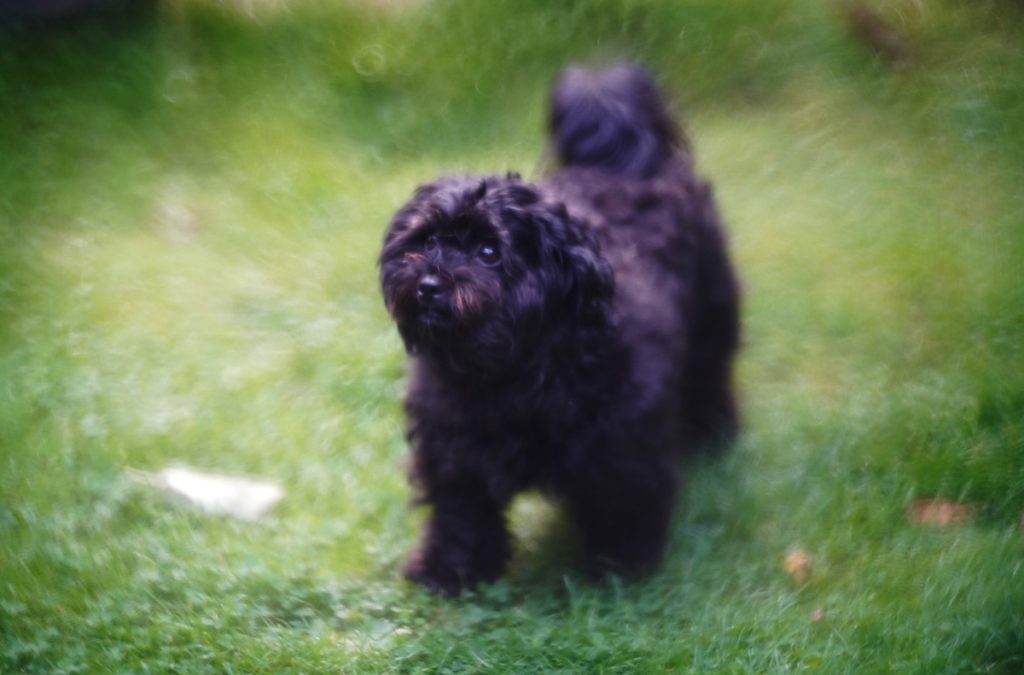
So I decided on the Sony A7III as the camera to use. The aim being to get used to it as a visible light camera, do some basic work on it, and then get it converted for UV imaging to really get to grips with what advantage the BSI sensor provides. When the camera arrived, I took some pictures of Rosie, to get used to how it works. At this point it is worth mentioning something called Flange to Focal plane Distance (FFD). Mirrorless cameras allow the lens mount to be placed much closer to the sensor than SLR cameras (as there is no mirror in the way). This allows lens with shorter FFDs, such as older style cameras, to be used on the camera. It also means that when an adapter is placed on the camera to convert it to other lens manufactures, some large lenses which would hit the pentaprism on an SLR can be used without problem. One such lens is the Nye Optical 150mm f1.4 mirror lens, which I have one of the few copies of. I have written about that before, here, but when used before it had to be mounted with an extension ring to make it clear the cameras body due to its large diameter. On the Sony A7III, this can be mounted at the correct distance from the sensor, making it possible to use it as originally designed. Of course, my beautiful assistant was called upon again to try it out, and this was how she looked.

The Nye Optical mirror lens has a very unique character, and this shows in the image above. It is also designed for UV imaging, so I will be returning to it later once the camera is converted.
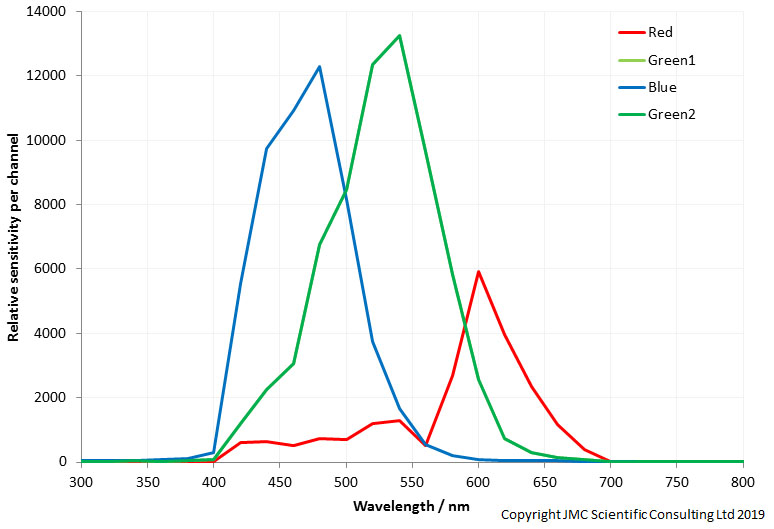
So, how does the camera capture colour in its un-modified state? Using the equipment I designed and built for measuring camera sensor sensitivity (more on that work, here), I was able to measure the spectral response curves, and they look like this;

As normal with un-modified cameras, the sensor shows sensitivity between 400nm and 700nm – outside of that the light is blocked by the internal UV/IR blocking filters. The fun part will come when I start to modify the camera by removing these internal filters, to allow it to look beyond the visible spectra into the UV and IR. More of that to come….
If you’d like to know more about this or my other work, please contact me here.
